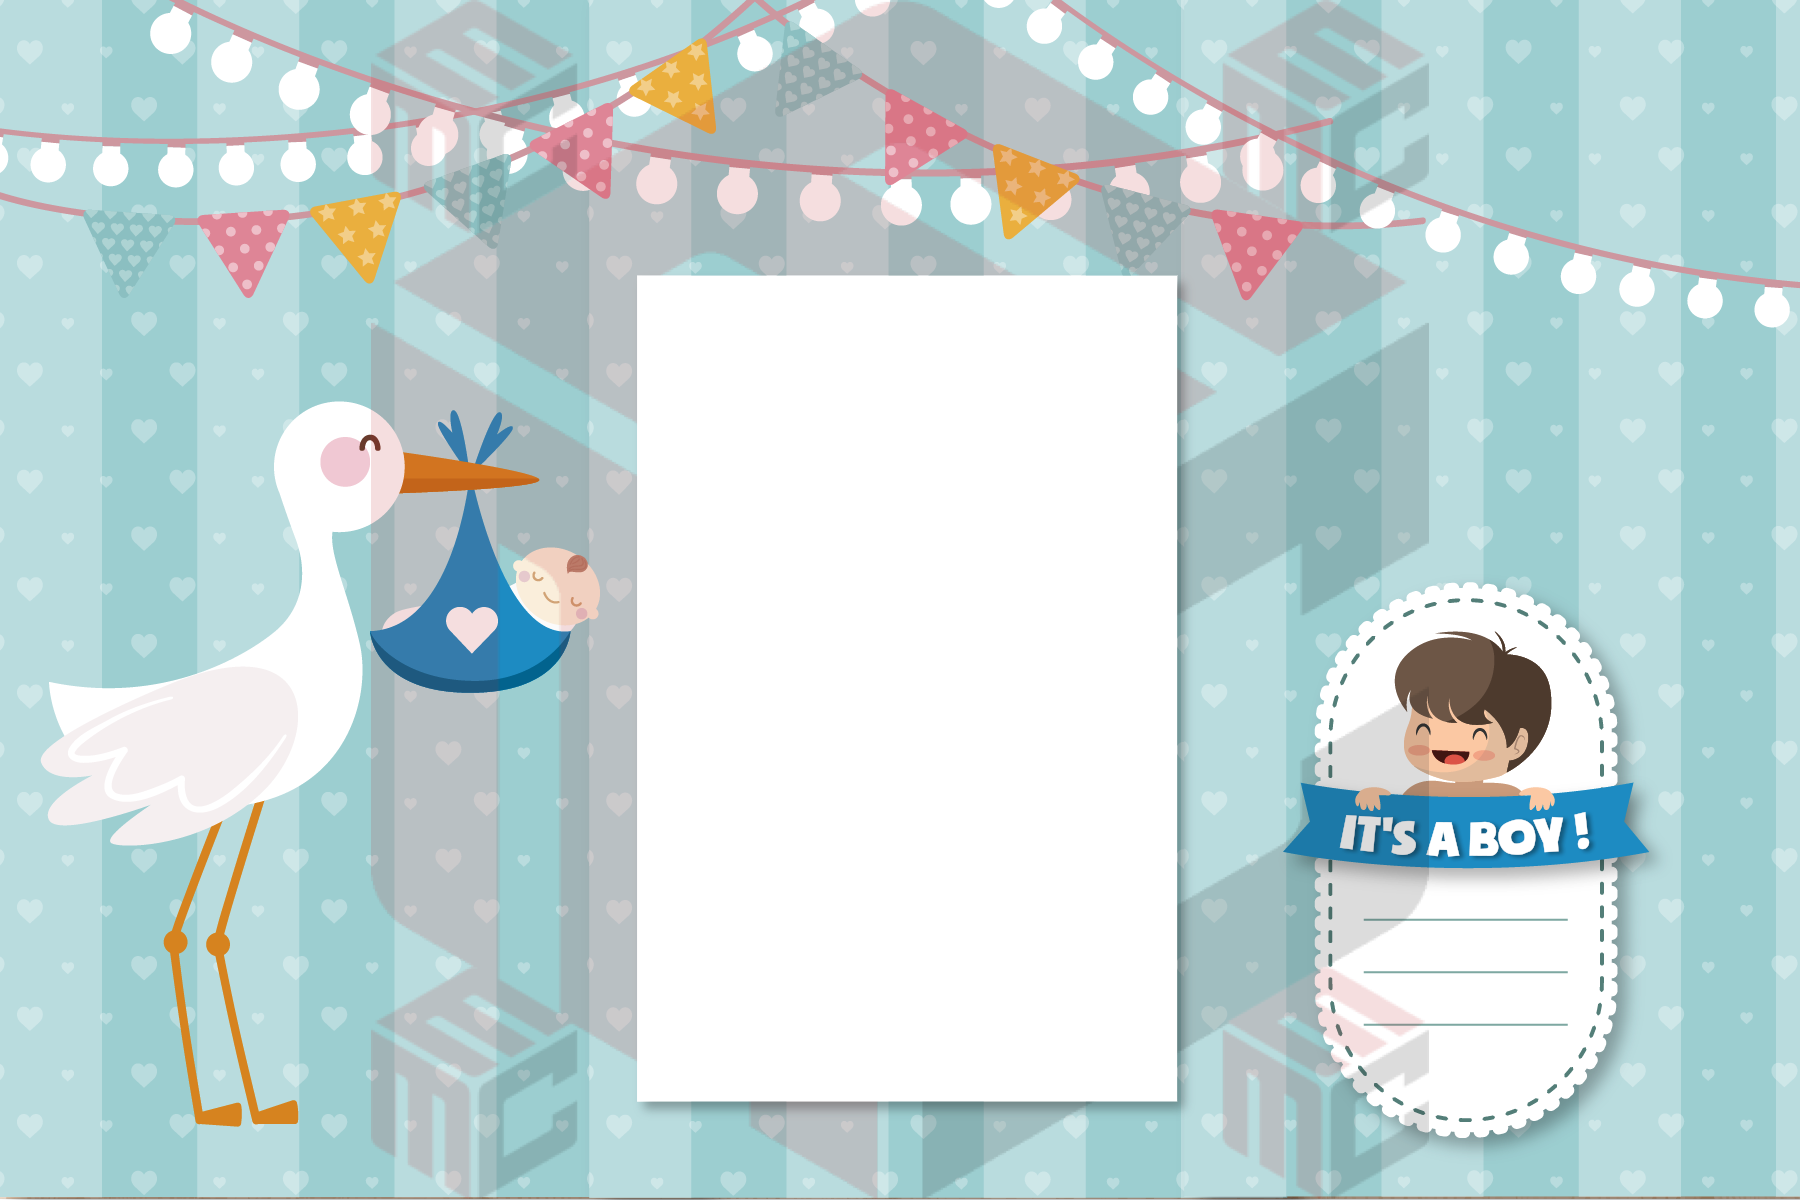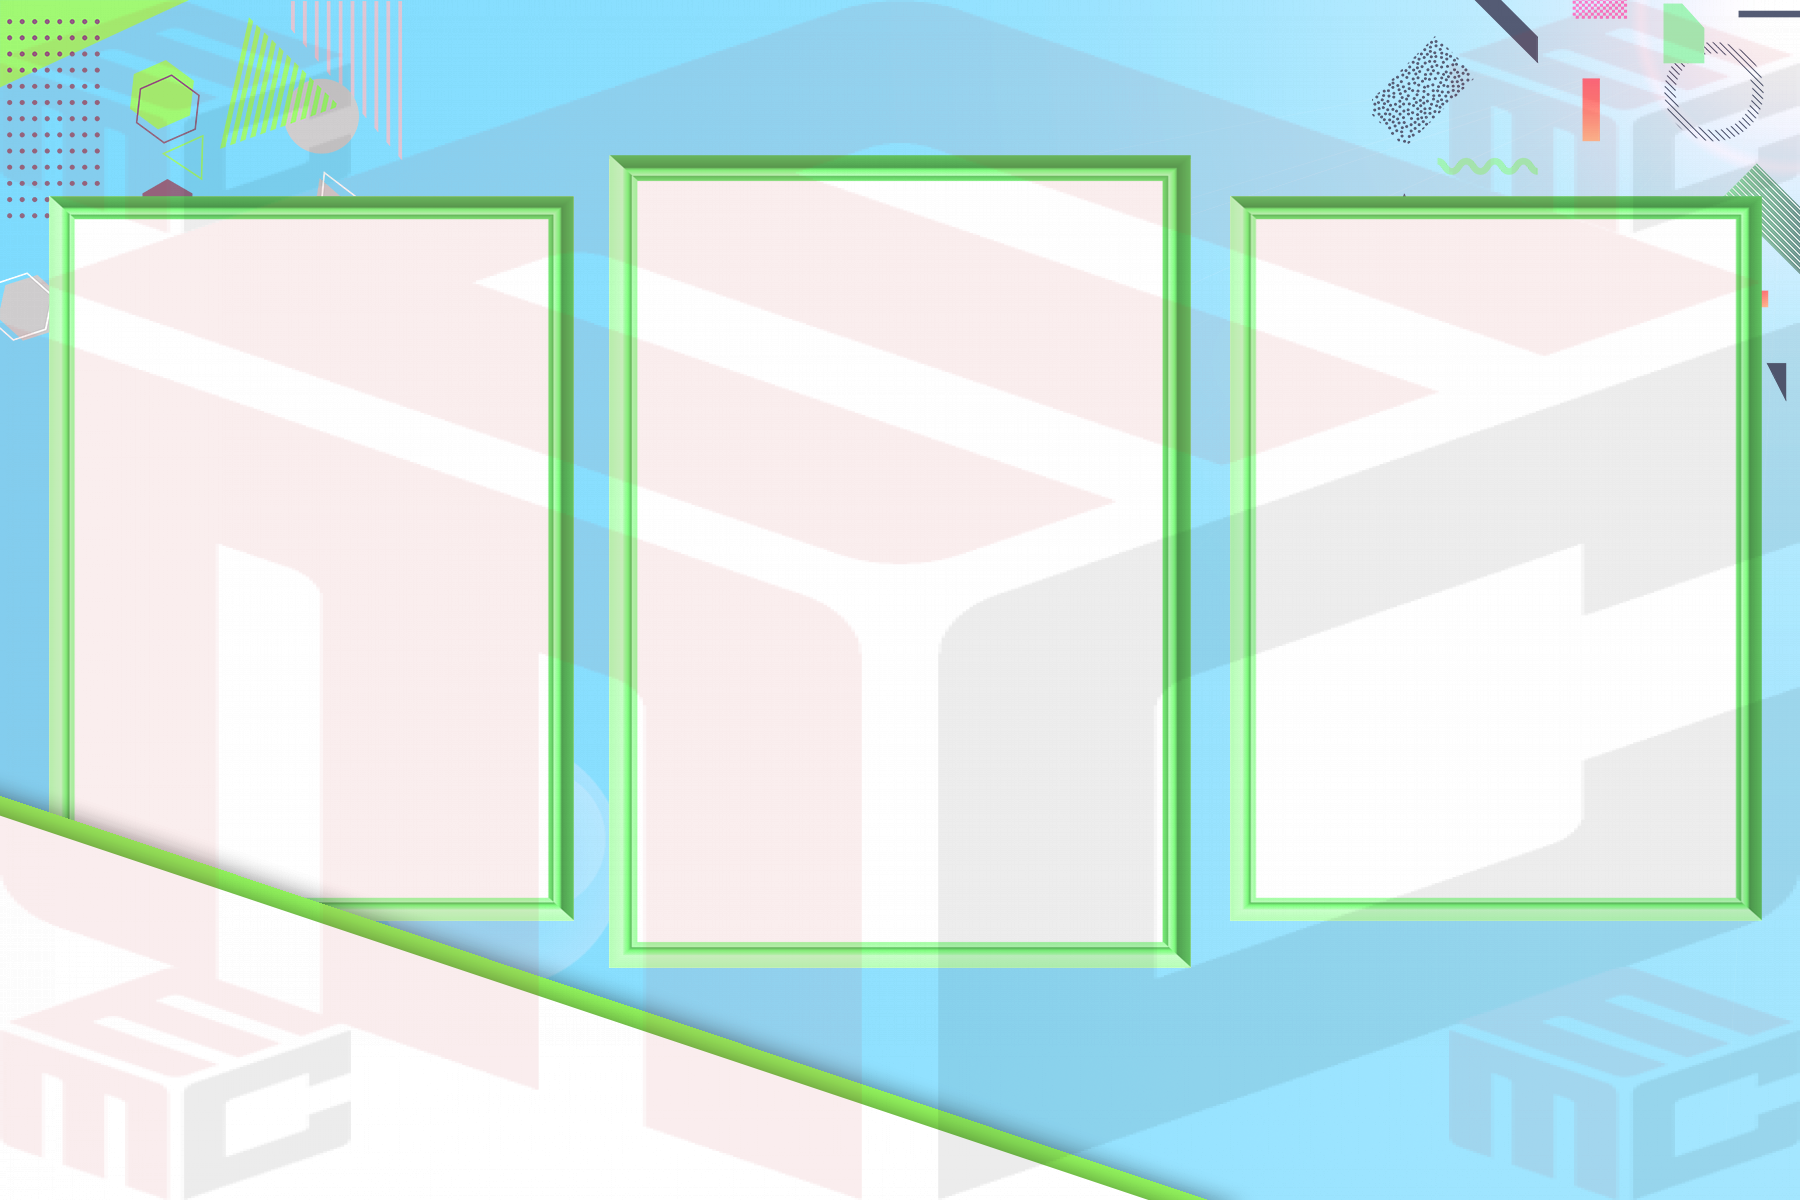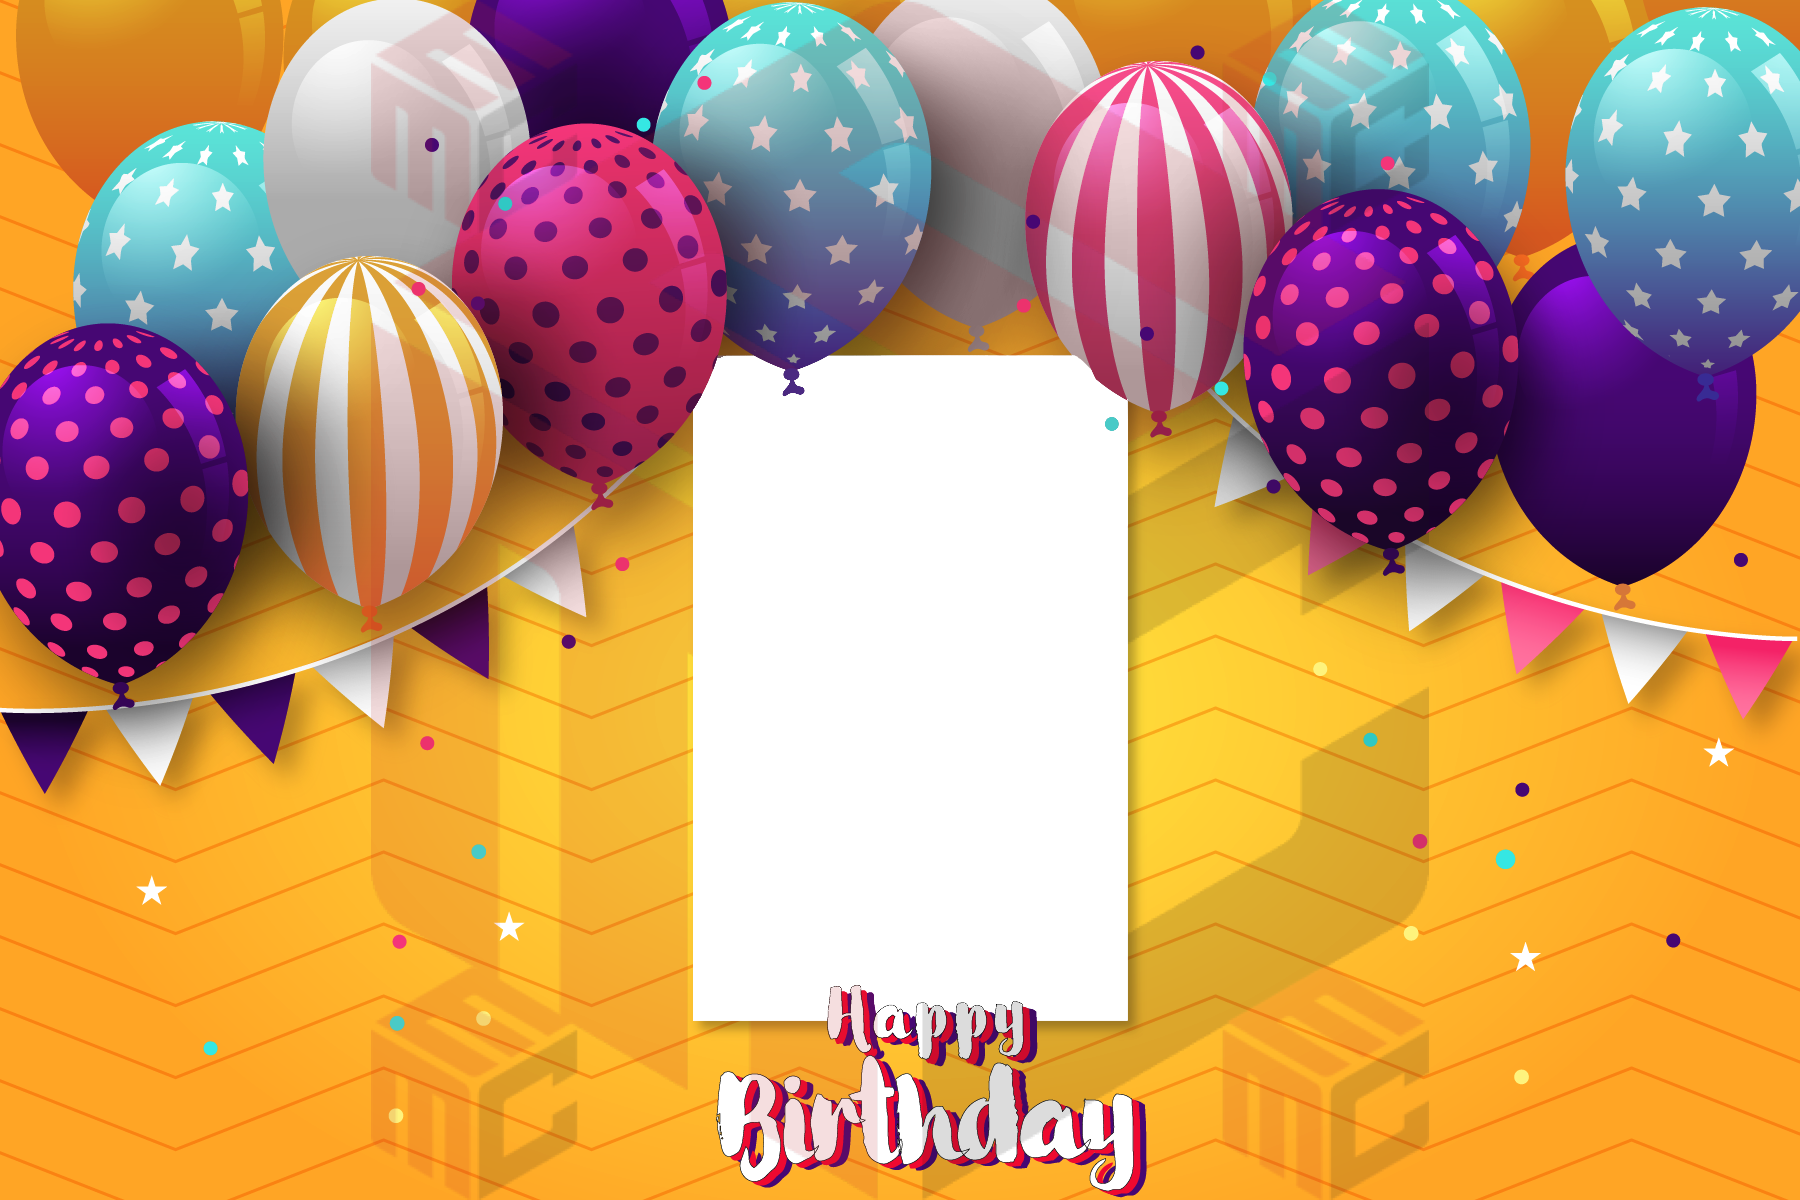
Editing a photo booth template is about more than swapping names. Each change can affect the relationship between text, photo openings, decorations and the printable area. This tutorial walks through a reliable approach to customization, whether you are preparing a wedding layout, a birthday print or a branded corporate design.
Match the template to the real output first
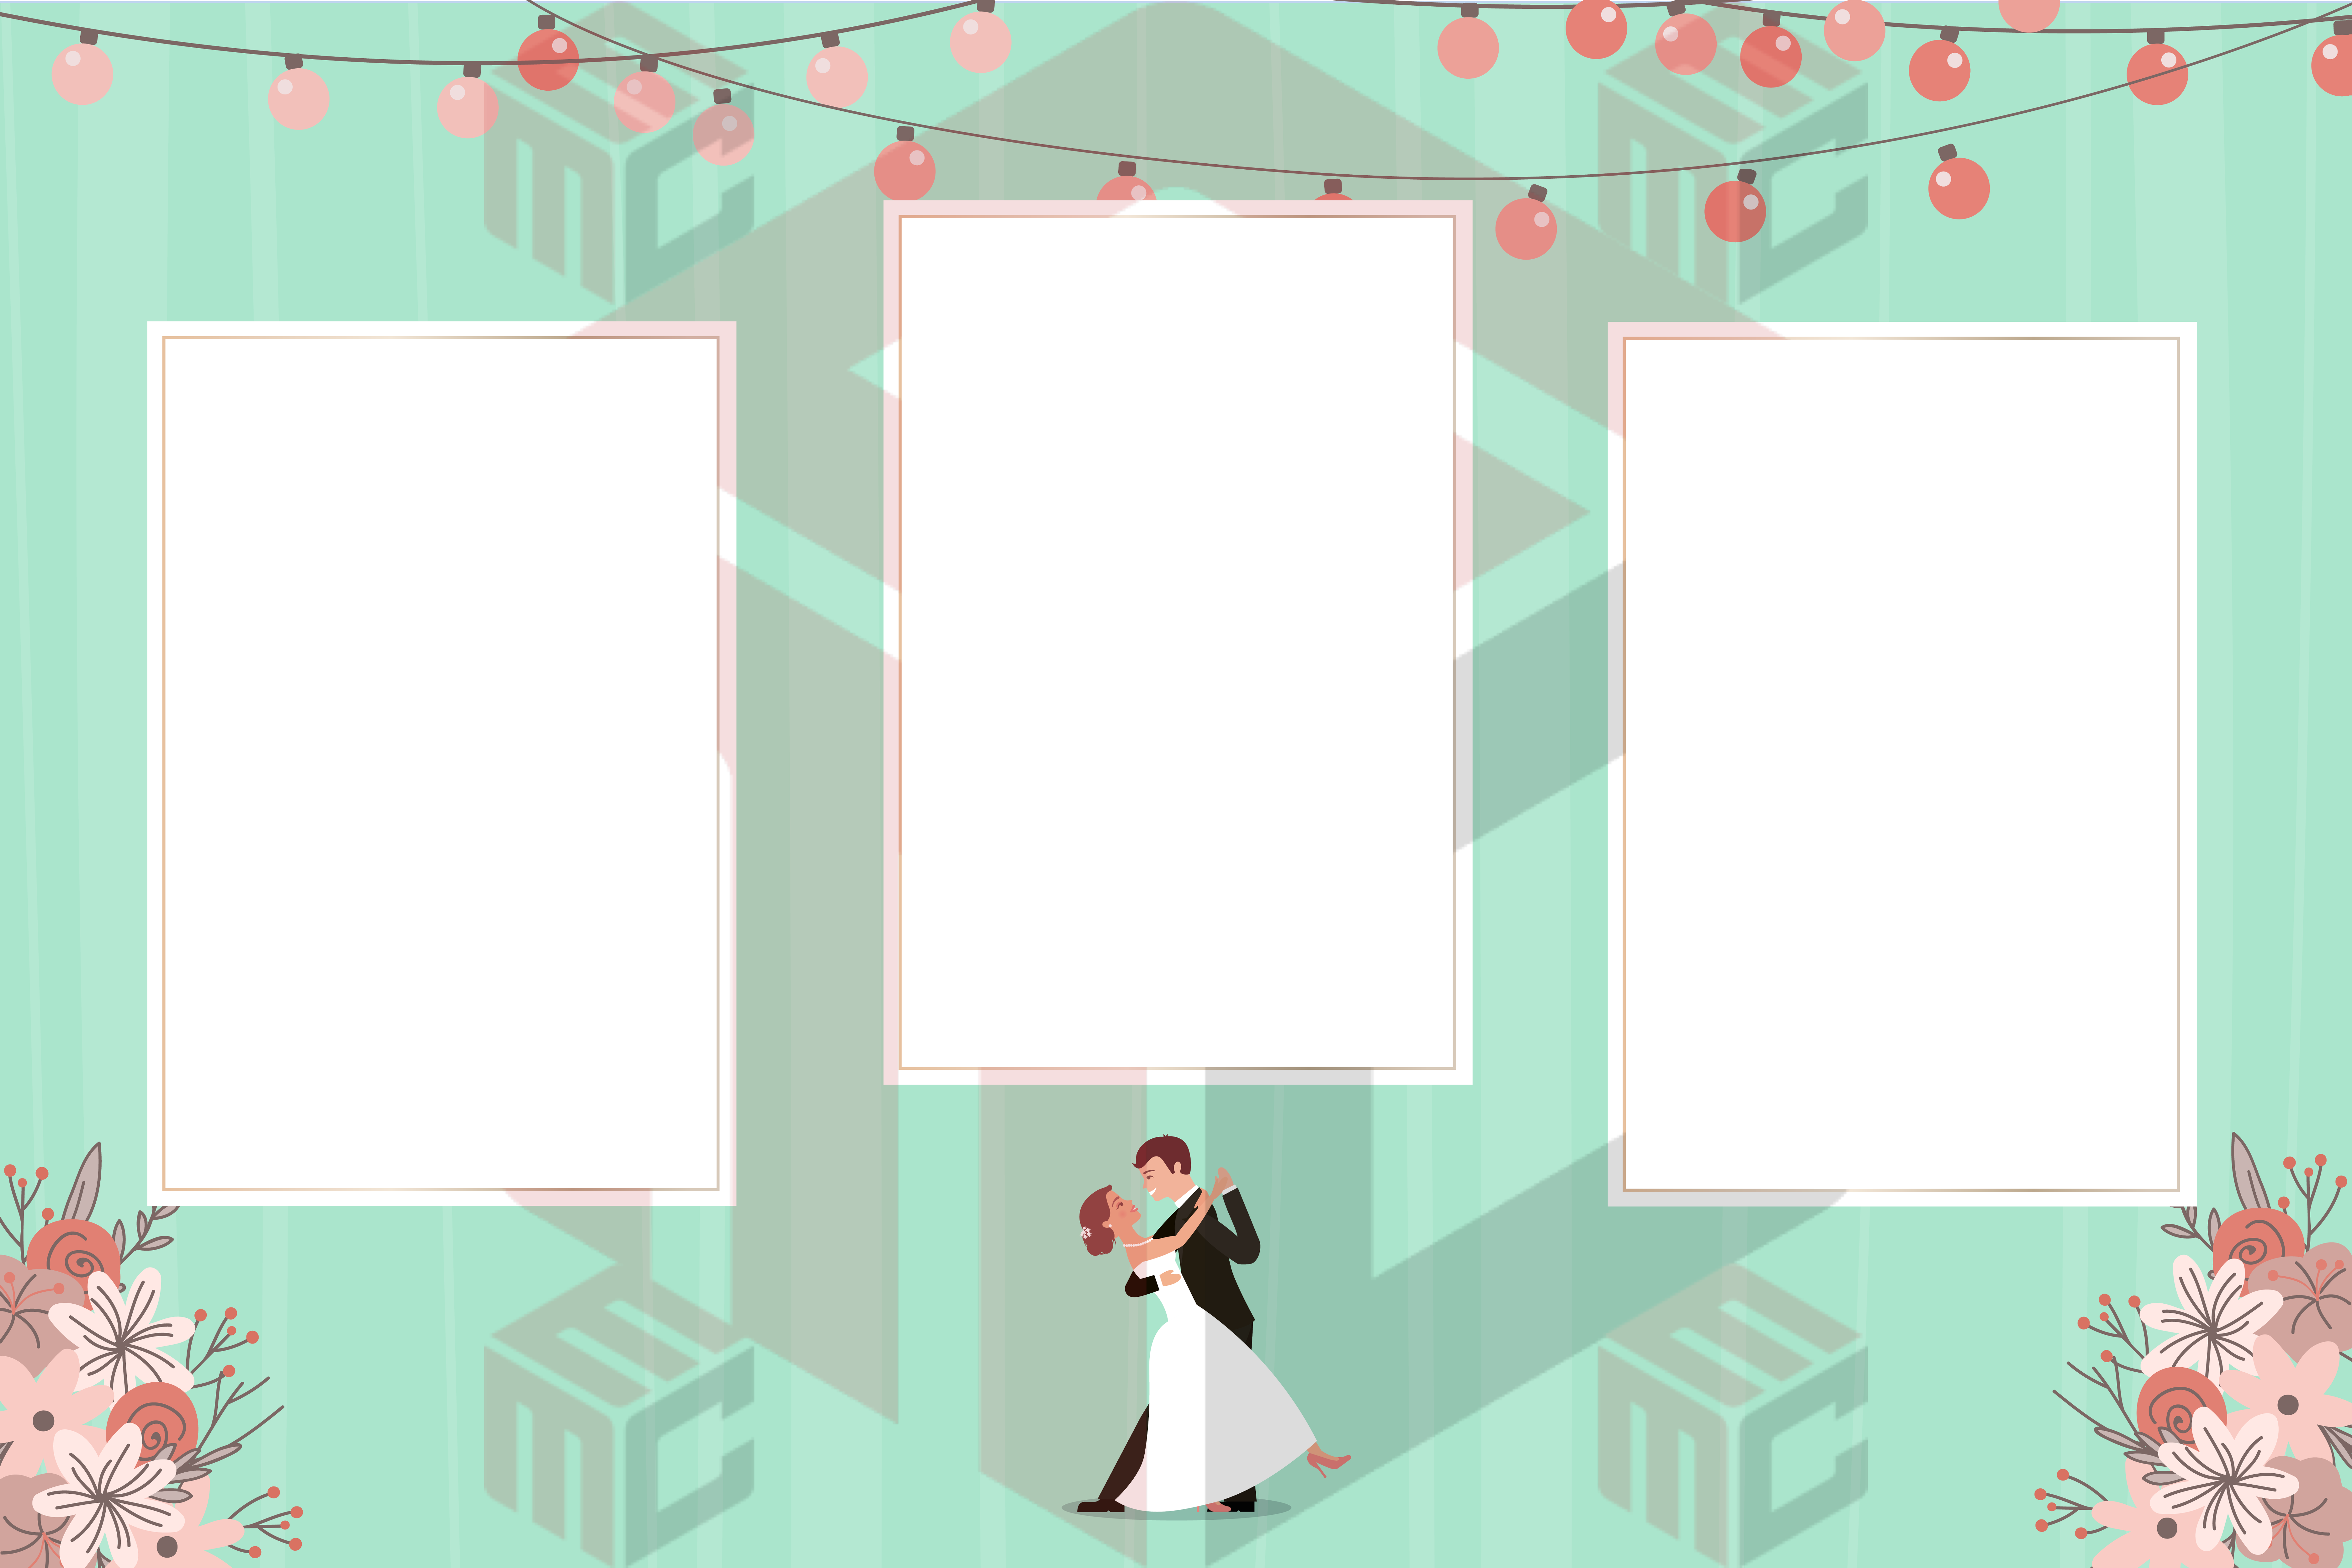
Confirm the print size, orientation and number of captured photos in your booth software. Select a template built for that arrangement rather than forcing a portrait layout into a landscape print. Check how the software handles crops and whether the printer cuts a larger sheet into strips. Start with the photo booth template collection and filter for a layout that matches the event workflow.
Edit the essential event information
Change the names, date and any required event label before spending time on decorative adjustments. Use brief text and inspect it at approximate printed size. Preserve contrast against the background; avoid placing important lettering on top of photo openings. If a client sends a logo, use a clean source and check that its proportions are preserved rather than stretching it to fill a predetermined box.
Keep image openings and borders aligned
When repositioning a photo frame or decoration, ensure the visible opening still matches the slot used by the booth software. Check that no overlay clips a guest’s face and that corners or decorative elements do not intrude into the crop area. Zoom in to inspect borders, then zoom out to judge the entire print. If you change the layout extensively, compare a before-and-after test print.
Preview what guests will actually receive
Use representative camera photographs, not only blank placeholders. Test single guests and groups if both are expected. Print a sample on the intended device, check the trim edges and measure whether small text is comfortably readable. Colors may differ between a bright monitor and the printer output, so evaluate the physical proof before approval.
- Keep an untouched copy of the original layout.
- Confirm the booth format and photo-opening count.
- Update names, colors and artwork without obscuring images.
- Capture test photos and print with the event settings.
- Save a separate final version after approval.
Common editing mistakes to catch early
Do not stretch decorative frames to fill a different orientation without checking how the photo openings change. Avoid layering an opaque background over the transparency that the booth needs for its camera captures. Verify which parts of the design are meant to be editable and which are part of a flattened image. A visual match on screen does not guarantee the software will place captured photos correctly.
When several people need to approve the same design, note the exact version and output settings used for the test print. A final request for a different font or border color is easiest to manage when the earlier approved copy remains available for comparison.
When the sample is ready, return to the MyMirrorClub template gallery to compare alternative layouts.