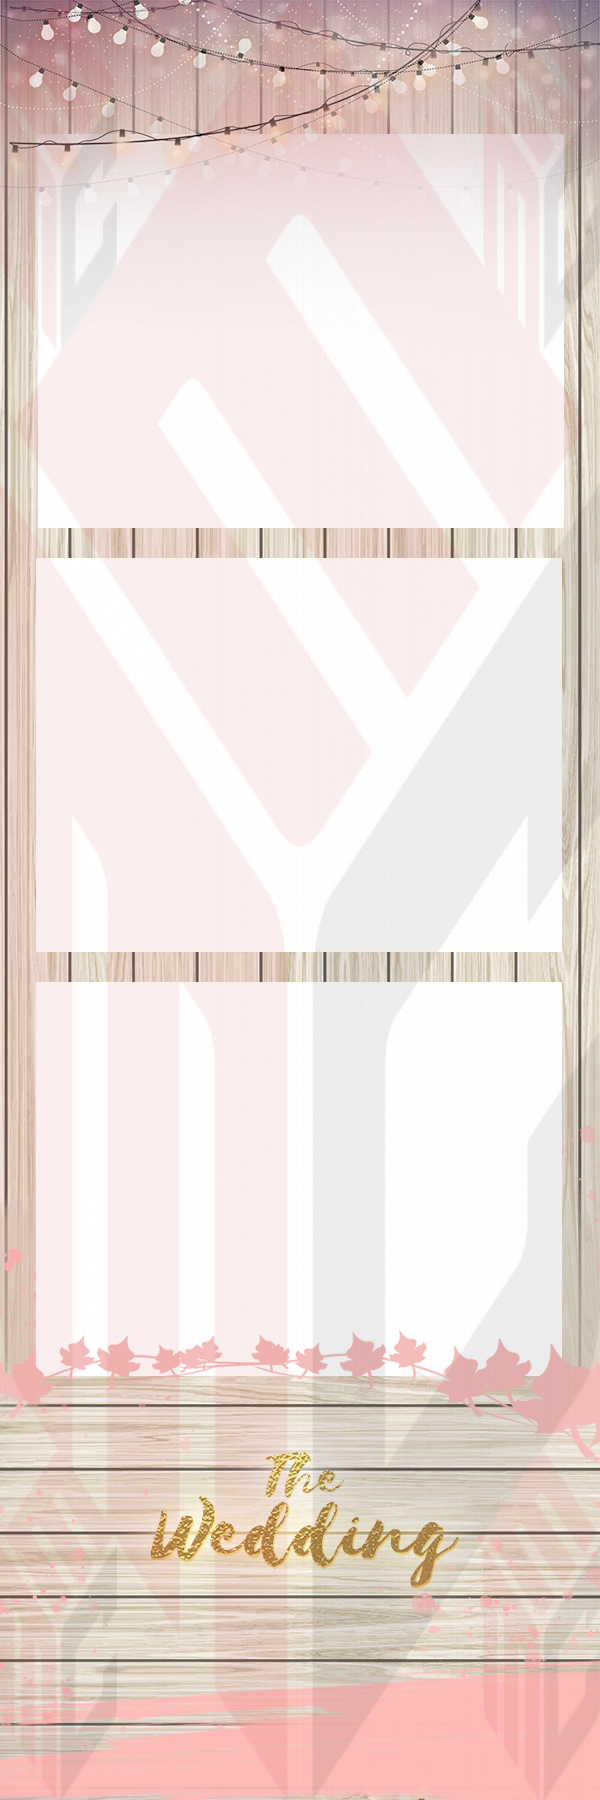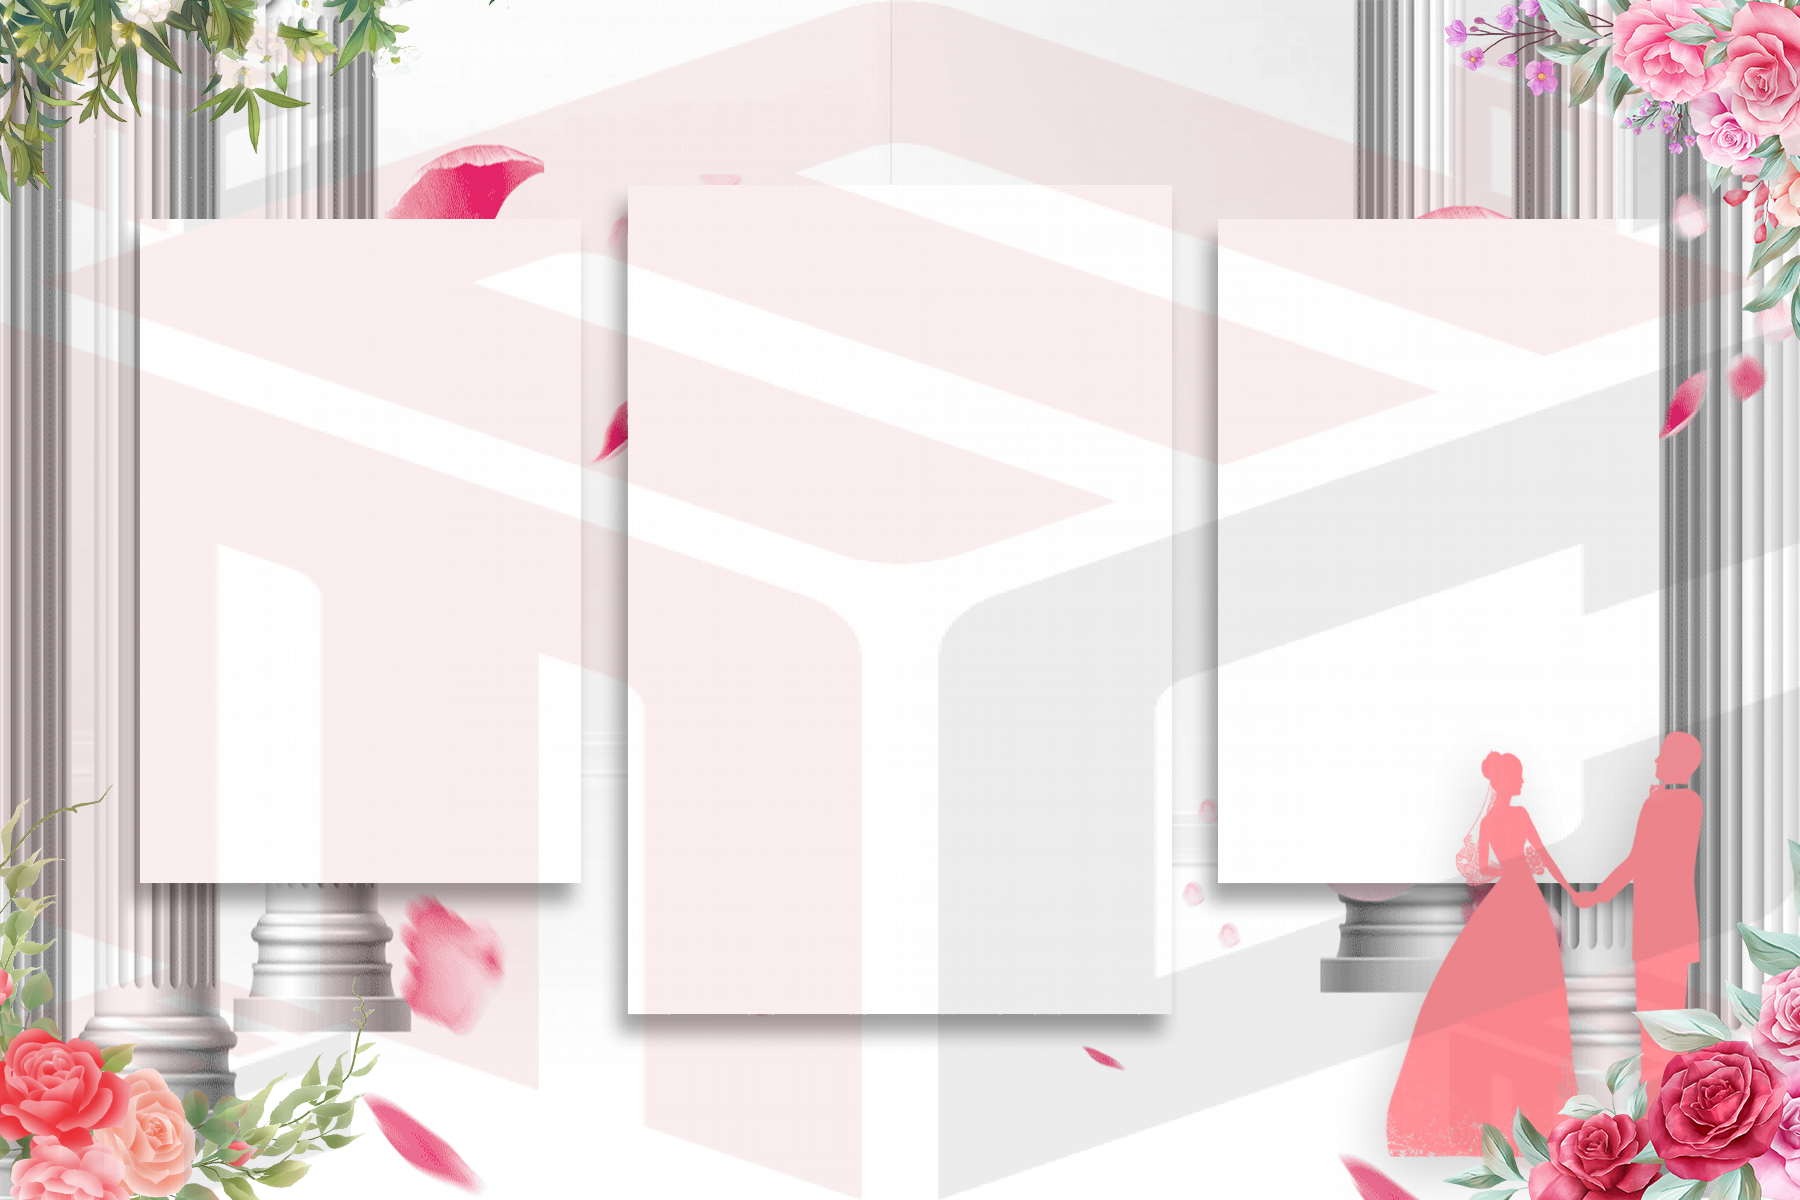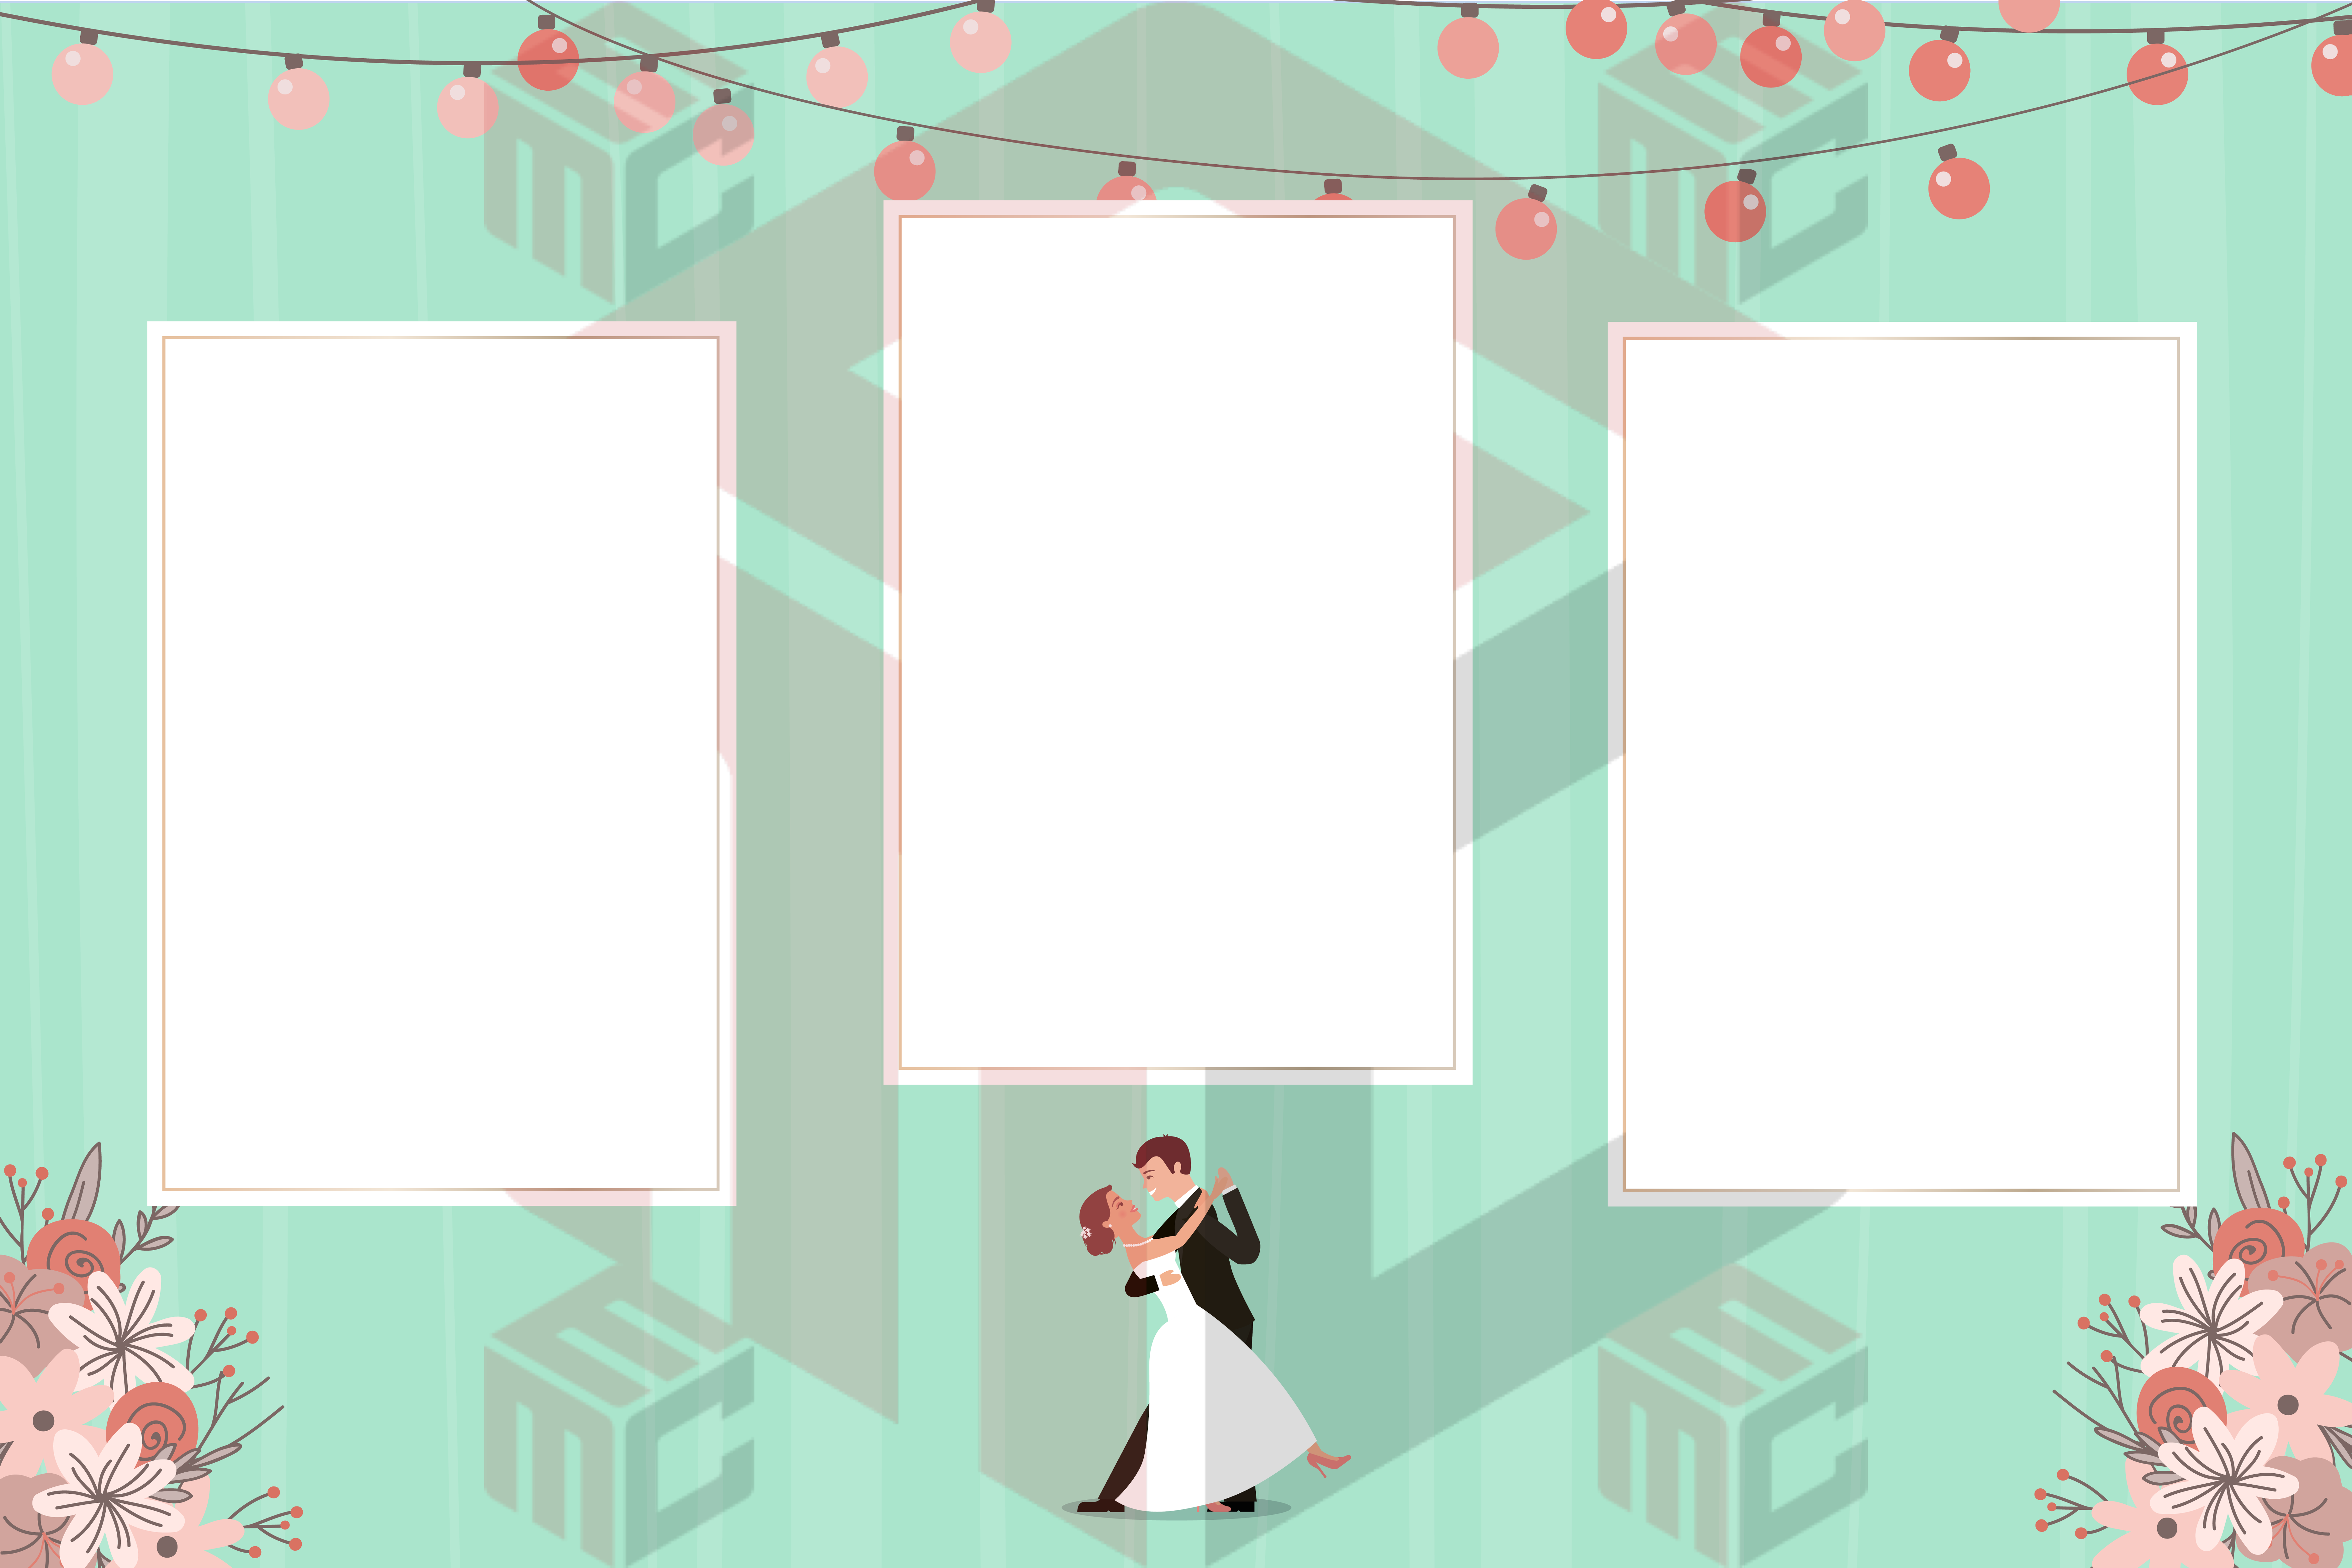
Text can completely change the look of a photo booth template. A simple title can feel elegant, bold, playful, romantic or dramatic depending on how it is styled.
MyMirrorClub has expanded Text Shadow with much more control, giving creators an easier way to add depth, contrast and separation to text directly inside the photo booth template and animation editor.
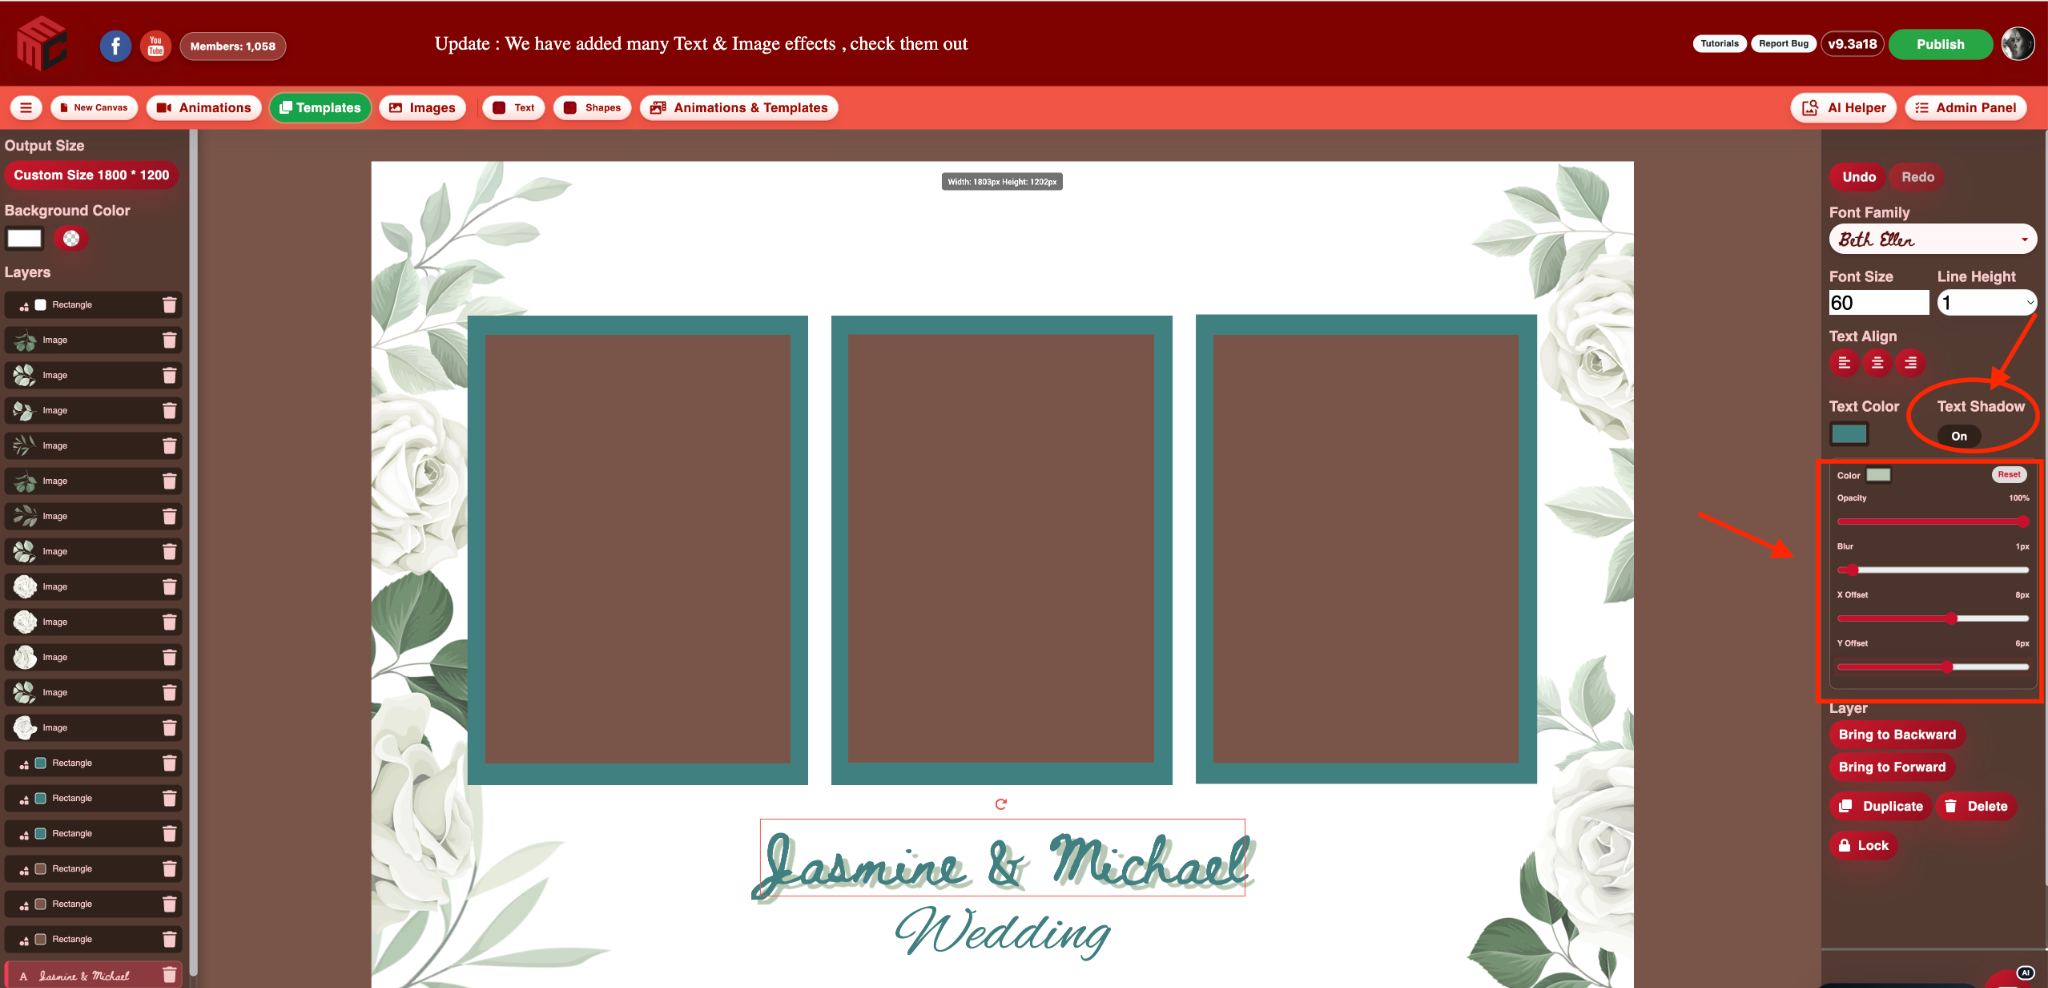
Text Shadow now gives you real creative control
Instead of being limited to a basic shadow color, you can now turn Text Shadow on and adjust the parts that actually determine how the effect looks:
- Shadow Color — choose the color of the shadow.
- Opacity — make the shadow subtle or strong.
- Blur — move from a crisp offset shadow to a softer diffused shadow.
- X Offset — move the shadow left or right.
- Y Offset — move the shadow up or down.
- Reset — quickly return the shadow settings to a clean starting point.
The controls update directly in the editor so you can see the result while you design instead of guessing how the finished text will look.
Create a soft drop shadow
A soft shadow is useful when text needs to stay readable over flowers, graphics, photography or other detailed backgrounds without looking too heavy.
Choose a shadow color that works with the design, lower the opacity if needed, increase the blur and keep the X/Y offsets relatively small. The result can add separation while still keeping the text elegant.
This works especially well for wedding templates, anniversary designs, luxury layouts and other styles where a hard shadow would feel too aggressive.
Create a bold offset or retro-style shadow
For a stronger graphic look, reduce the blur and use larger X and Y offsets. A more solid shadow can become part of the design instead of simply sitting behind the text.
This style can work well for birthday templates, school events, retro themes, colorful party layouts and designs that need stronger typography.
Create a glow-style effect without another tool
The same Text Shadow controls can also create a glow-style effect. Keep the X and Y offsets close to the text and increase the blur so the shadow spreads around the lettering.
Try a light color on a dark background, or use a brand/event color to create a more dramatic title. Because color, opacity, blur and position work together, you can create many different looks without adding another complicated effects panel.
Control the strength with opacity
Not every shadow should be 100% visible. The new Opacity control lets you decide how much of the shadow should appear.
A low-opacity shadow can gently separate text from the background. A higher-opacity shadow works better when the shadow itself is part of the visual style.
This gives you more flexibility when working with light text, dark text, colored backgrounds, transparent PNG decorations and busy event artwork.
Move the shadow exactly where you want it
The new X Offset and Y Offset controls let you position the shadow independently.
You can move it slightly below the text for a traditional drop shadow, farther to the side for a bold offset look, or keep it nearly centered for a glow-style effect.
Small changes to the offsets can make a big difference, especially with script fonts, thick display fonts and large event titles.
Useful for real photo booth designs
Text Shadow is not only a decorative effect. It can solve practical readability problems in real templates.
- Help names and dates stand out over floral artwork.
- Separate white text from a light background.
- Add depth to a wedding or anniversary title.
- Create stronger branded text for corporate events.
- Make touch-to-start or instruction text easier to notice.
- Give birthday, prom and party typography more visual energy.
The screenshot above shows the effect on a wedding template inside the actual MyMirrorClub editor, with the expanded controls visible on the right.
Designed to stay simple
The goal is not to turn the editor into a complicated graphics application. The Text Shadow enhancement adds the controls that are useful most often while keeping the workflow easy to understand.
Select a text layer, turn Text Shadow on, adjust the color, opacity, blur and position, and continue designing.
If you want to explore more of the editor, visit the MyMirrorClub Photo Booth Editor guide, browse editable photo booth templates, or use the Search Library to find a design to customize.
Part of a growing creative workflow
Advanced Text Shadow joins other practical tools added to the MyMirrorClub editor, including image filters, opacity, Visual Trim, Pencil Crop, custom layer names, Undo/Redo, smart guides, multiple-layer selection and animation effects.
These improvements are focused on reducing repetitive work and giving photo booth creators useful control without filling the interface with unnecessary options.
FREE TO TRY with one free publishing credit
MyMirrorClub is free to try. New members receive one free publishing credit after signup, so you can explore the editor, customize a design and test the newest creative tools before deciding what you need next.
Create your free MyMirrorClub account, open the online editor, or browse the Search Library to start working with a template.
FAQ: What can I change in Text Shadow?
You can turn the shadow on or off and adjust its color, opacity, blur, horizontal X offset and vertical Y offset.
FAQ: Can I make a soft shadow?
Yes. Increase Blur and use a lower opacity or smaller offsets to create a softer drop-shadow look.
FAQ: Can I create a sharper offset shadow?
Yes. Use less blur with stronger opacity and larger X/Y offsets for a more defined graphic shadow.
FAQ: Can Text Shadow create a glow effect?
Yes. Keep the X and Y offsets close to the text and increase the blur. A light or colored shadow can create a glow-style appearance.
FAQ: Can I reset the effect?
Yes. The Text Shadow panel includes a Reset control so you can quickly return the shadow settings to their default starting point.
Try the new Text Shadow controls
Open the MyMirrorClub editor, add or select a text layer and turn on Text Shadow. Experiment with different colors, opacity levels, blur amounts and offsets until the typography fits the design.
Create. Customize. Animate. Publish.