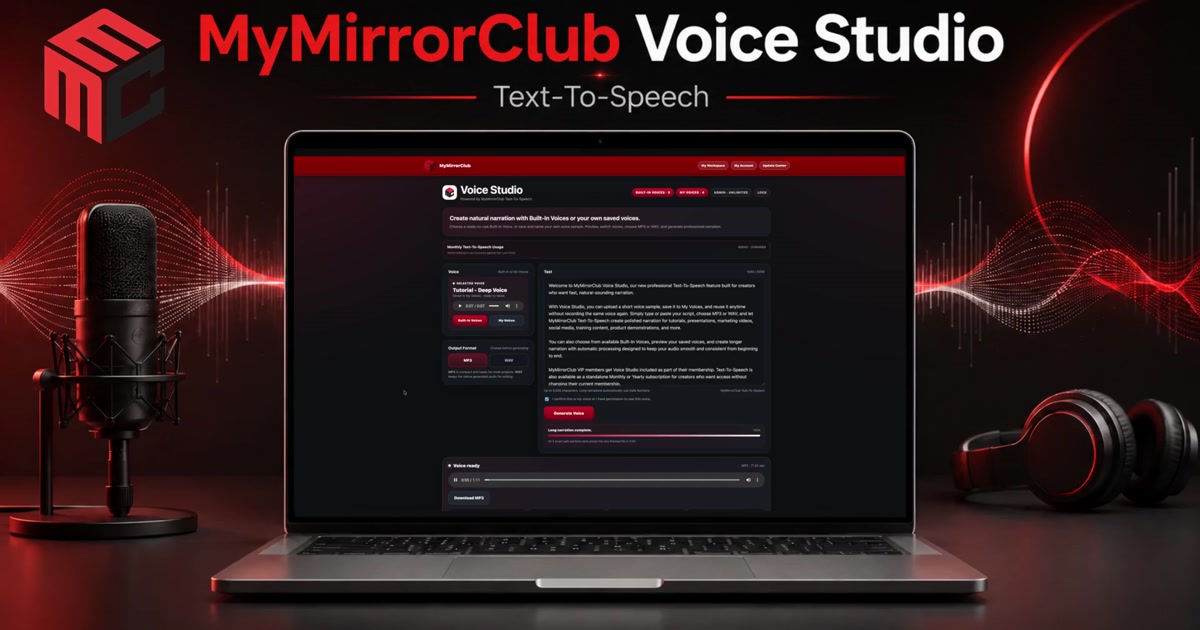
Learn how to create natural text-to-speech voiceovers with MyMirrorClub Voice Studio using built-in voices or your own saved MP3 or WAV voice sample. This tutorial walks through the simple workflow from choosing a voice and entering narration to generating, previewing and downloading finished audio.
The video below shows the complete MyMirrorClub Text-To-Speech workflow in action.
What is MyMirrorClub Voice Studio?
MyMirrorClub Voice Studio is the Text-To-Speech workspace built for creators who need narration for promo videos, client instructions, tutorials, social media content and other event-business projects. You can work with a built-in voice or save your own permitted voice sample in My Voices, then reuse it without uploading the same sample every time.
Open MyMirrorClub Voice Studio
Step 1: Choose or save a voice
Start by choosing the voice you want for the narration. Voice Studio supports reusable voices in My Voices. When adding your own voice sample, MP3 and WAV are supported, and a clear sample of roughly 7 to 10 seconds is recommended. Give the sample a name so it is easy to recognize later, preview it, and select it whenever you need another narration.
The studio also includes a permission confirmation before generation. Only use a voice that belongs to you or a voice you have permission to use.
Step 2: Choose MP3 or WAV output
Voice Studio lets you choose the finished audio format before generating:
- MP3 is compact and convenient for most everyday projects, tutorials and video editing.
- WAV keeps the native generated audio and can be useful when you want an editing-friendly source file.
Step 3: Type or paste your narration
Enter the narration directly into the Text area. Voice Studio supports up to 5,000 characters in one generation. Longer narration inside that limit is automatically handled in safe sections and joined back together into one finished audio file.
This makes it practical for much more than a one-line announcement. You can prepare product explanations, event instructions, longer video voiceovers, tutorial narration and promotional scripts without manually breaking everything into tiny pieces.
Step 4: Generate and preview the finished voice
Once your voice, format and narration are ready, click Generate Voice. Voice Studio prepares the narration and gives you an audio player so you can listen before downloading. The result area also provides useful information such as character count and generation time.
Step 5: Download the audio and use it in your project
Download the finished MP3 or WAV and use it wherever you need narration. For MyMirrorClub video projects, you can add the generated audio in the Editor and position it on the Timeline alongside music, sound effects and video layers.
If you are working with more than one audio track, see our guide to mixing multiple audio tracks in the MyMirrorClub Timeline Editor. You can control individual audio volume, reposition clips, trim timing and build a more complete finished video without leaving the MyMirrorClub workflow.
Why reusable voices save time
One of the most useful parts of Voice Studio is the ability to keep approved voice samples in My Voices. Instead of searching for the original sample and uploading it again for every narration, you can name it once, preview it later and select it again when the next project comes in.
For photo booth and event businesses, that can help keep a consistent voice across client walkthroughs, promotional videos, event instructions, venue screens and social content while reducing repetitive setup.
Ideas for using Text-To-Speech in your event business
- Create narration for photo booth promotional videos.
- Add spoken instructions to client or guest walkthroughs.
- Produce voiceovers for feature tutorials and demonstrations.
- Create consistent narration for social media clips.
- Add voice to event screens, service previews and presentation videos.
- Combine narration with background music and sound effects in the MyMirrorClub Editor.
Voice Studio and the MyMirrorClub workflow
Voice Studio is designed to sit beside the rest of the MyMirrorClub creative tools. Generate the narration, download the audio, then bring it into the MyMirrorClub Editor when you want to combine it with images, animation, video, text, music and other audio layers.
For more walkthroughs, visit the MyMirrorClub and BoothPal video tutorials.
FAQ: Can I upload MP3 or WAV voice samples?
Yes. My Voices supports MP3 and WAV voice samples. A clear sample of roughly 7 to 10 seconds is recommended, and you should only upload a voice that belongs to you or that you have permission to use.
FAQ: How much text can I generate at one time?
Voice Studio supports up to 5,000 characters per generation. Longer narration within that limit is automatically processed in safe sections and joined into one finished file.
FAQ: Can I download the narration as MP3 or WAV?
Yes. You can choose MP3 for a compact file that is ready for most projects or WAV when you want the native generated audio for editing.
FAQ: Can I use the generated narration in the MyMirrorClub Editor?
Yes. Download the generated audio and add it as an Audio layer in the MyMirrorClub Editor. From there you can place it on the Timeline and combine it with music, sound effects, images, animation and video.
Ready to create your next voiceover?
Open MyMirrorClub Voice Studio, choose a voice, paste your narration and generate the audio you need for your next project.