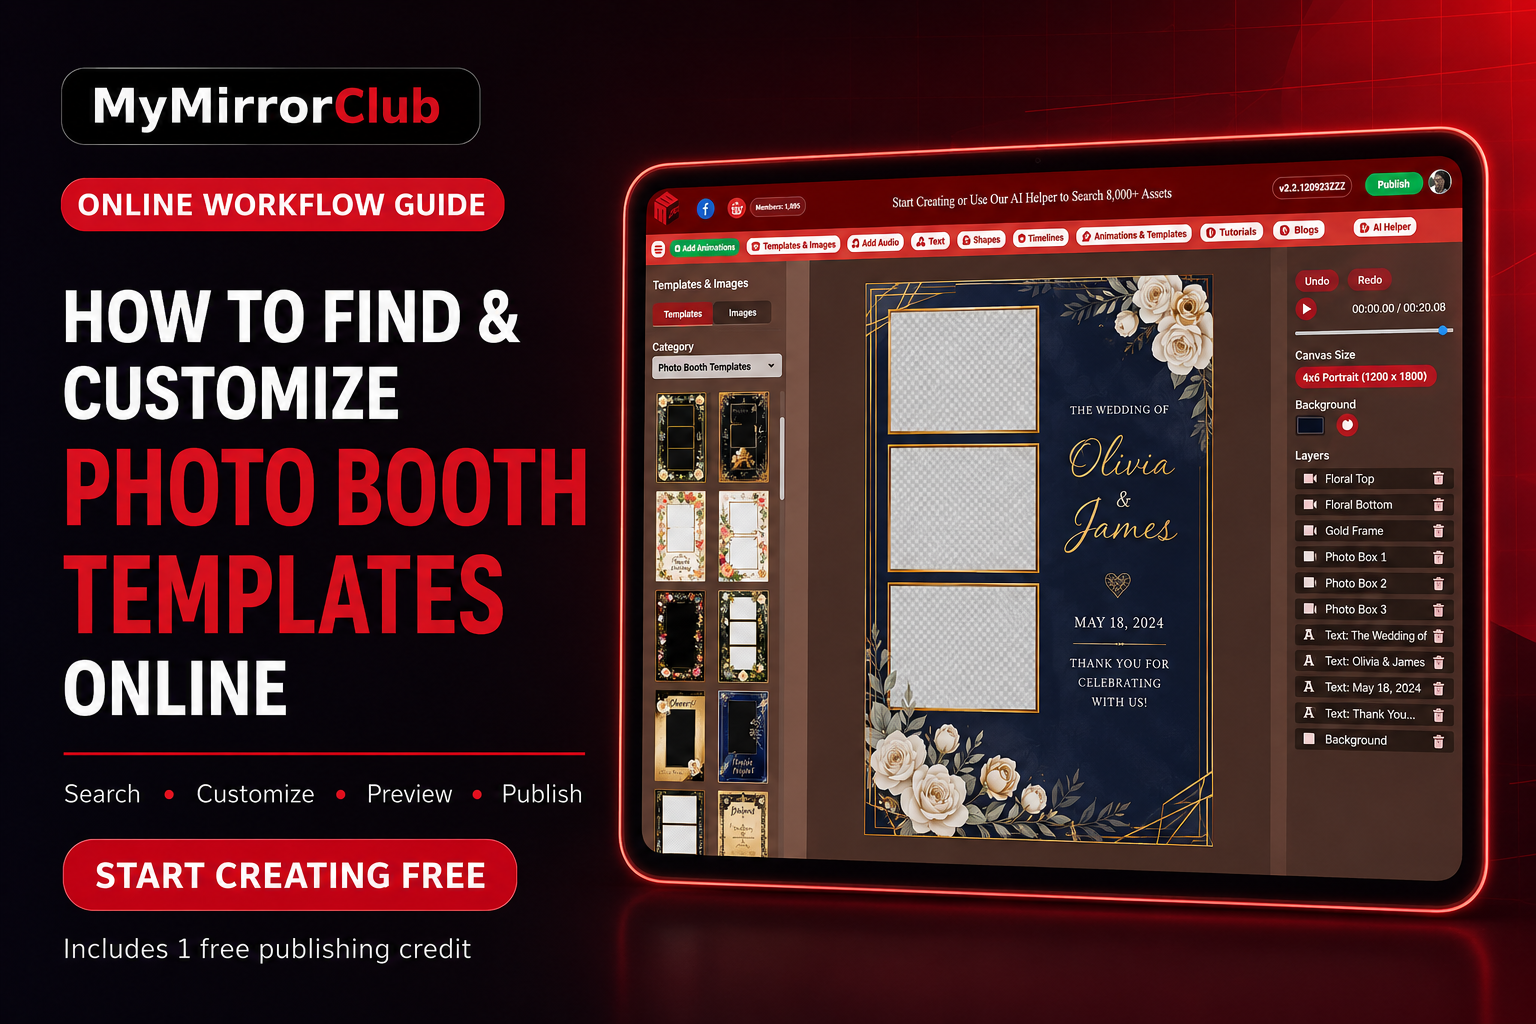
Finding the right photo booth templates should not feel like hunting through random files or starting every event design from scratch. MyMirrorClub helps photo booth owners search ready-made templates, open a design in the online editor, customize the editable parts, preview the result and publish a finished design for the event.
The fastest path is to start creating free, browse the library through Search, open the design in the MyMirrorClub Editor and compare Bundles when you want a coordinated group of assets. The commercial Photo Booth Templates page remains the main buying and discovery page, while this article explains the workflow.
No credit card is required to create the account, browse the template library, use the editor or access the AI Helper. New users receive 1 free publishing credit, which can be used for one template or one animation publish.
What are photo booth templates?
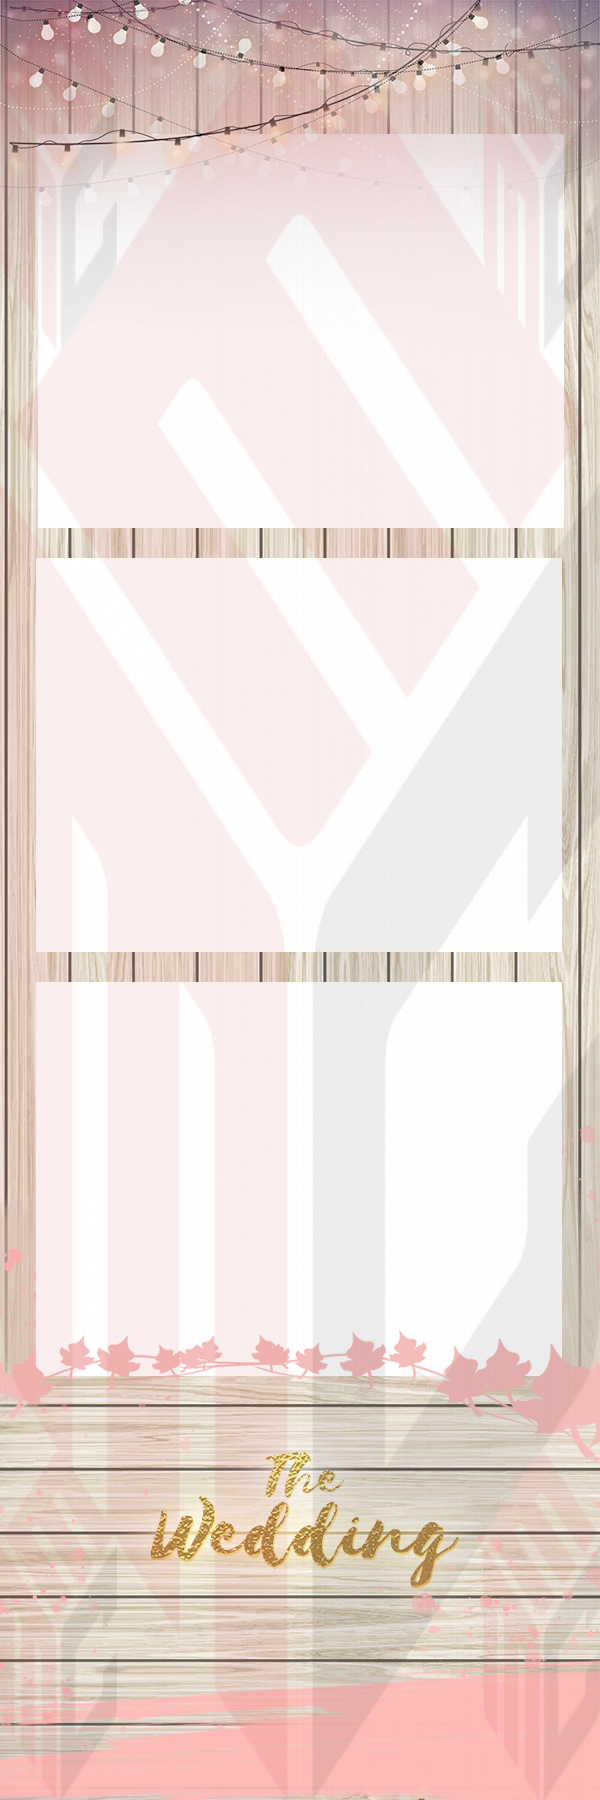
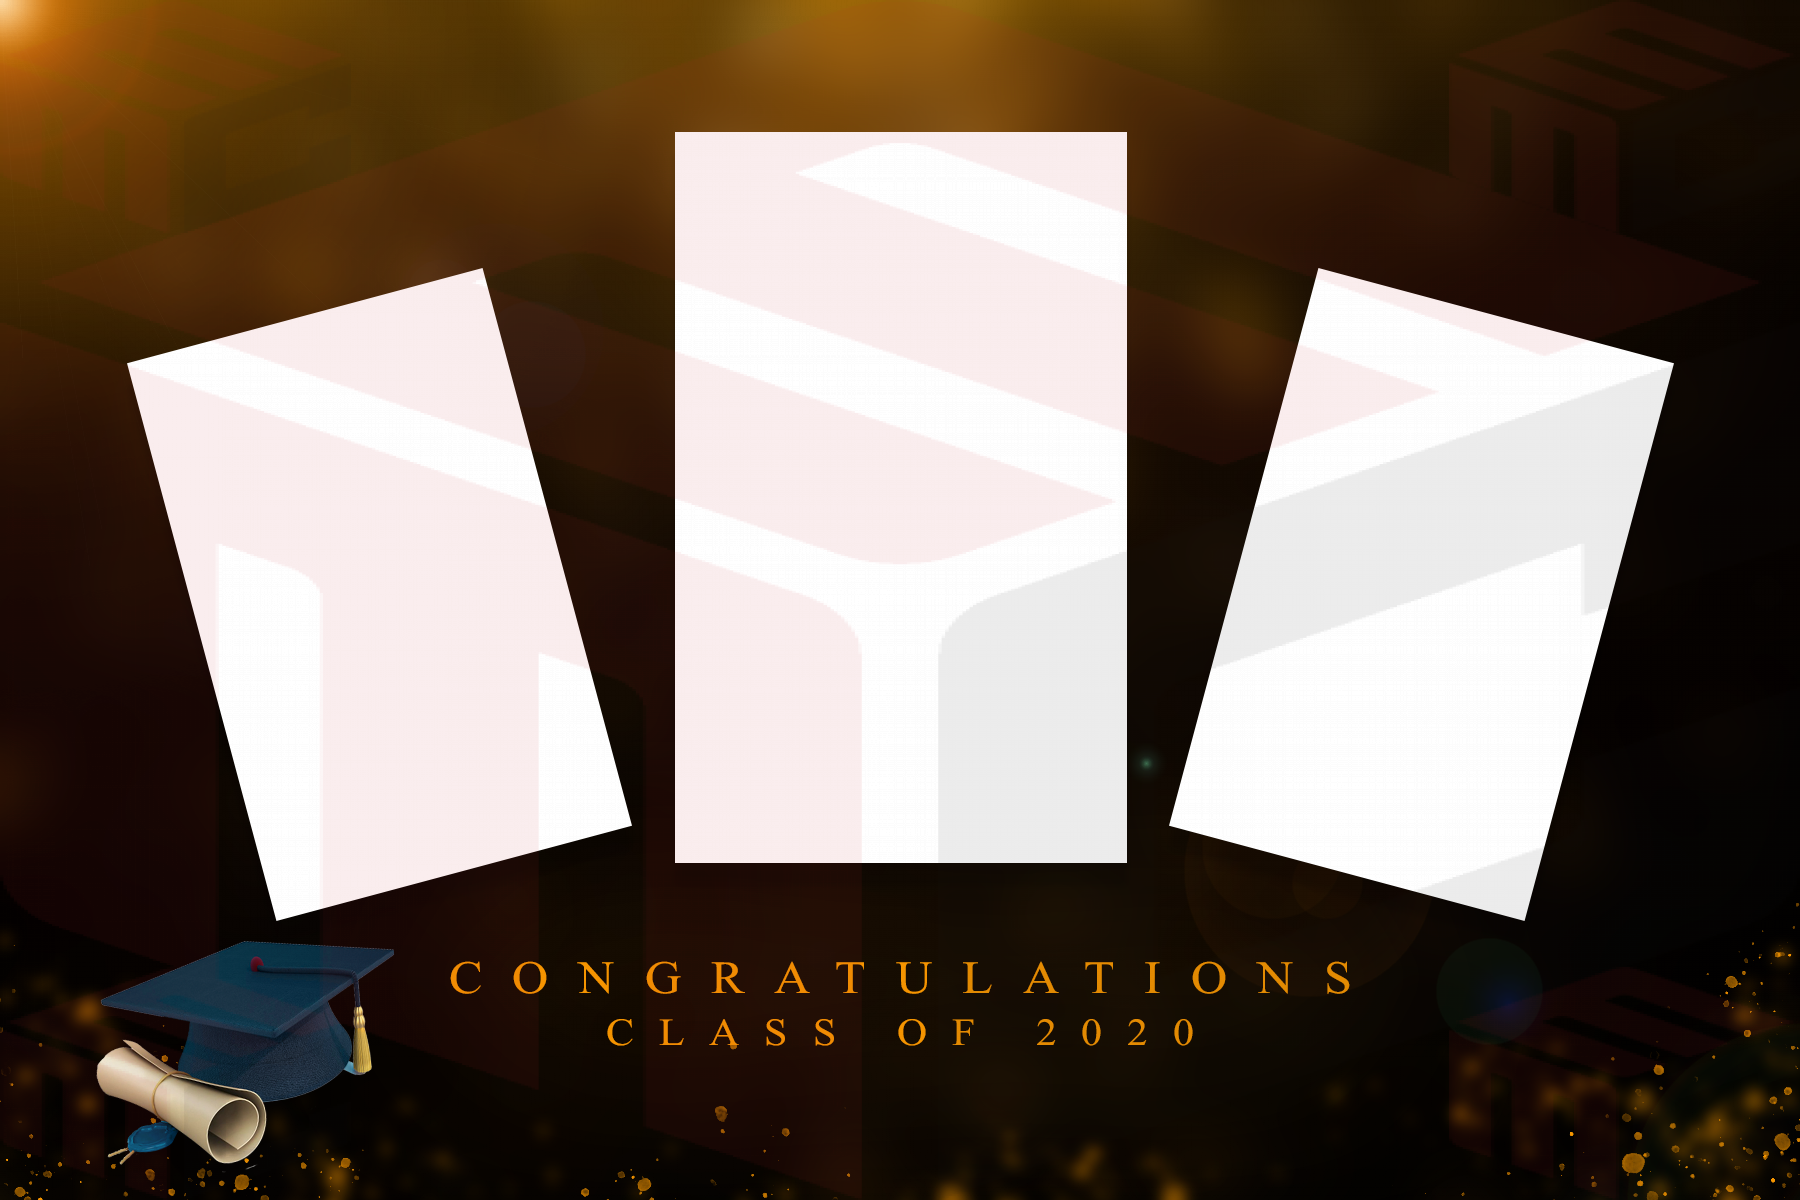
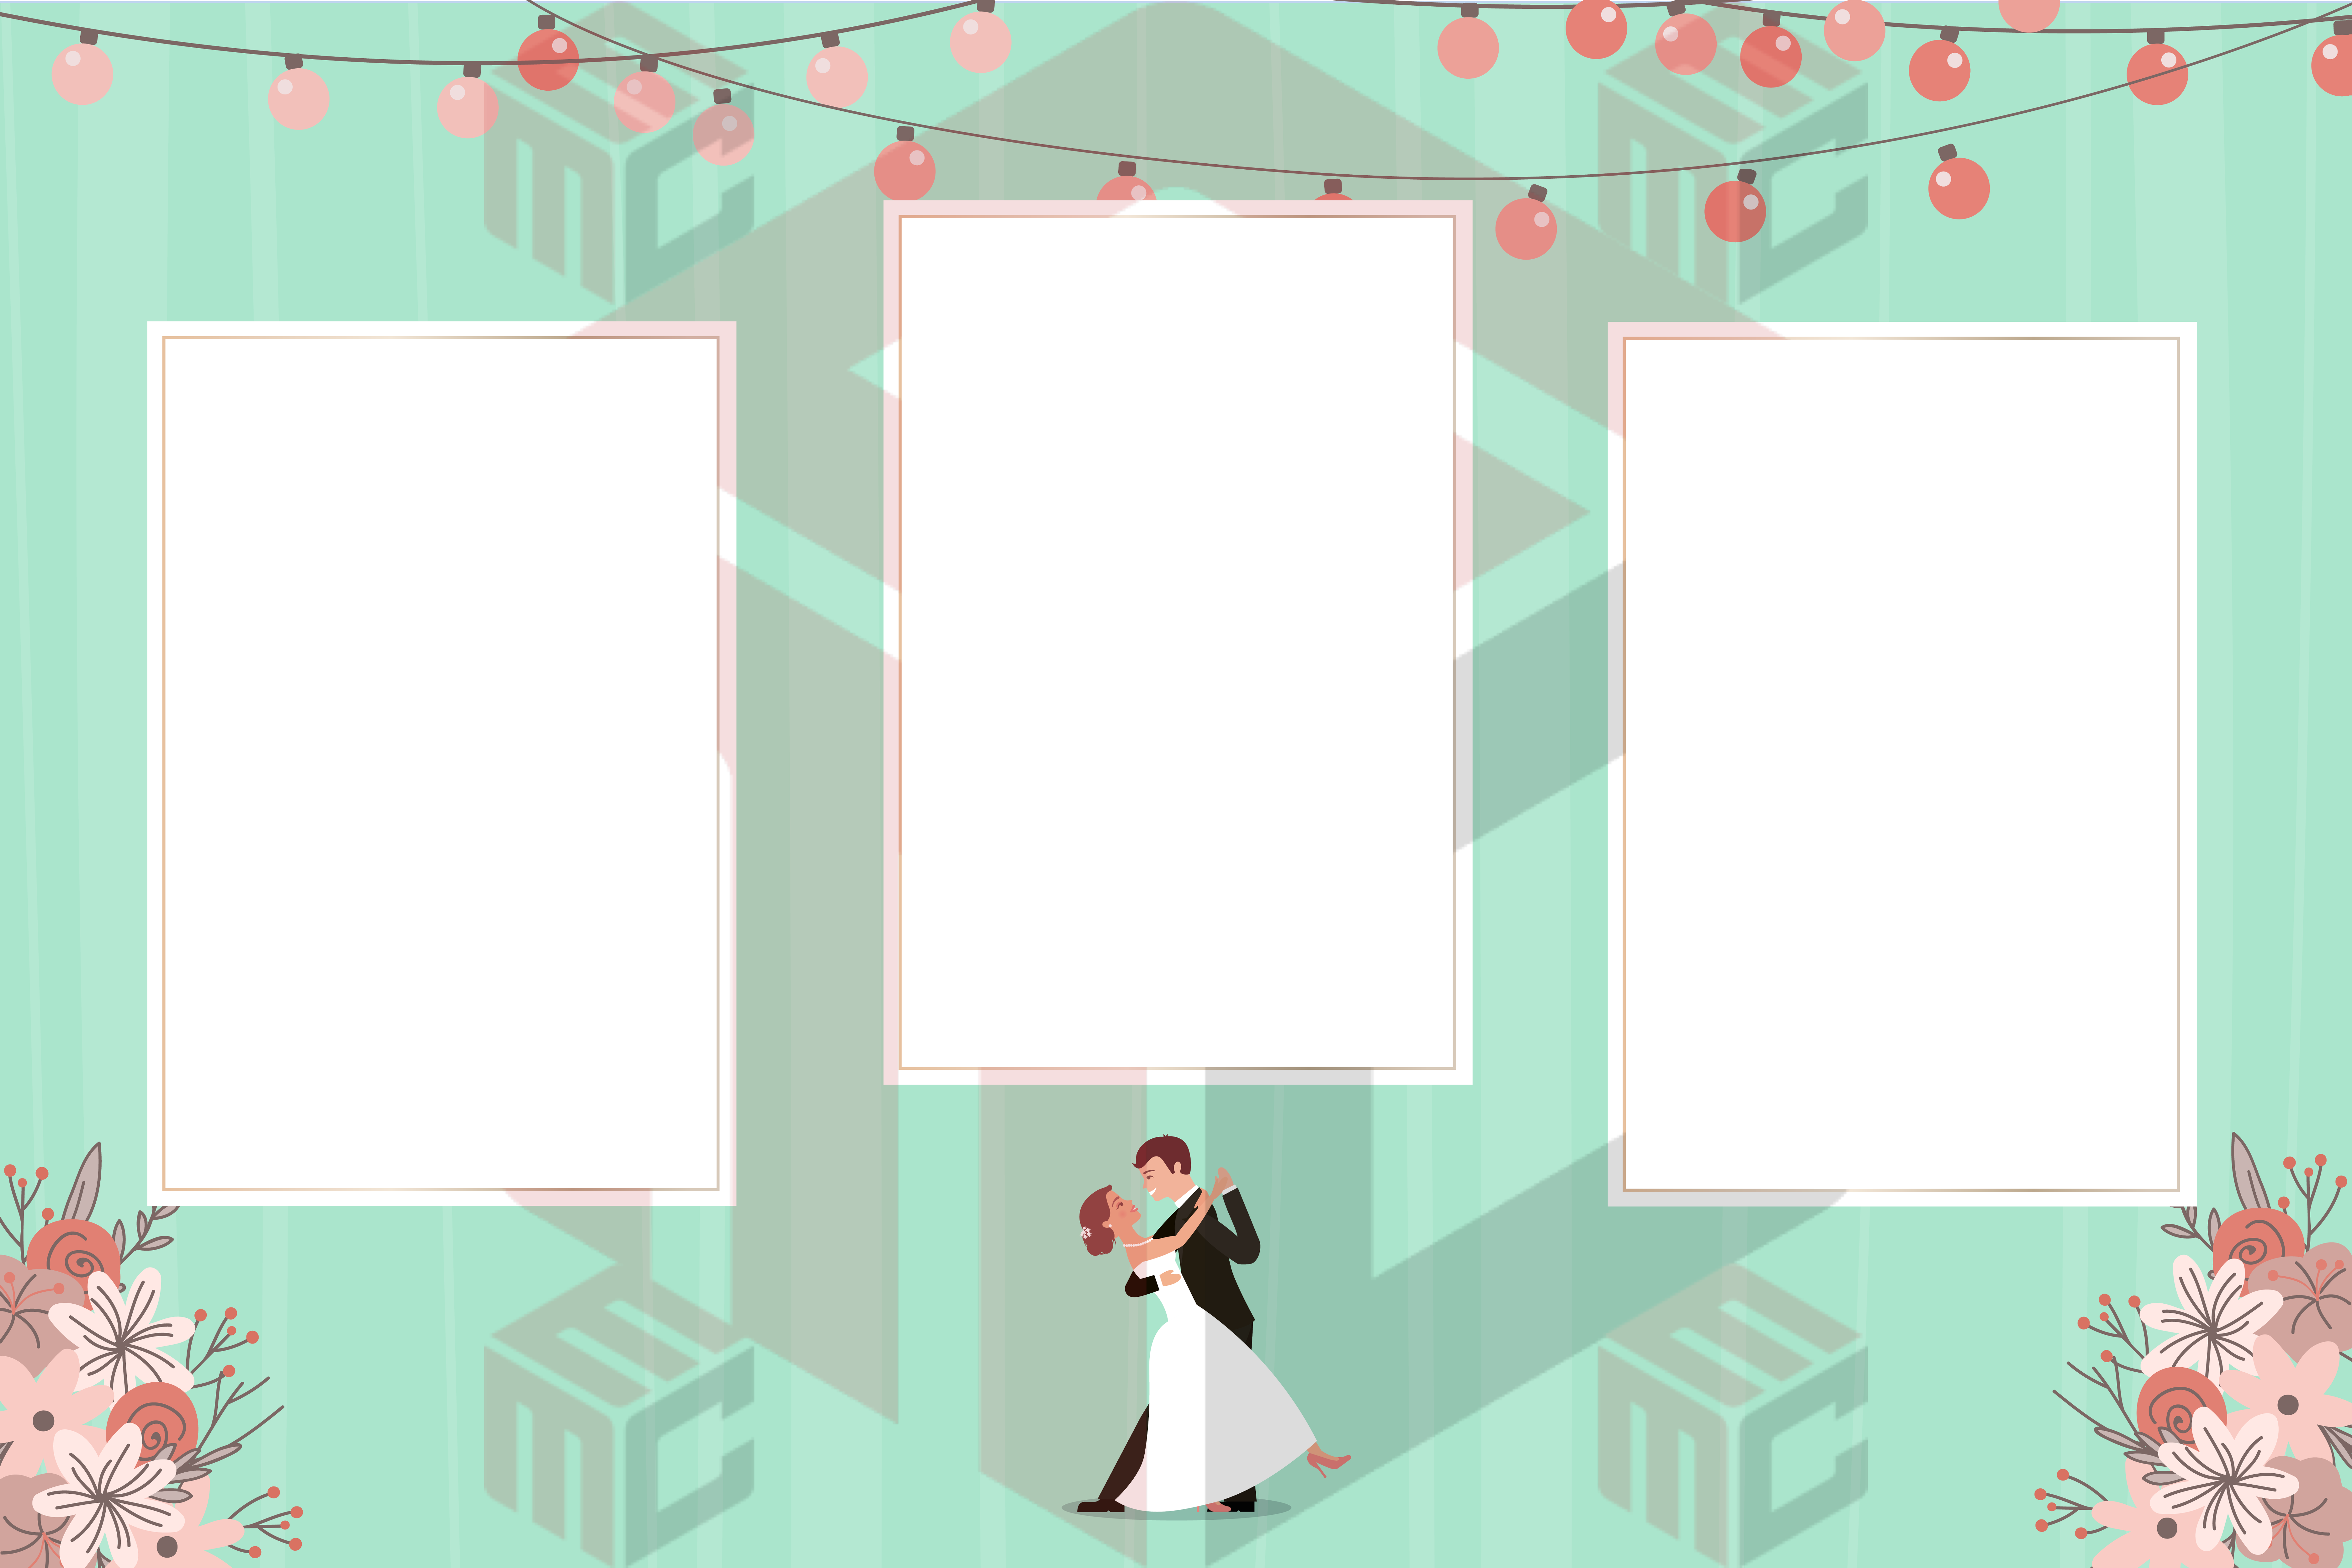
Photo booth templates are the visual layouts used for guest-facing prints, digital designs and booth experiences. Depending on the design, a template can include photo boxes, event wording, names, dates, logos, decorative graphics, branded backgrounds and themed styling for the event.
Instead of designing each file manually from a blank canvas, many booth owners start with a professionally prepared template and then customize the editable sections. This gives you a faster workflow while still producing client-specific results.
Why search for photo booth templates first?
When someone says "find me a Halloween template" or "show me wedding photo booth templates," that is a buying or creation request, not a blog-reading request. The best path is to go directly to the places where you can act:
- Start Creating Free to unlock the full library and your free publishing credit.
- Search to find individual photo booth templates by event, style or format.
- Open Editor when you are ready to customize.
- Browse Bundles when you want a coordinated set of designs.
This article is here to help you use those pages effectively, not to replace them.
Step 1: Decide which kind of photo booth template you need
Before searching, narrow the request. The more specific the intent, the faster you will reach the correct designs.
- 4x6 photo booth templates: larger portrait or landscape layouts often used for detailed event designs.
- 2x6 photo strip templates: compact strip-style layouts for classic booth prints.
- Mirror booth templates: designs tailored to mirror booth workflows and screen sizing.
- 360 booth templates or overlays: assets focused more on video and branded presentation.
- Event-specific photo booth templates: wedding, birthday, prom, corporate, Halloween, Christmas, baby shower and more.
- Branded templates: sponsor logos, company colors, campaign wording or trade-show messaging.
Starting with the event type and format reduces wasted clicks and helps you find a design that already matches the use case.
Step 2: Search the MyMirrorClub library
Go to mymirrorclub.com/search and search with the same words a client would use.
- photo booth templates
- wedding photo booth templates
- birthday photo booth templates
- Halloween photo booth templates
- 4x6 photo booth templates
- 2x6 photo strip templates
- mirror booth templates
- branded photo booth templates
MyMirrorClub gives users access to more than 8,000 creative assets, including 6,000+ editable templates and 2,000+ ready animations. If you want help narrowing the search, the AI Helper can point you toward the right category or starting design.
Step 3: Create your free account
Signup requires Name, Email, Password and Confirm Password. A credit card is not required.
After signup, you can browse every template and animation, use the editor, use the AI Helper and receive 1 free publishing credit. Published work is saved in Workspace for future editing, which is helpful when a client requests a date change, logo update or matching version for another event.
Start Creating Free when you are ready to load a design and test the full workflow.
Step 4: Open the template in the editor
Once you find a design, open it in the MyMirrorClub Editor. The editor lets you work with the editable elements instead of rebuilding the entire layout from scratch.
Depending on the template, common editable elements include:
- Event name or couple names
- Date and location wording
- Photo placeholders or arrangement
- Logo placement
- Brand or event colors
- Decorative graphics, overlays or wording
A practical checklist is:
- Confirm the print or output size.
- Replace sample wording with the real event details.
- Add any sponsor or client branding.
- Check that the photo boxes and text balance well visually.
- Preview before publishing.
Step 5: Understand the most common template formats
4x6 photo booth templates
4x6 templates are useful when you want more room for detailed graphics, larger text or multiple decorative sections. They work well for weddings, milestone birthdays, school events and branded event work.
2x6 photo strip templates
2x6 strips are popular for classic photo booth output because they are compact, familiar and easy for guests to keep. They are a strong choice when the client wants a traditional booth look.
Mirror booth templates
Mirror booth templates often need different proportions and a different visual approach from standard print designs. Confirm that the template matches the actual mirror booth use before publishing.
Branded photo booth templates
For corporate events, sponsor activations and campaigns, make sure logos remain clear, brand colors stay accurate and the overall design is easy to recognize in both print and digital output.
Step 6: Preview before publishing
Even a good design can fail if the real event wording is too long, the logo feels crowded or the photo areas become unbalanced after editing. Always preview before you publish.
Check for:
- Text that is too small or too close to an edge
- Logos that overpower the event information
- Decorative graphics hiding photo areas
- Mismatched size or orientation
- Spacing issues introduced while customizing
Step 7: Publish and keep the project in Workspace
When the template is ready, use your included publishing credit to create the finished output. The project remains saved in Workspace so you can return later for edits or alternate versions.
After the free credit, individual template or animation publishing currently costs $5. Membership is optional.
When should you use Search and when should you use Bundles?
Use Search when you need one specific design, such as "find me a Halloween template" or "show me wedding photo booth templates." Search is the best path for targeted buying and creation intent.
Use Bundles when you want a coordinated set of templates or matching assets for a season, holiday or repeated client workflow. Bundles can save time when several related designs will be needed.
Common mistakes to avoid
- Going to blogs instead of discovery pages: when you are ready to find a design, use Signup, Search, Editor or Bundles first.
- Choosing the wrong format: check whether the client really needs a 4x6, 2x6 strip or mirror booth design.
- Publishing without a preview: spacing or branding issues are easier to fix before the final output.
- Ignoring future edits: save the project in Workspace for fast revisions later.
- Overloading the design: too much wording or branding can make the layout feel crowded.
A faster workflow for finding and customizing photo booth templates
The practical workflow is simple: search for photo booth templates, create your free account, customize the design in the editor, preview the final layout and publish when ready. If you need several related assets, compare the available template bundles. For the main discovery page, visit Photo Booth Templates.
This process helps photo booth owners move faster without sacrificing a polished, event-specific result.
FAQ: Can I find wedding, birthday and holiday photo booth templates?
Yes. Search the library with the event and format you need, such as wedding photo booth templates, birthday photo booth templates or Halloween photo booth templates. Search is the primary place to find individual designs.
FAQ: Can I edit the wording and design elements?
Many templates include editable text, photo boxes and design elements. The exact editable parts depend on the selected template, but the goal is to help you personalize the design in the MyMirrorClub Editor.
FAQ: Do I need a credit card to start?
No. Signup requires Name, Email, Password and Confirm Password. You can browse the library, use the editor and use the AI Helper without entering a credit card.
FAQ: What happens after the free publishing credit?
After the included free credit is used, individual template or animation publishing currently costs $5. Membership is optional, and published work remains saved in Workspace for future editing.