Photo booth overlay size matters because the design has to fit the final output. A beautiful overlay can still fail if the logo covers a face, the border hides important details, or the layout does not match the booth software export.
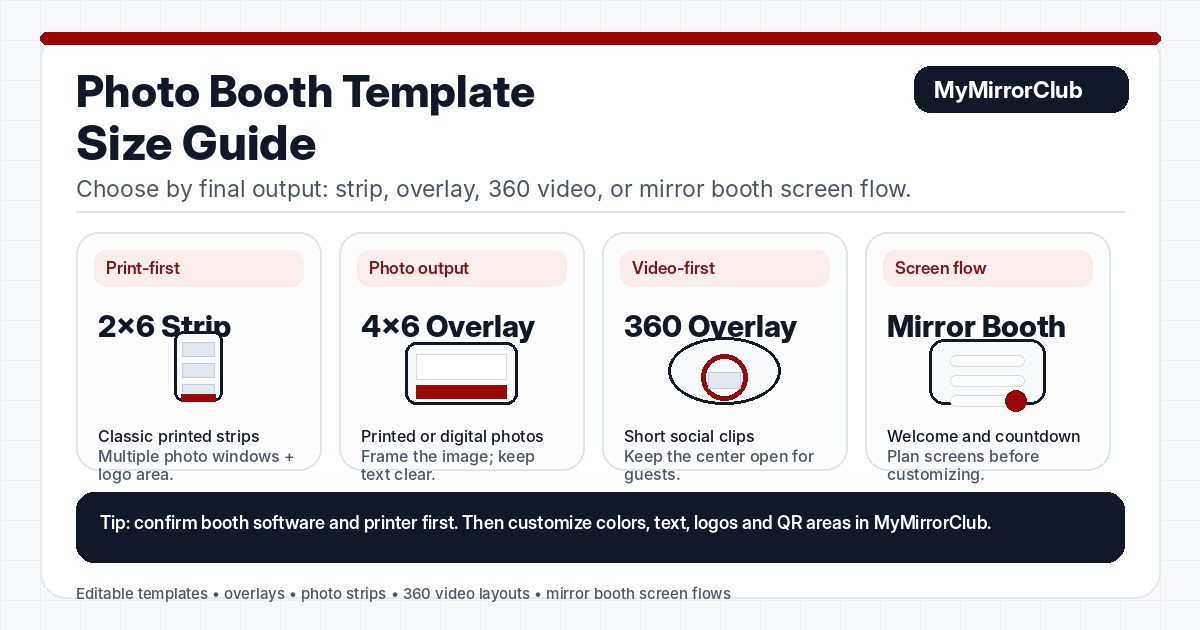
This guide helps photo booth owners think through 4x6 overlays, square social layouts, 360 video overlays, and sharing-first designs. For a broader layout overview, use the complete photo booth template size guide, then browse photo booth overlays when you know the output style.
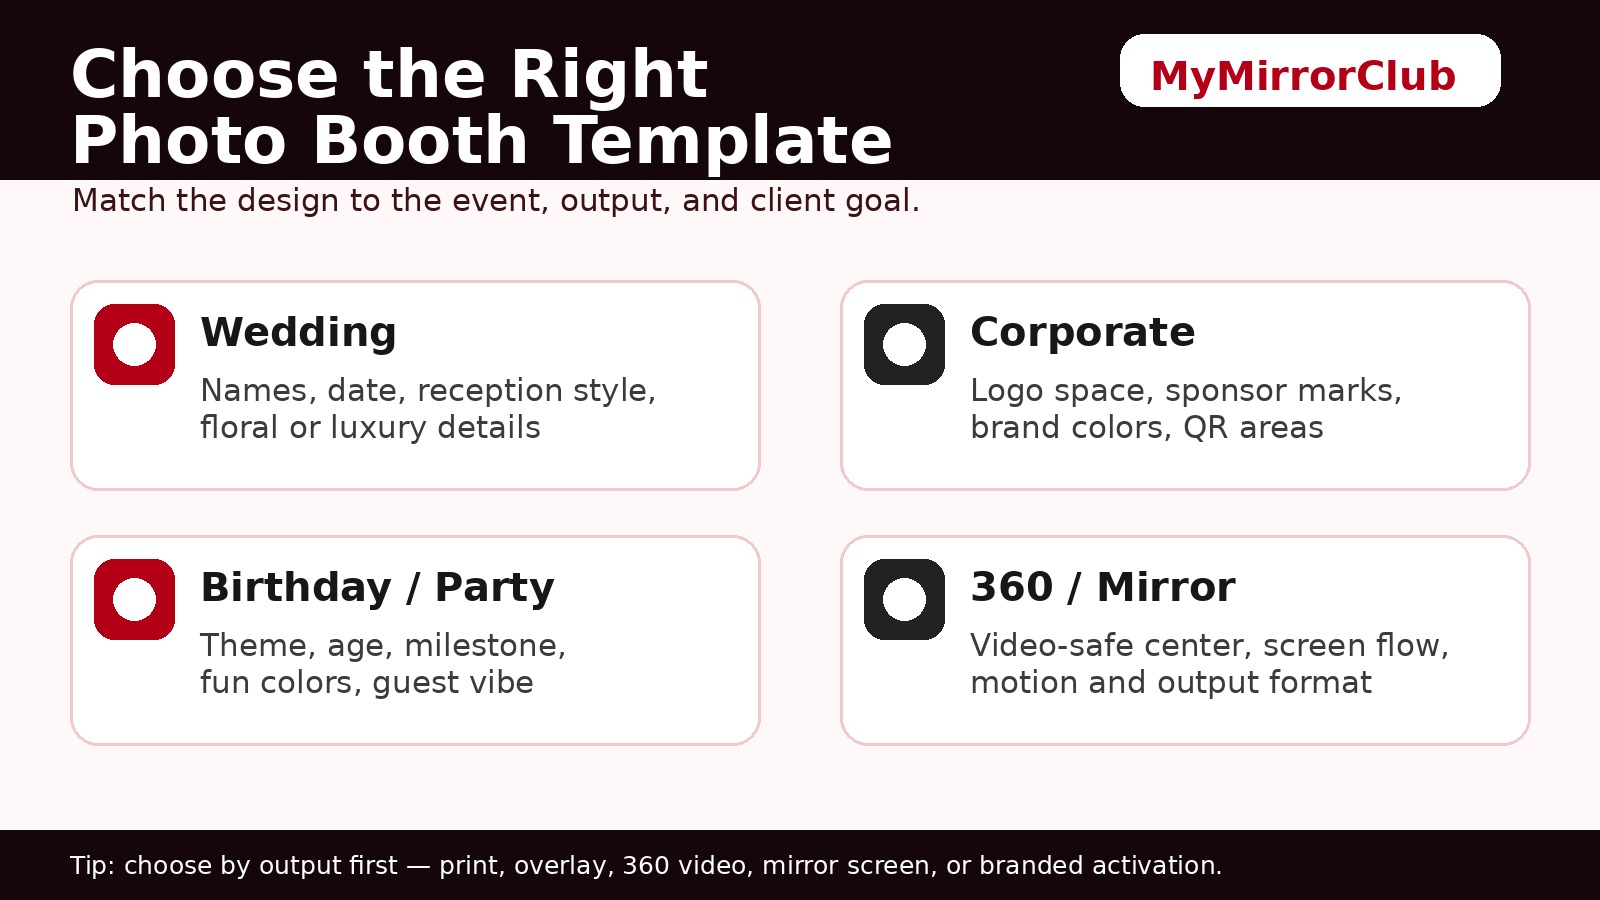
Start with the final guest output
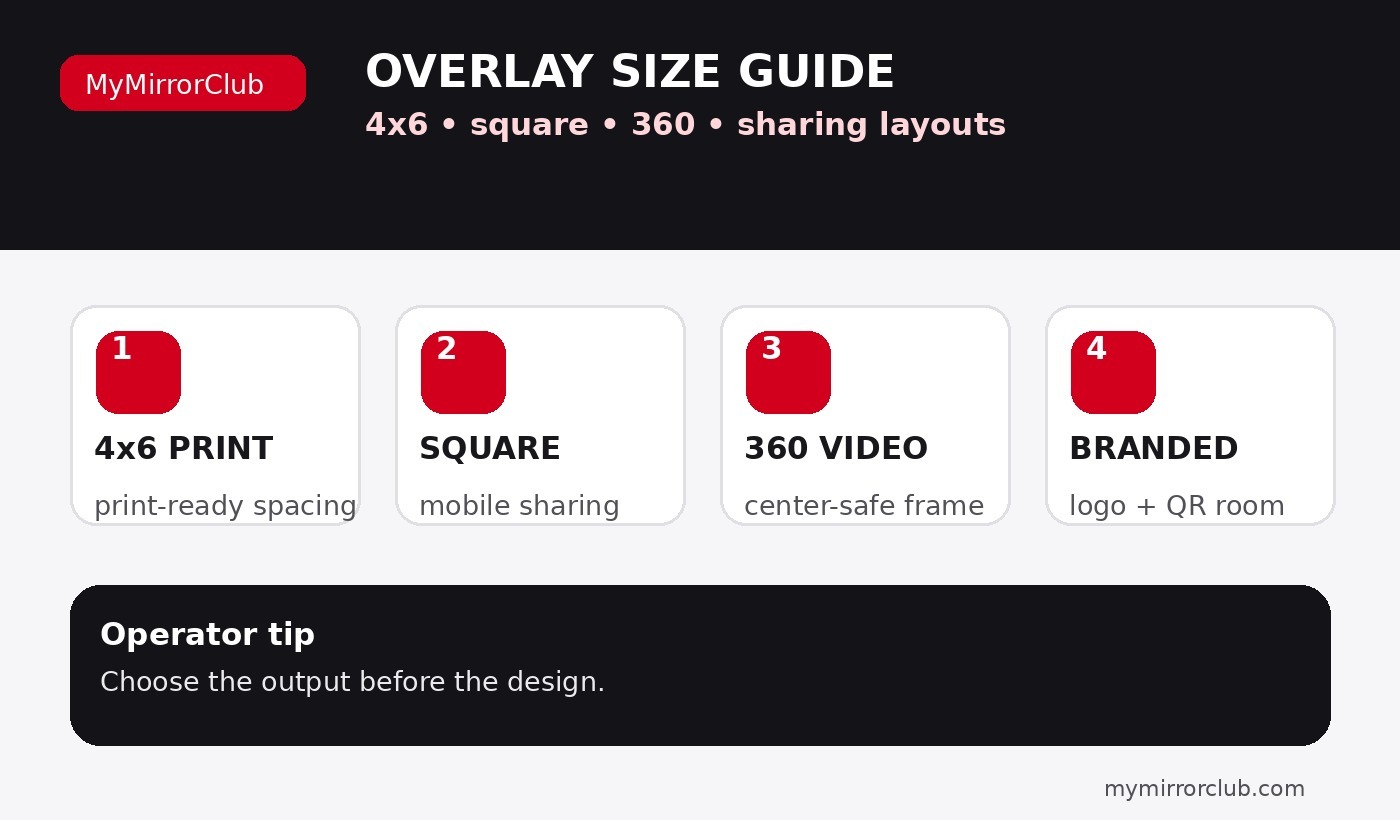
The easiest way to choose an overlay size is to decide what the guest receives. A 4x6 print needs different spacing than a square social post. A 360 overlay needs to protect the moving subject in the center. A branded corporate overlay may need more room for sponsors, campaign names, QR codes, or logo groups.
- 4x6 print overlays: best for classic photo booth printouts and wedding or corporate keepsakes.
- Square overlays: helpful for social sharing and modern digital galleries.
- 360 overlays: built around motion, center-safe space, readable corner logos, and video framing.
- Branded overlays: useful when sponsors, logos, campaign messages, or QR destinations matter.
4x6 overlays: print-first and easy to read
A 4x6 overlay usually works best when the border and event text support the photo instead of taking over the photo. Keep names, dates, hashtags, and logos readable, but avoid crowding the guest faces. Wedding operators can compare wedding photo booth overlays, while business events can use corporate event photo booth overlays.
Square overlays: simple, shareable, and mobile-friendly
Square overlays can work well for digital sharing because they feel natural on phones and social feeds. The design should stay clear at smaller sizes, especially if guests are receiving downloads or texting the image. Use simple typography, strong contrast, and enough empty space around faces.
360 overlays: protect the center of the video
For 360 booth work, the center area is usually the most important safe zone because the guest is moving. Logos and event names should stay in corners, edges, or lower zones that do not cover the person. Start with 360 photo booth overlays or 360 photo booth templates when the final deliverable is video-first.
Photo strips and mirror booth screens are different
Photo strip templates are not just narrow overlays. They are print-first layouts built around vertical spacing and multiple photo slots. Use photo strip templates when the booth prints strips. Mirror booth events may require mirror booth templates and mirror booth animations because the guest experience includes screen prompts, not only final output.
Quick overlay size checklist
- Confirm whether the output is 4x6, square, strip, 360 video, or mirror booth screen.
- Keep faces and bodies clear, especially on 360 and sharing layouts.
- Use larger, simpler logo placement for sponsored events.
- Check readability on a phone, not only on a desktop screen.
- Use editable templates when names, dates, logos, or colors may change before the event.
FAQ: What size should a photo booth overlay be?
The right overlay size depends on the booth output. 4x6 prints, square shares, 360 videos, photo strips, and mirror booth screens each need different layout thinking. Start with the output format, then choose the design.
FAQ: Are 360 overlays the same as photo booth overlays?
No. A 360 overlay is video-first, so it should keep the moving subject visible and avoid heavy center artwork. A standard photo overlay is usually built around a still photo or print layout.
FAQ: Should logo placement change by overlay size?
Yes. Logos need enough room to stay readable. Corporate and branded layouts often need stronger logo zones than wedding or birthday designs, especially when sponsors or QR codes are required.
FAQ: Can I use one overlay for print and sharing?
Sometimes, but it is better to confirm the final output first. A print-first design may not read well on a phone, and a social-first design may not match a printer layout.