Creating a photo booth template or animation should feel like building, not hunting through controls. The MyMirrorClub editor has received a major workflow cleanup designed to keep the tools you need visible, reduce unnecessary clicks, and make it easier to move from a blank canvas to a finished design.
The improvements completed through editor version V9.3A6 bring Layers, the canvas, editing controls, image libraries, animation playback, filter tools, and project setup into a cleaner three-part workspace. The result is a faster workflow for photo booth templates, mirror booth screens, video overlays, and animated event graphics.
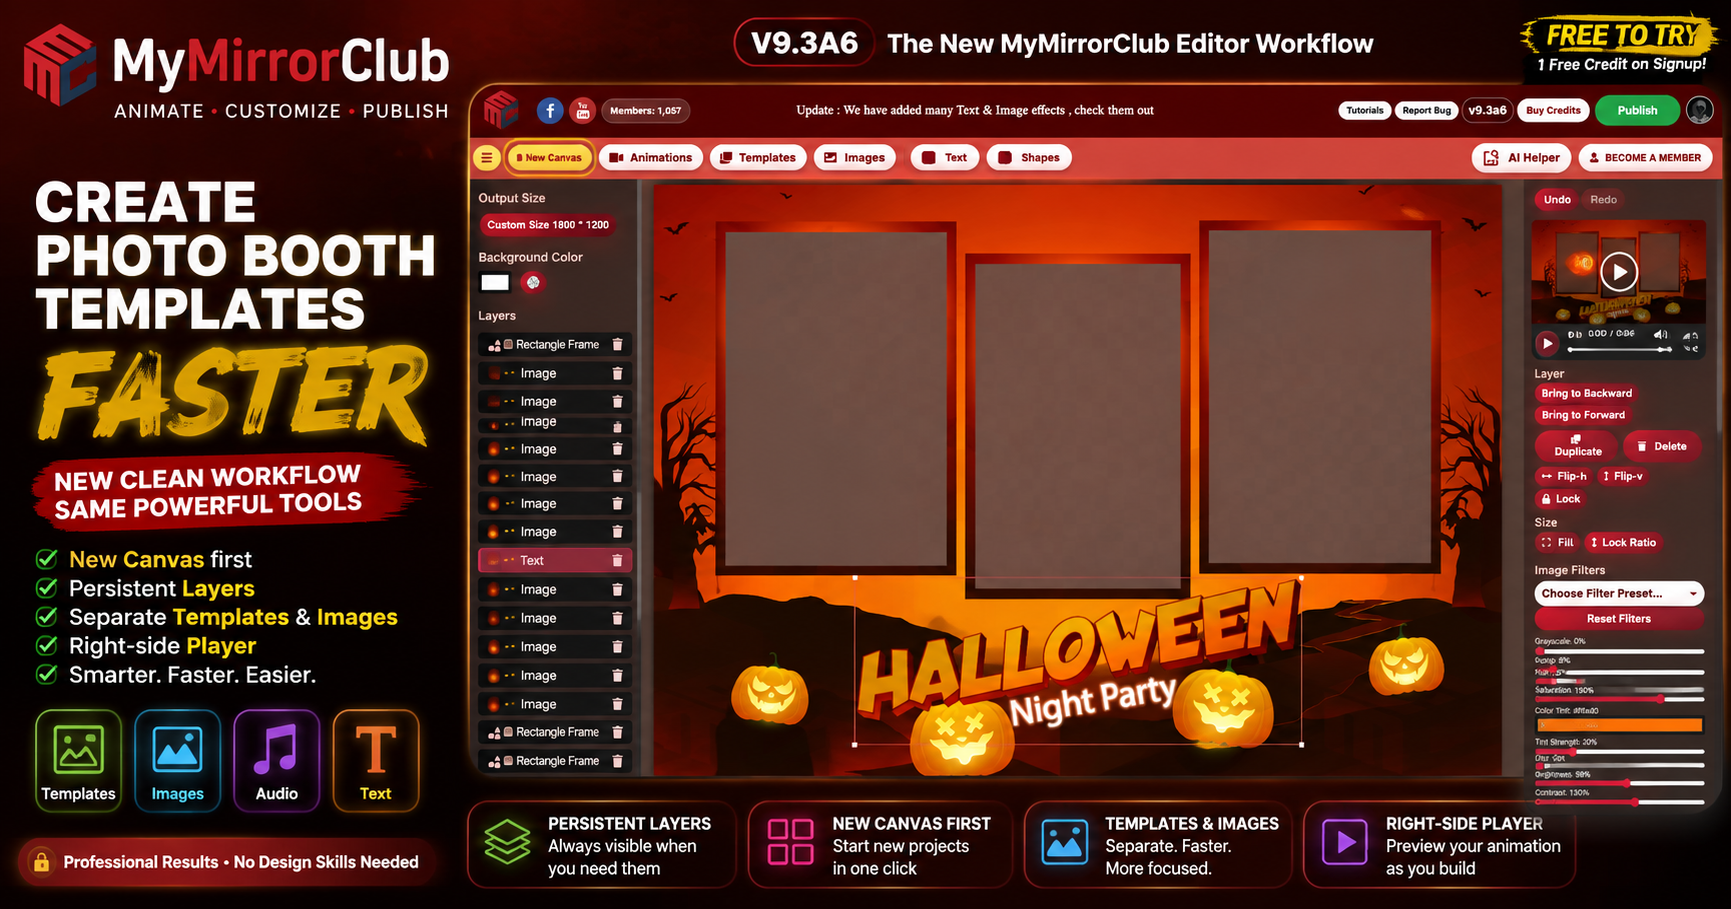
A workspace that stays focused on the design
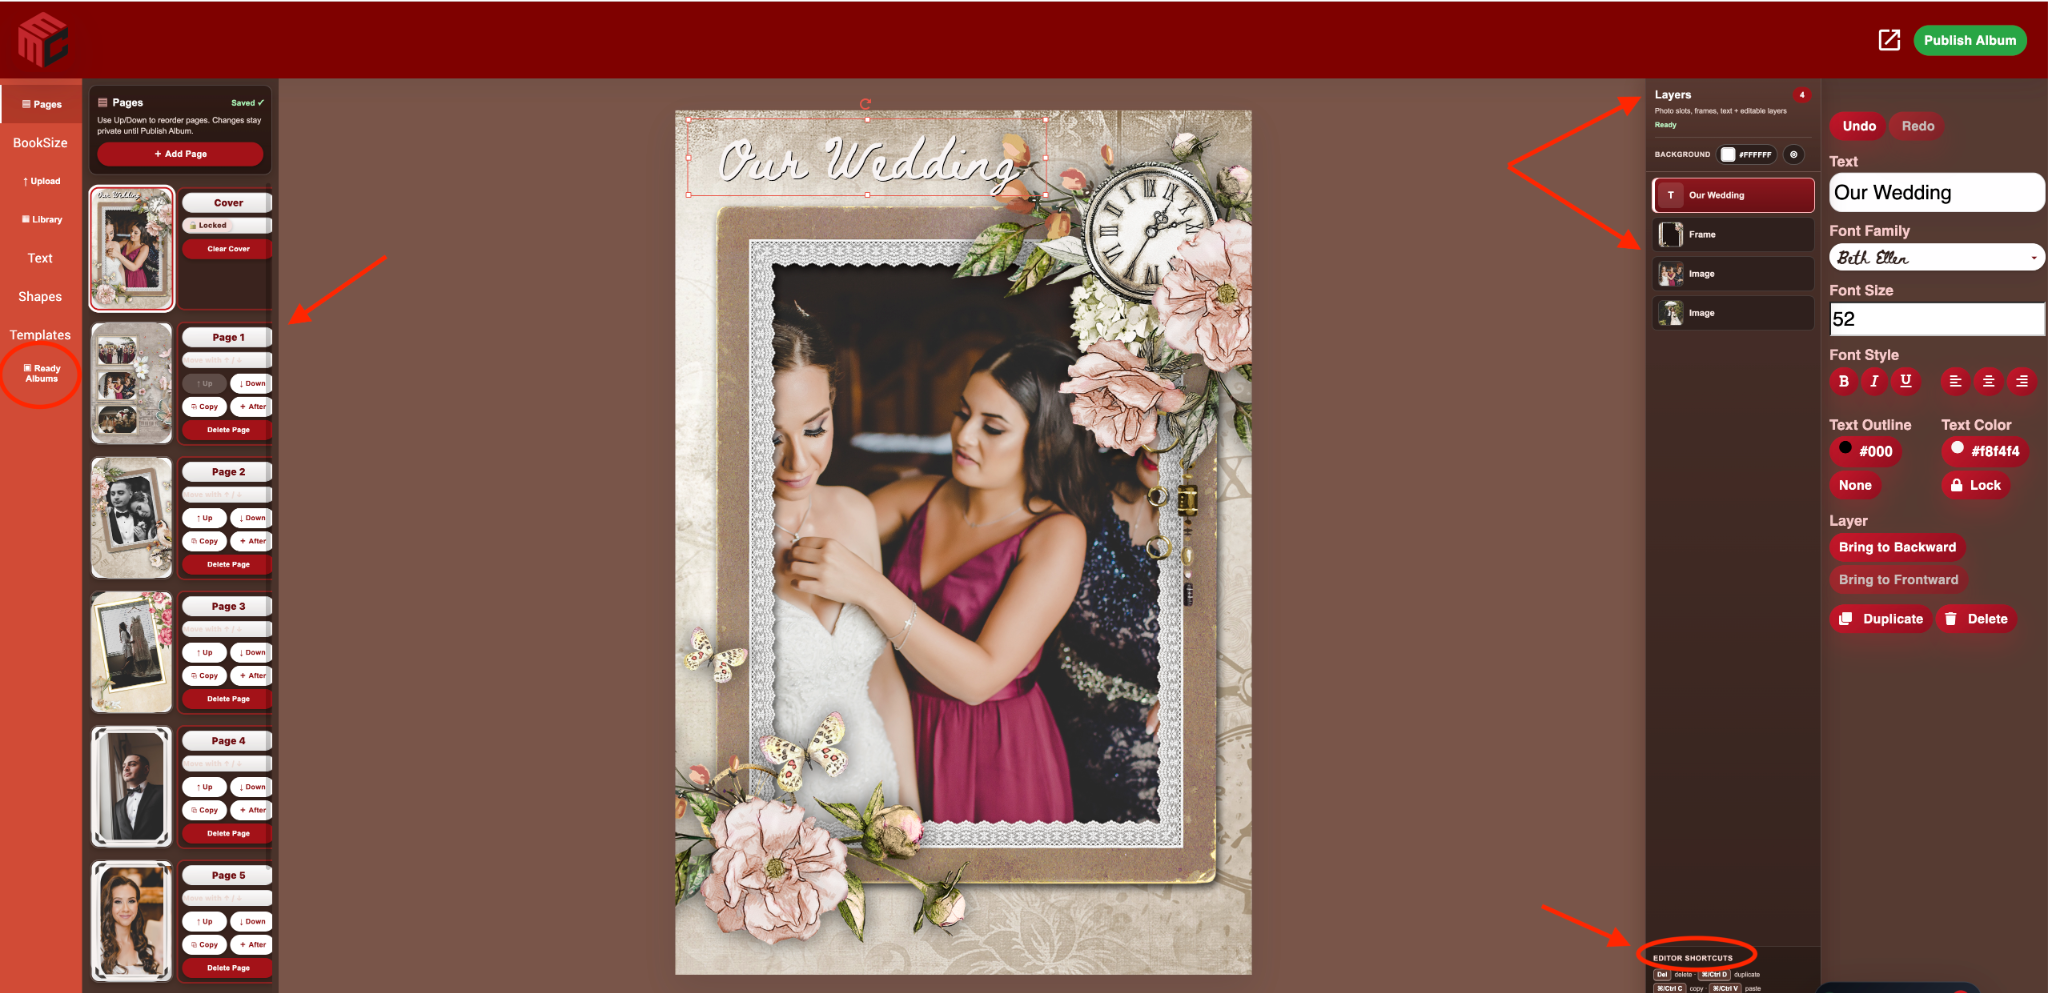
The editor now follows a clearer layout:
- Left: Layers or the asset browser you intentionally opened.
- Center: The active template or animation canvas.
- Right: Properties for the selected image, text, or shape, plus playback controls when the project contains animation timing, video, or audio.
Previously, users could lose the Layers view while moving through different tools. Layers are now persistent whenever a project contains editable elements. Select a text layer, image, shape, photo frame, or decoration and its controls open on the right without making the layer list disappear.
This is especially helpful on multi-layer projects where names, dates, frames, decorative PNG files, backgrounds, logos, and photo openings all need to remain easy to identify and select.
New Canvas is now the first toolbar action
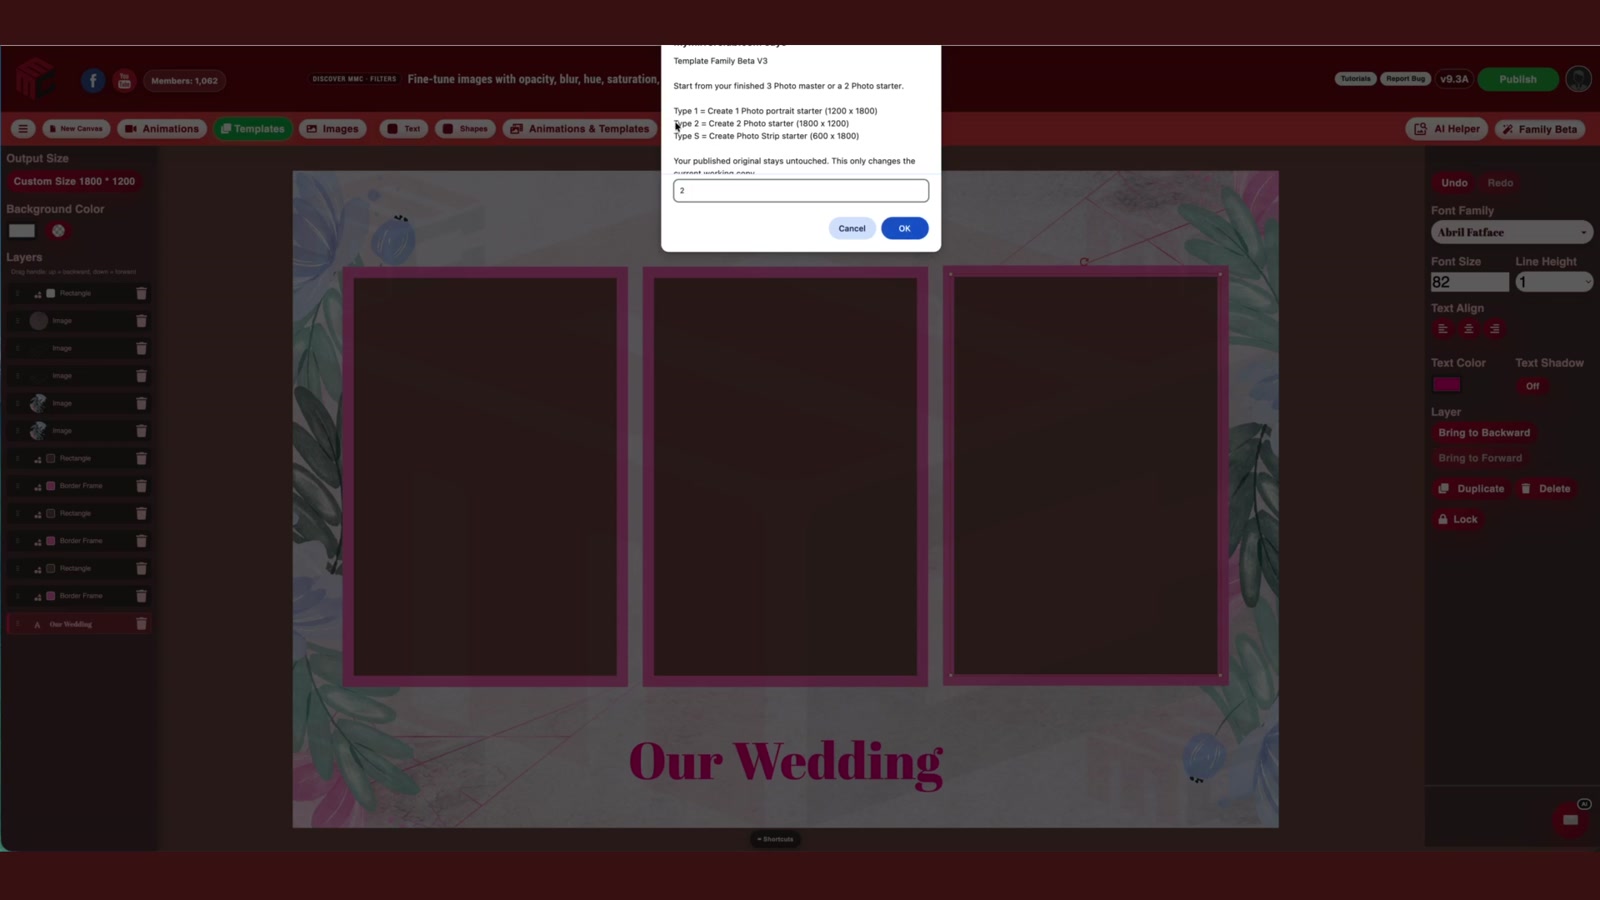
The main editor toolbar now begins with New Canvas. It sits immediately before Animations, Templates, and Images, making the starting point easy to find whether you are creating a static design or a motion project.
New Canvas opens the existing project setup window with two choices:
- New Template for a static photo booth layout.
- New Animation for a timed animation, video, or audio project.
The same project dimensions and animation-duration controls remain available. The change is about speed and clarity: starting a new design no longer requires searching near unrelated account or AI actions.
Templates and Images are now separate tools
The older combined Templates and Images workflow has been divided into two clear buttons.
Templates
Templates opens the normal template library so you can choose a ready-made starting point for a wedding, birthday, corporate event, school event, holiday, or other photo booth job.
Images
Images opens directly to Browse Extra Images, giving immediate access to hundreds of decorative graphics. When an image is added, the left side returns to Layers automatically so you can continue editing instead of manually closing the library.
The active asset button remains green while its browser is open. That visual state is preserved for Animations, Templates, Images, and Audio, making it easier to understand which library is currently active.
Searchable libraries replace oversized menus
Templates, Images, and Animations now use compact red-and-white library pickers with search. Long category names no longer create large multi-line rows that take over the screen. The menus are smaller, cleaner, and easier to scan while still allowing the full wording to be seen when needed.
For operators with a large asset library, search can remove several steps from every project. Instead of opening category after category, enter the event, style, object, or theme you need and move directly to a useful starting point.
Layer names and thumbnails now provide better visual clues
A large project is easier to manage when each layer explains what it is. The editor now improves layer identification in several ways:
- Text layer names update while you type.
- Text names can reflect the saved font family, bold styling, and italic styling.
- Shape layers use useful names such as Rectangle, Circle, and Border Frame.
- Shape layers display color swatches.
- Image layers retain recognizable thumbnails.
- Filtered image thumbnails update live.
- The selected layer receives clearer highlighting.
These details reduce trial-and-error clicking. A user can look at Layers and quickly distinguish the title text from a date, a border from a filled rectangle, or a filtered decoration from the original image.
Reset Filters and reusable Filter Presets
Image editing now includes a complete Reset Filters action. It restores grayscale, sepia, hue, saturation, tint strength, blur, brightness, and contrast to their original values as one meaningful Undo step.
Filter Presets provide ready-made looks including:
- Original
- Black & White
- Vintage
- Warm
- Cool
- High Contrast
- Soft Fade
- Gold Tint
- Red Brand Tint
- Halloween
The preset menu matches the modern MyMirrorClub picker style, and the layer thumbnail reflects the selected look immediately. Reset Filters and each preset are recorded as one Undo/Redo action rather than a long series of separate slider changes.
A cleaner toolbar keeps creation tools together
Blogs, Tutorials, and Report Bug no longer compete with the main editing controls.
- Blogs moved into the hamburger Menu.
- Tutorials moved beside the version badge.
- Report Bug moved beside the version badge.
The creation toolbar is now focused on the job:
New Canvas | Animations | Templates | Images | Audio when applicable | Text | Shapes | Timelines when applicable
Labels were also shortened from Add Animations and Add Audio to the simpler Animations and Audio. Text and Shapes remain separate one-click creation tools.
Audio appears only when the project needs it
A static photo booth template does not need an Audio button taking up space. Audio is now hidden for static templates and shown only when the project has animation timing, video, or audio.
For an animation project, the toolbar can include Audio and Timelines. For a normal static template, those timing-specific tools stay out of the way. This keeps the workspace relevant to the type of design currently being created.
New Animation opens the image library automatically
After creating a New Animation, the editor now opens Images directly at Browse Extra Images and highlights the Images button in green. This gives the user an immediate next step instead of opening a blank project and waiting for another choice.
New Template keeps the established template-library workflow. Each project type now opens the most useful starting area for that kind of work.
The right-side player stays visible
When a project contains animation timing, video, or audio, the right side keeps one persistent player visible even when no layer is selected. It includes:
- Play and Stop controls
- Current time and total time
- A timeline scrubber
This removes the need to select an unrelated layer simply to preview the project. The duplicate player that previously appeared on the left was removed, leaving one consistent playback location.
Choose what happens when the first image or video is added
When the first image or video is added to a blank New Template or New Animation, the editor now asks how the media should relate to the canvas.
Keep Canvas - recommended
Keeps the canvas size you selected, fits and centers the media inside it, preserves the chosen output resolution, and leaves the new layer editable.
Match Media Size
Changes the canvas to the original media dimensions and uses the original automatic first-layer behavior, including locking that first layer as the background.
Cancel
Removes the media and leaves the canvas unchanged.
This choice is important for photo booth work. A 4x6 template, 2x6 strip, 1920x1080 animation, vertical screen, or custom booth resolution should not be resized accidentally just because the first uploaded graphic has different dimensions.
Undo restores the correct starting workflow
The first media action is treated as one history transaction. One Undo removes the first layer and returns the original empty canvas dimensions. One Redo restores the layer and the chosen canvas behavior.
After undoing the first layer, a New Animation returns to Images and Browse Extra Images. A New Template returns to Templates. The editor remembers what kind of project you created and restores the correct next step.
Fewer clicks from idea to finished design
The individual improvements work together:
- Start a new canvas from the first button.
- Open the library that matches the project type.
- Search instead of navigating oversized menus.
- Add an asset and return automatically to Layers.
- Identify layers by name, font, shape, color, or thumbnail.
- Edit properties on the right without losing Layers.
- Preview animation timing without selecting a layer.
- Apply a filter preset or reset the complete look in one Undo step.
The goal is not to remove creative control. It is to keep that control organized so photo booth owners can finish client work faster.
FREE TO TRY with one free publishing credit
MyMirrorClub is free to try. New members receive one free publishing credit after signup, making it possible to explore the editor, customize a project, and test the publishing workflow.
Create your free account, open the MyMirrorClub Editor, explore ready-made assets through Search, browse photo booth templates and photo booth animations, or compare ready-made asset collections in Bundles.
FAQ: Can I use the editor for both templates and animations?
Yes. New Template creates a static design workflow, while New Animation creates a timed project workflow with animation-related tools such as Audio, Timelines, and the persistent player when applicable.
FAQ: Does adding the first image change my canvas size automatically?
Not unless you choose Match Media Size. Keep Canvas preserves the dimensions and output resolution you selected, fits the media inside the canvas, and leaves the layer editable.
FAQ: Are Layers always visible?
Layers remain available on the left while editing a project. Opening Templates, Images, Animations, or Audio temporarily replaces Layers with that asset browser. After an item is added, the left side returns to Layers.
FAQ: Is Audio shown on static photo booth templates?
No. Audio is hidden for static templates and appears when the project contains animation timing, video, or audio.
FAQ: Is MyMirrorClub free to try?
Yes. New members can sign up and receive one free publishing credit to test the creation and publishing workflow.