A photo booth template is more than a decorative frame. It determines how many photos appear, where the event name sits, and what guests will take home. Before choosing a design, decide what the booth is actually producing: a portrait, a landscape print or a narrow photo strip. Then match the layout to the event, not the other way around.
Start with the finished print
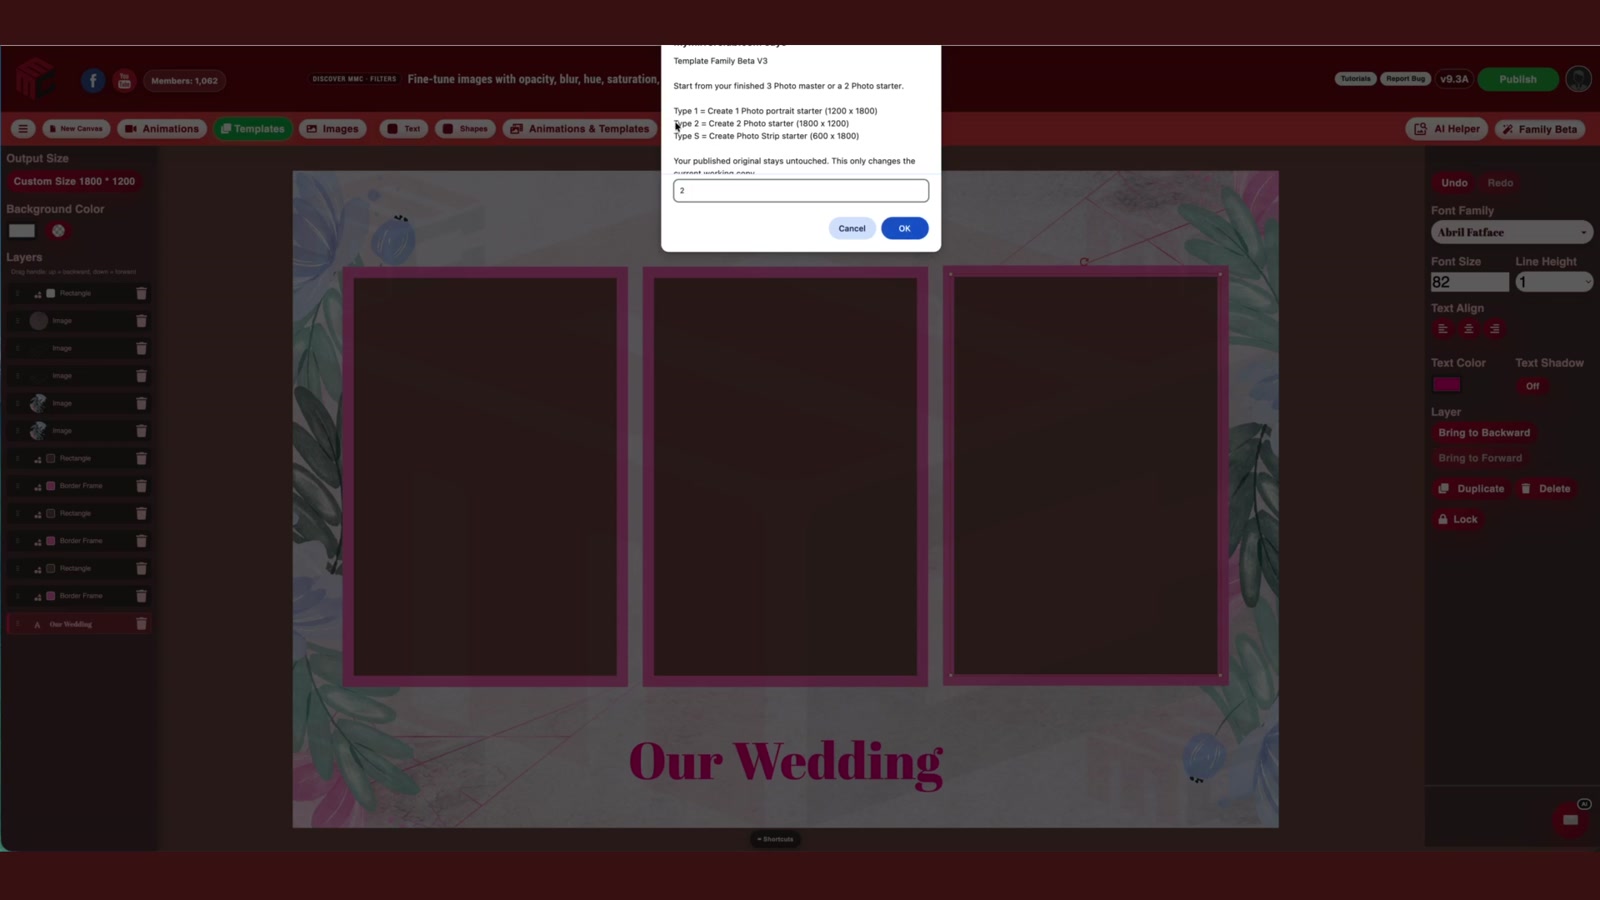
Ask the booth operator which print format and photo count the event requires. A compact strip can work well when guests expect a sequence of poses; a larger landscape print leaves room for bigger images, a sponsor logo or a longer caption. A vertical portrait offers a different composition, especially for a single large photograph. Choose a format supported by the booth's actual output settings, then select a template with the same orientation and photo-opening arrangement.
Look at the physical result, not just the thumbnail. Leave important text and faces comfortably inside the final print area. Check whether a camera crops the source image differently from the blank opening shown in the design, and make a test print before the first guest arrives.
Choose a design that fits the event
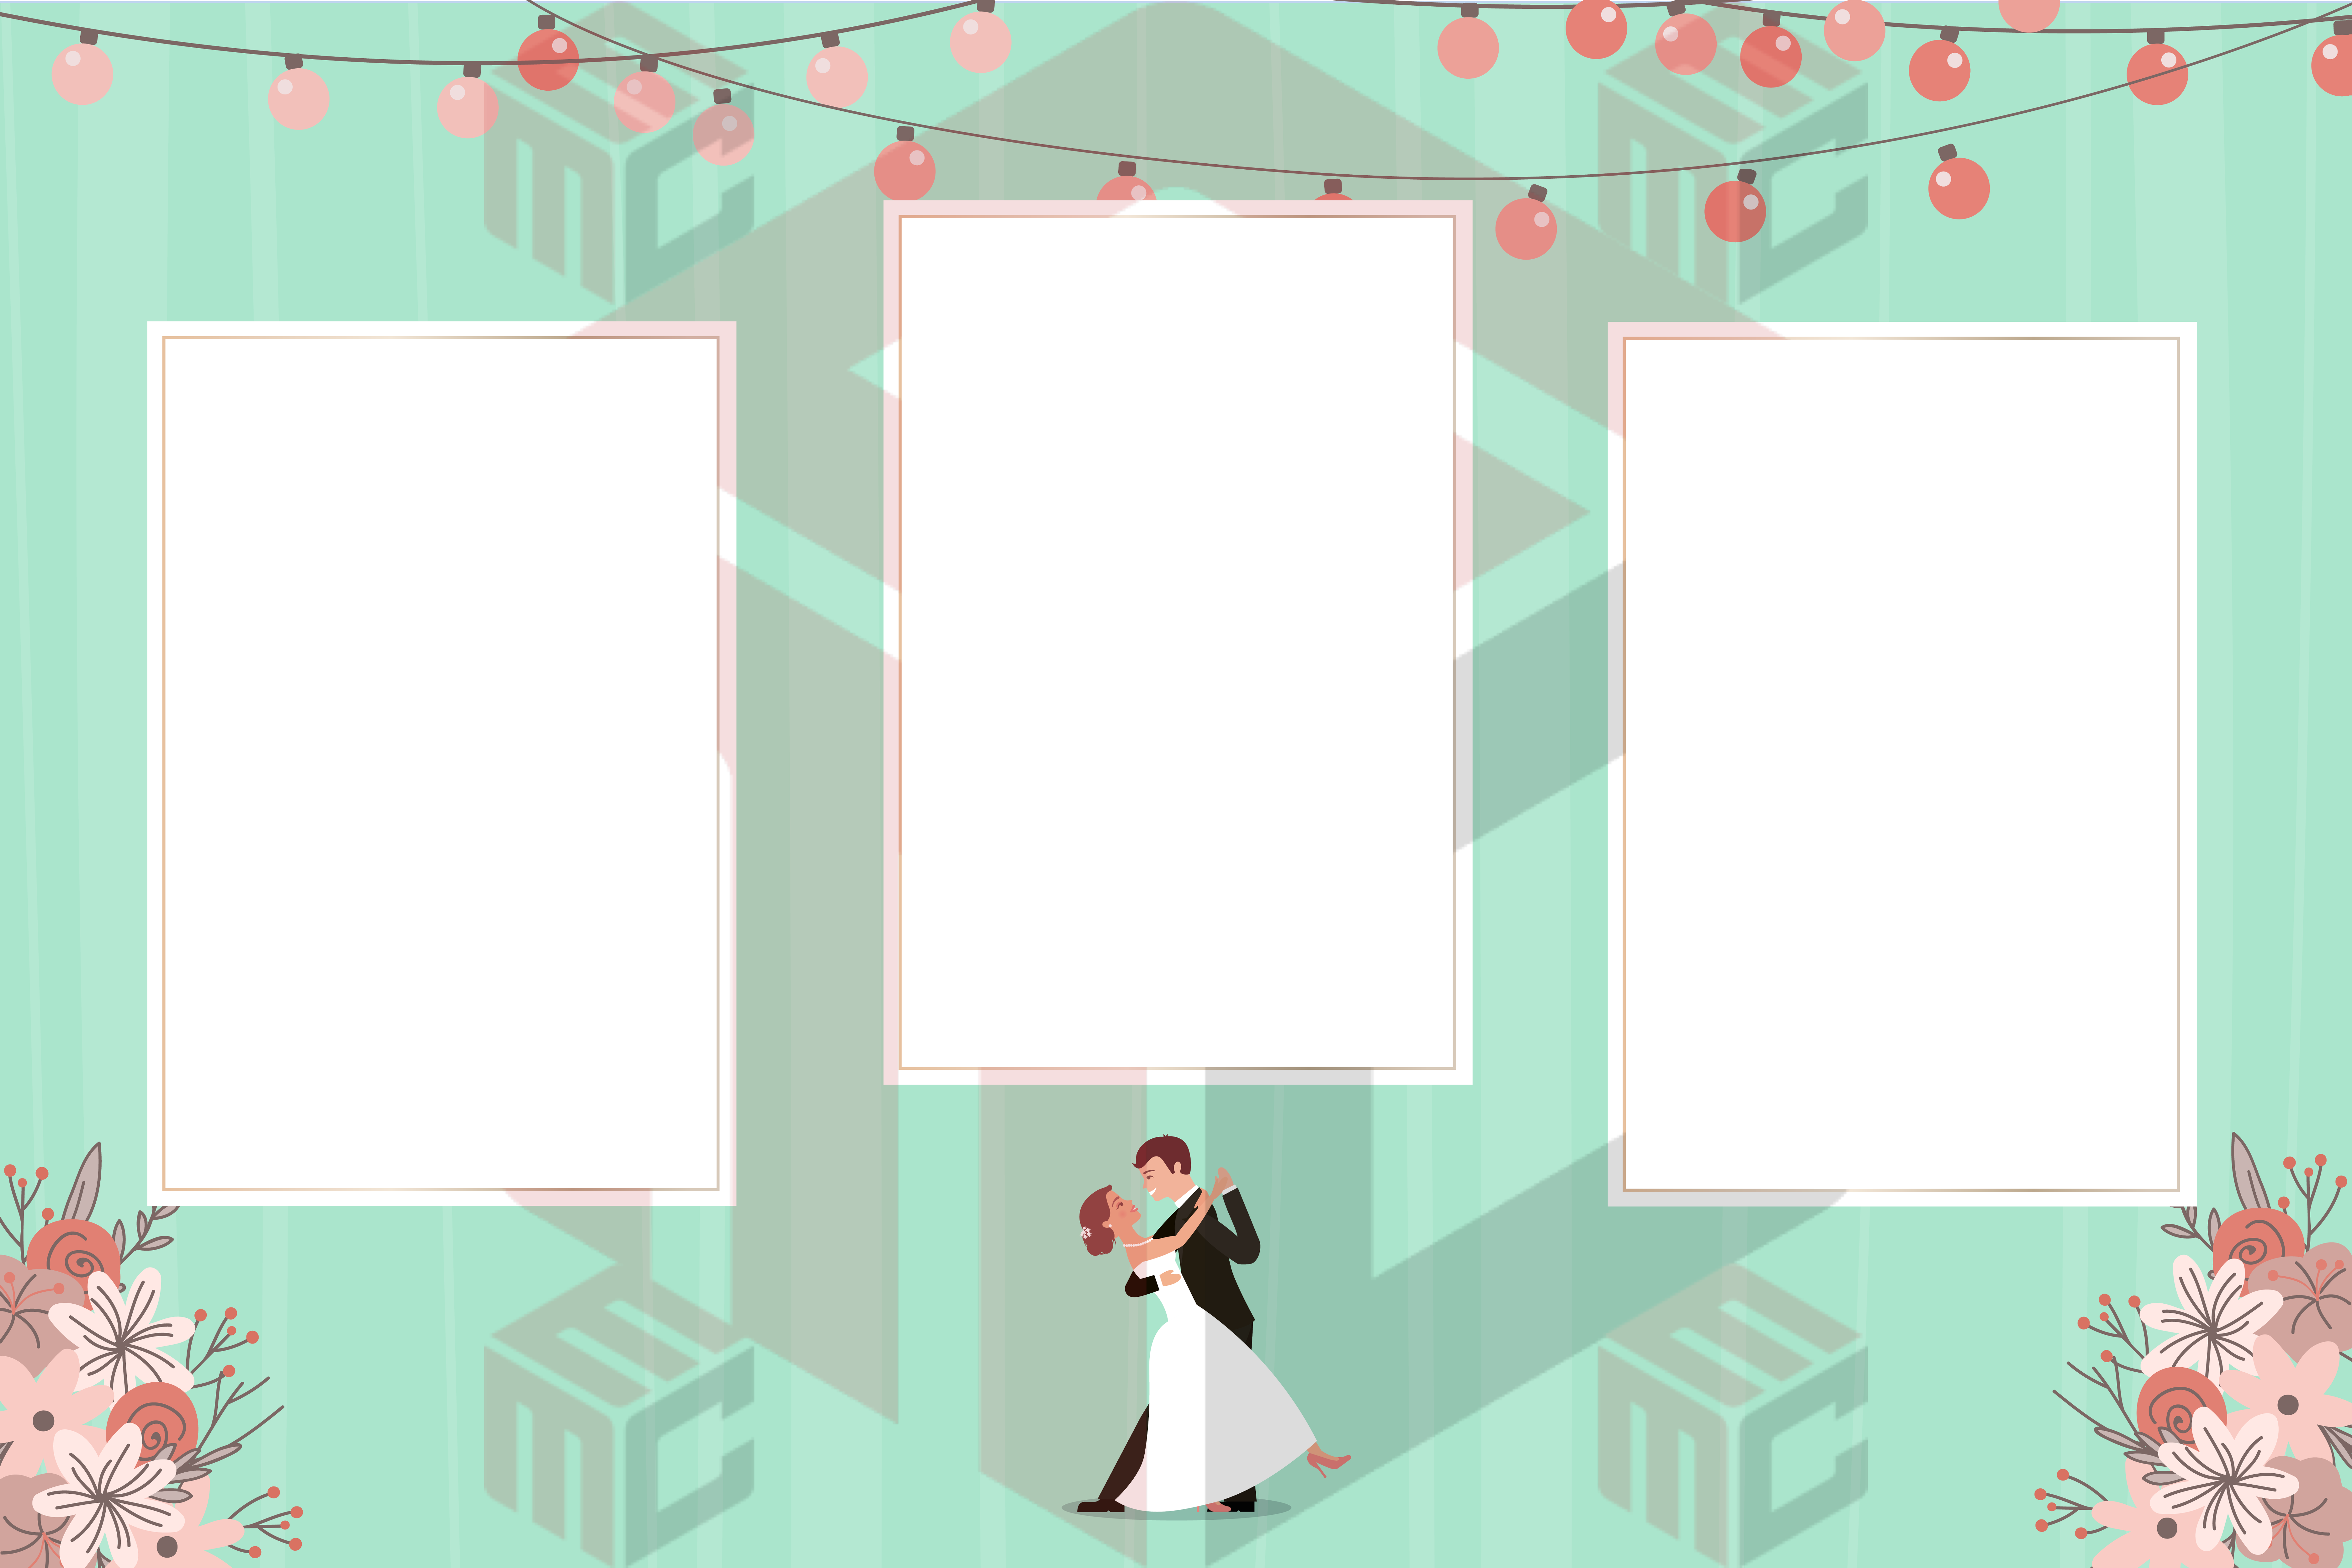
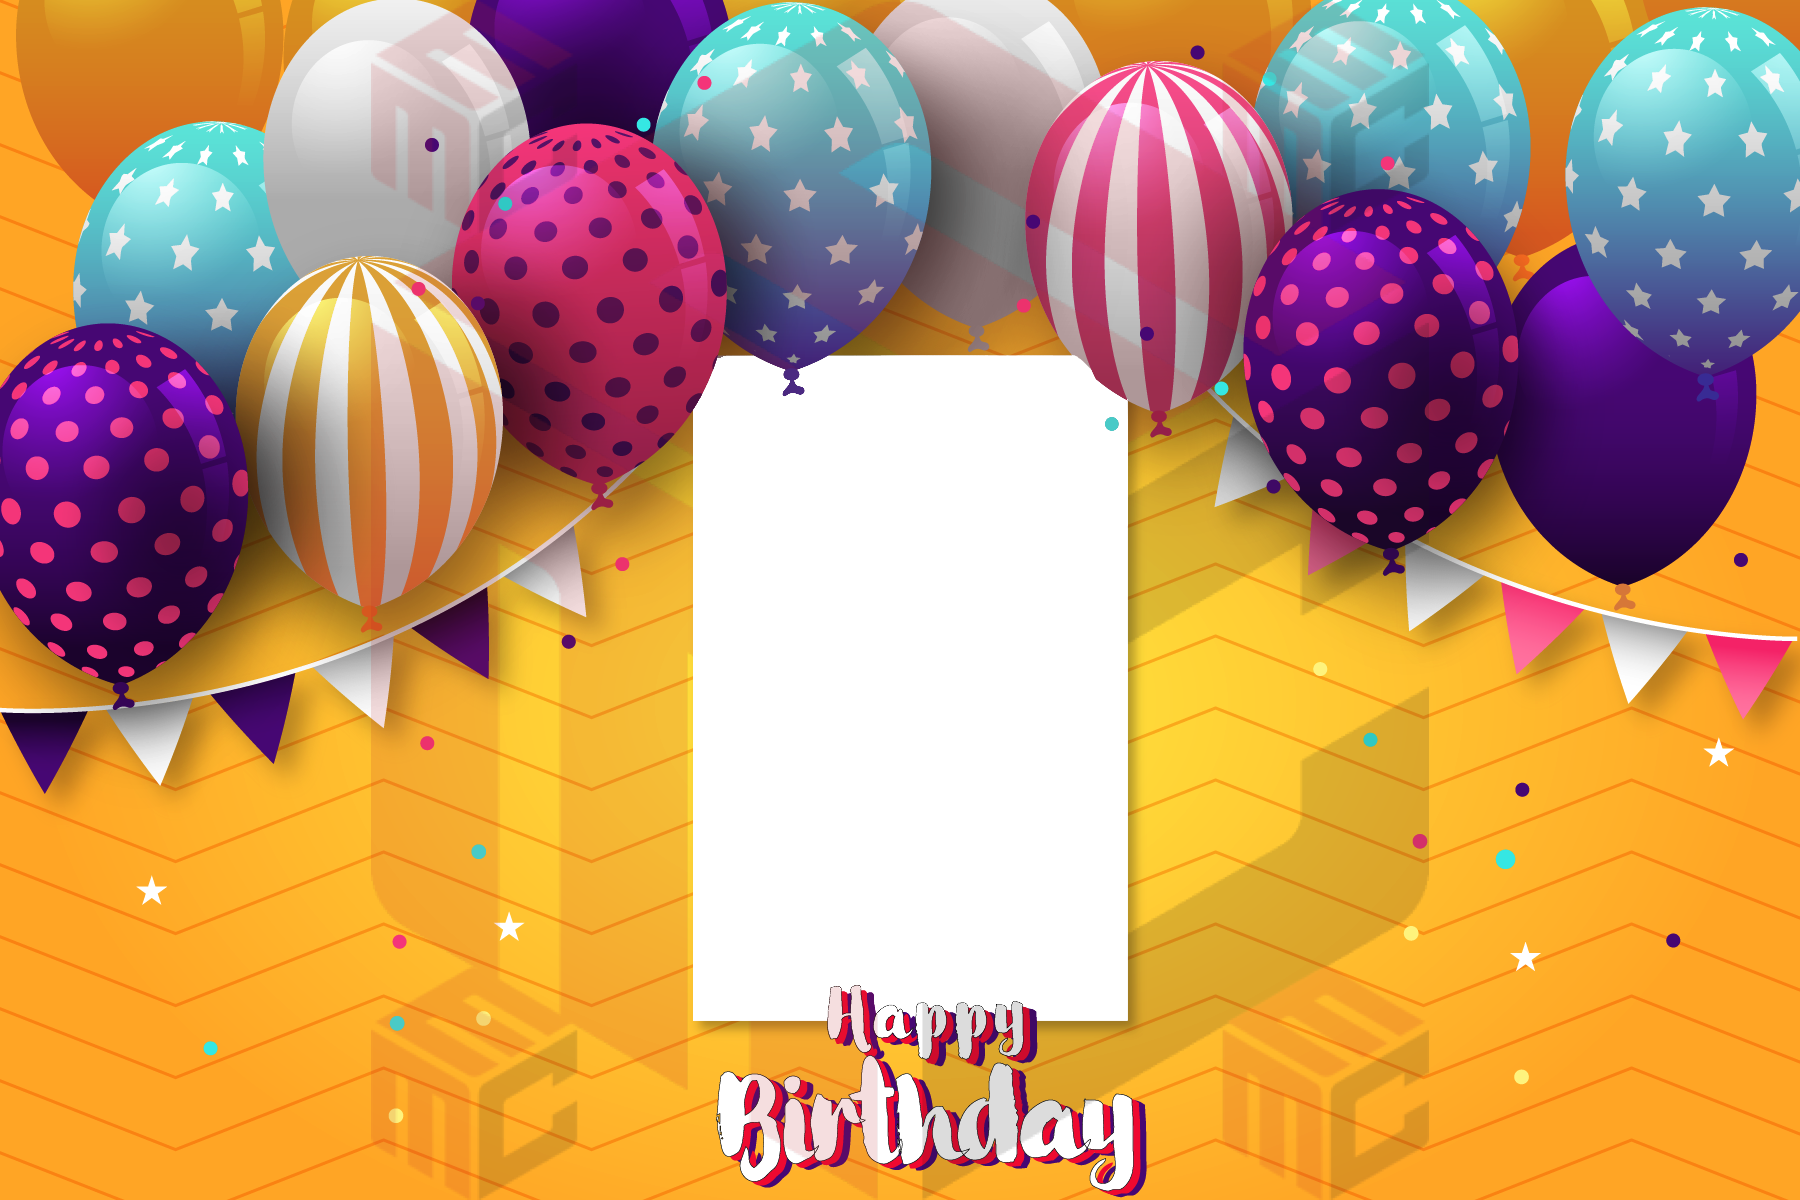
For a wedding, the couple's names, date and reception palette usually matter more than an elaborate border. Compare elegant, minimal and floral options in the wedding photo booth templates collection. For a birthday, consider age, guest mix and whether the design will still look good in every photo. Browse birthday photo booth templates for celebration-focused layouts. Corporate events may need a clear brand area, restrained type and enough contrast for a sponsor's logo; explore corporate photo booth templates for that use case.
Do not force a wedding design into an unrelated company event merely because the colors are close. A good template supports the occasion at first glance and leaves the guests' photographs as the focus.
Make readability part of the design
Names and dates that look sharp on a large monitor can become tiny on a printed strip. Use a short headline, avoid overly delicate letterforms for essential information, and keep sufficient contrast between the text and its background. Long event hashtags are better placed where they do not compete with faces or important photo areas. If a template has several text blocks, give each one a clear purpose instead of filling every empty space.
Preview the editable elements before committing
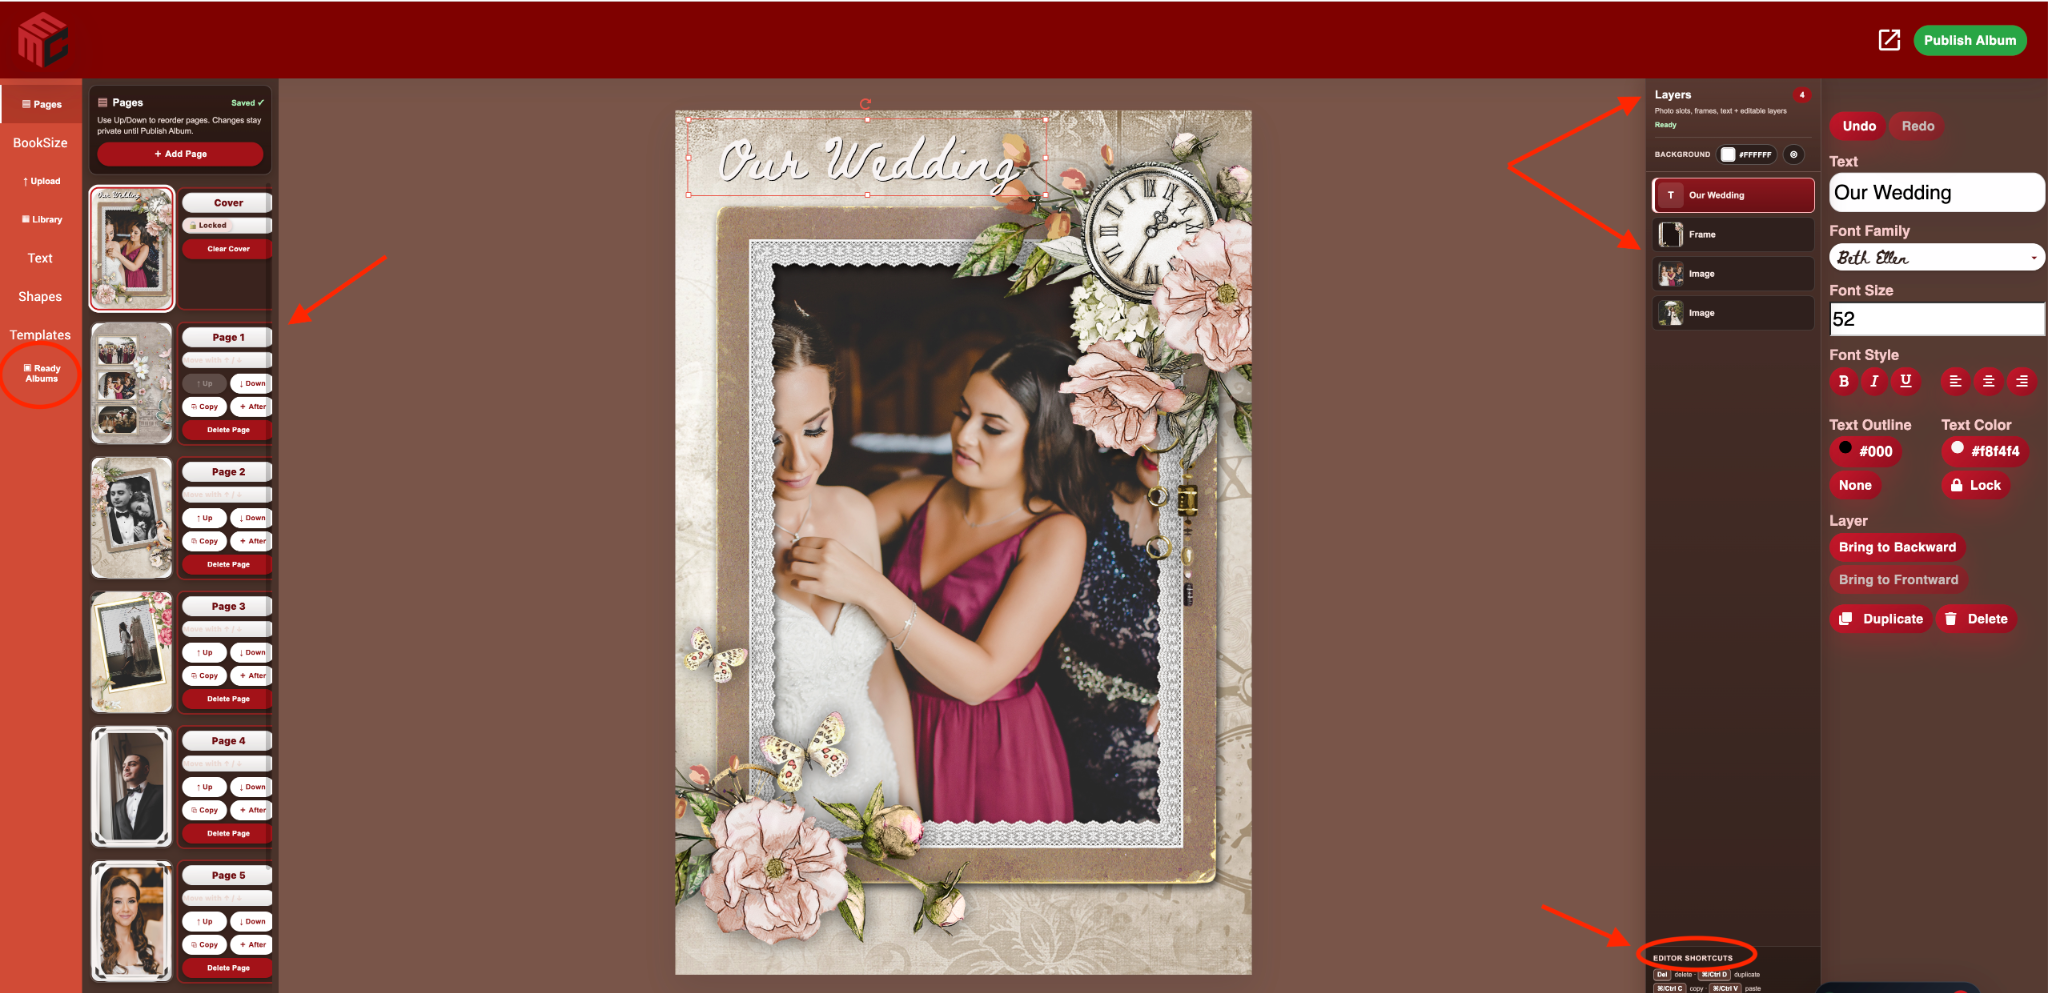
Identify what actually needs changing: names, date, colors, image placement and perhaps a logo. Check the specific design in the editor rather than assuming every artwork element is interchangeable. Keep an original working copy so last-minute requests do not wipe out a version that already prints correctly. If multiple booths share one event, compare their output dimensions before reusing the same print layout.
Use a short pre-event checklist
- Confirm the printer format and number of photo openings.
- Check spelling, date, branding and text contrast.
- Verify safe margins and crop behavior with a real test photo.
- Print a sample using the same settings guests will use.
- Save the final approved design separately from your editable working copy.
The right design is the one guests can understand, enjoy and take home without visual clutter. Start in the MyMirrorClub photo booth template collection, compare actual layouts and choose the version that suits your event's output.