A polished photo booth event feels more complete when the screen animations and final photo template look like they belong together. The welcome screen, touch-to-start moment, countdown, final print layout and sharing experience should support one visual direction rather than looking like unrelated files collected at the last minute.
MyMirrorClub gives photo booth owners access to 8,000+ creative assets, including 6,000+ editable templates and 2,000+ ready animations. You can browse individual designs in Search, compare Bundles, open editable projects in the online editor and use the main Photo Booth Templates and Photo Booth Animations pages for the widest selection.
No credit card is required to create a free account. New accounts receive one free publishing credit for a template or animation, and published projects remain available in Workspace for future client changes.
What is the difference between a photo booth template and an animation?
A photo booth template is usually the finished visual layout used for the guest photo, print, digital image or overlay. It can contain photo boxes, names, dates, logos, decorative artwork, event wording and branded elements.
A photo booth animation adds motion to the guest-facing experience. Common examples include welcome screens, touch-to-start screens, idle loops, countdowns, prompts, celebration screens and other moving moments used before or after the photo is taken.
The two assets have different jobs, but they work best when they share a recognizable theme.
Why matching templates and animations improves the event
- The booth looks more professional: guests see one consistent visual identity instead of several unrelated styles.
- The client can approve the full experience: show the print layout and the screen experience together before the event.
- Branding becomes easier to recognize: corporate colors, sponsor logos and campaign graphics remain consistent.
- Setup becomes faster: choosing a theme first reduces the time spent searching for separate pieces later.
- Future revisions are simpler: saved Workspace projects make it easier to update names, dates, logos or colors.
Step 1: Start with the final photo booth template
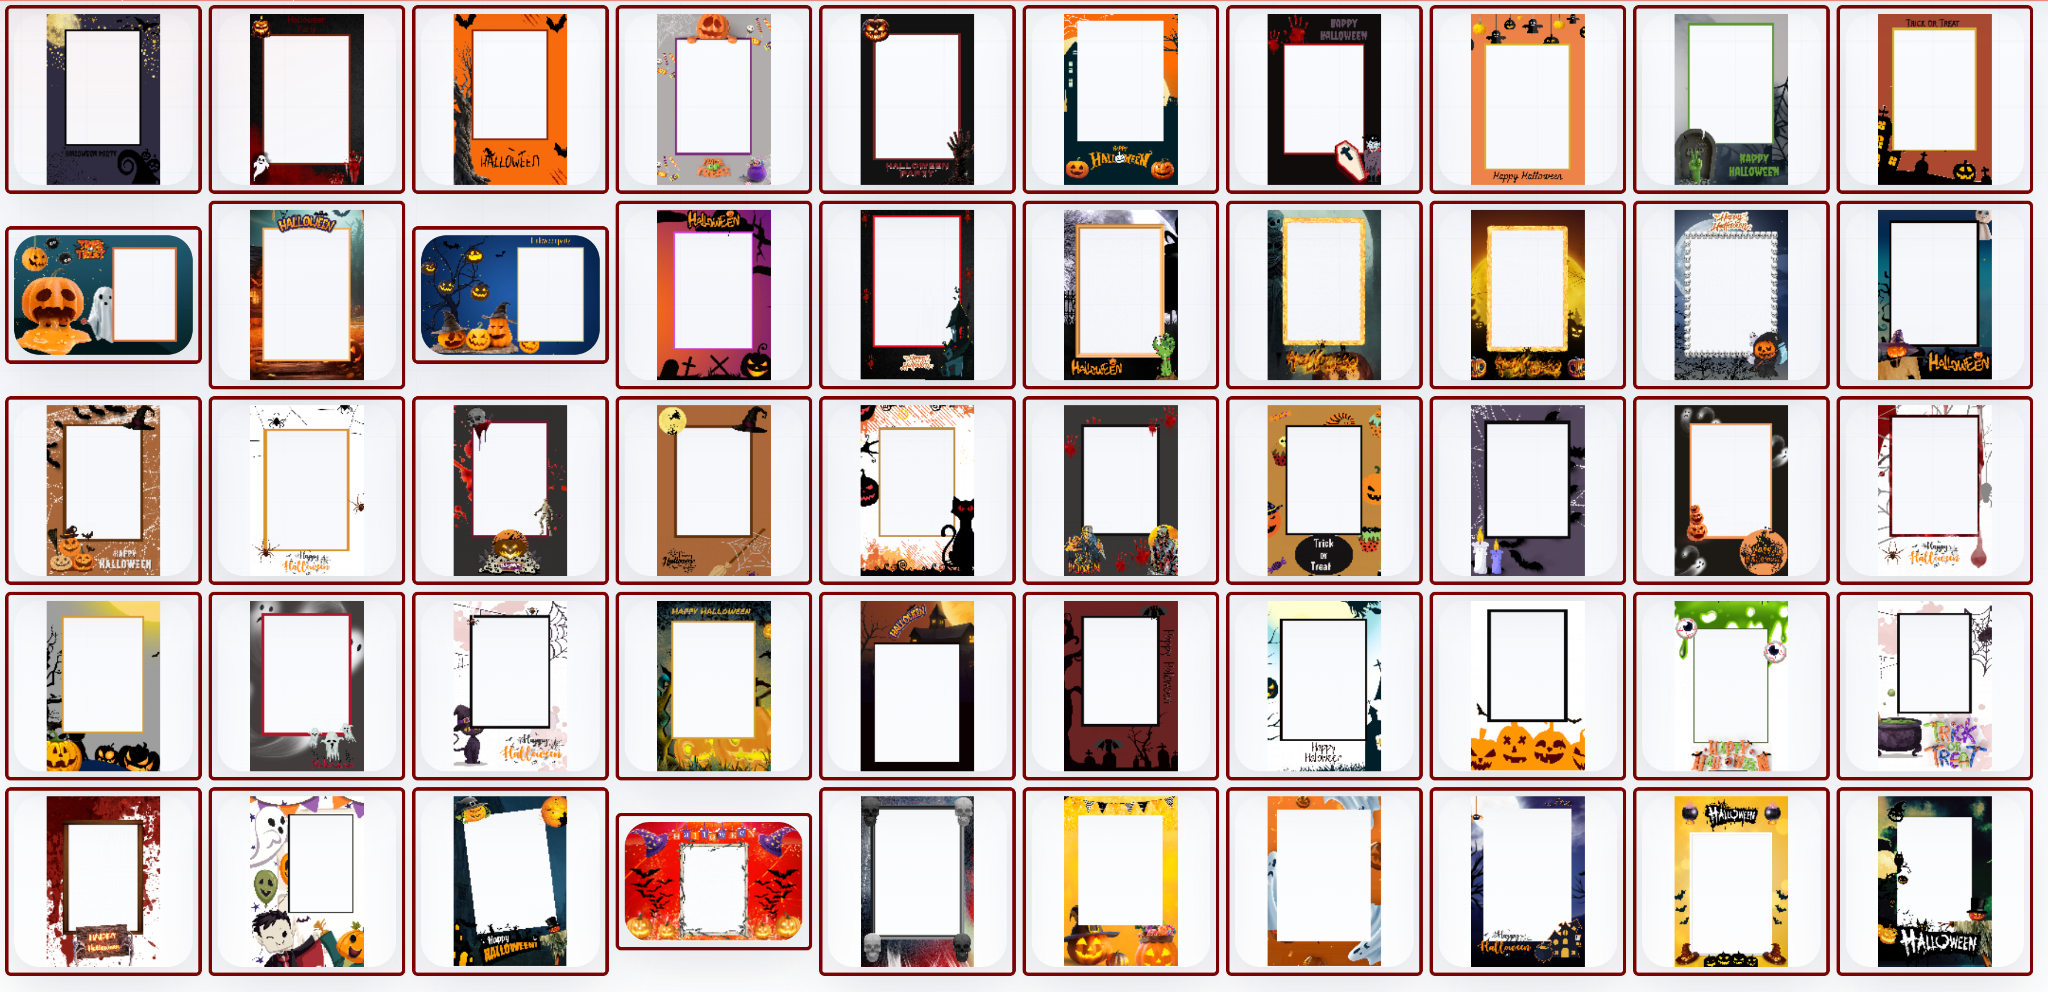
The final photo or print is often the keepsake the guest takes home, downloads or shares. Start by choosing the correct format and event style:
- 4x6 or general photo booth templates
- 2x6 photo strip templates
- Mirror booth templates
- 360 photo booth templates and 360 overlays
- Branded photo booth templates for sponsors and campaigns
Confirm the orientation, number of photo areas, logo requirements and event wording before selecting the matching animation style.
Step 2: Choose the animation moments the booth actually needs
Not every booth workflow needs the same number of animations. Decide which moments will appear on the guest-facing screen:
- Welcome or idle screen
- Touch to Start screen
- Pose or instruction prompt
- Countdown
- Photo approval or retake prompt
- Sharing or thank-you screen
- Celebration or branded loop
For a traditional booth, you may only need a welcome screen and countdown. A mirror booth can use several animated prompts. A corporate activation may require sponsor branding throughout the full experience.
Step 3: Match the visual ingredients
You do not need every asset to be identical. The goal is for the template and animation to feel related. Match the following details:
- Color palette: reuse the same primary and accent colors.
- Typography: choose fonts with a similar personality and level of formality.
- Artwork: repeat a recognizable element such as florals, pumpkins, stars, confetti or geometric shapes.
- Branding: keep the logo size, clear space and sponsor treatment consistent.
- Energy: elegant weddings may use slower, subtle motion; birthdays and school events can use brighter and faster movement.
- Event wording: names, dates, hashtags and campaign messages should match across the booth experience.
Step 4: Customize the editable template in the browser
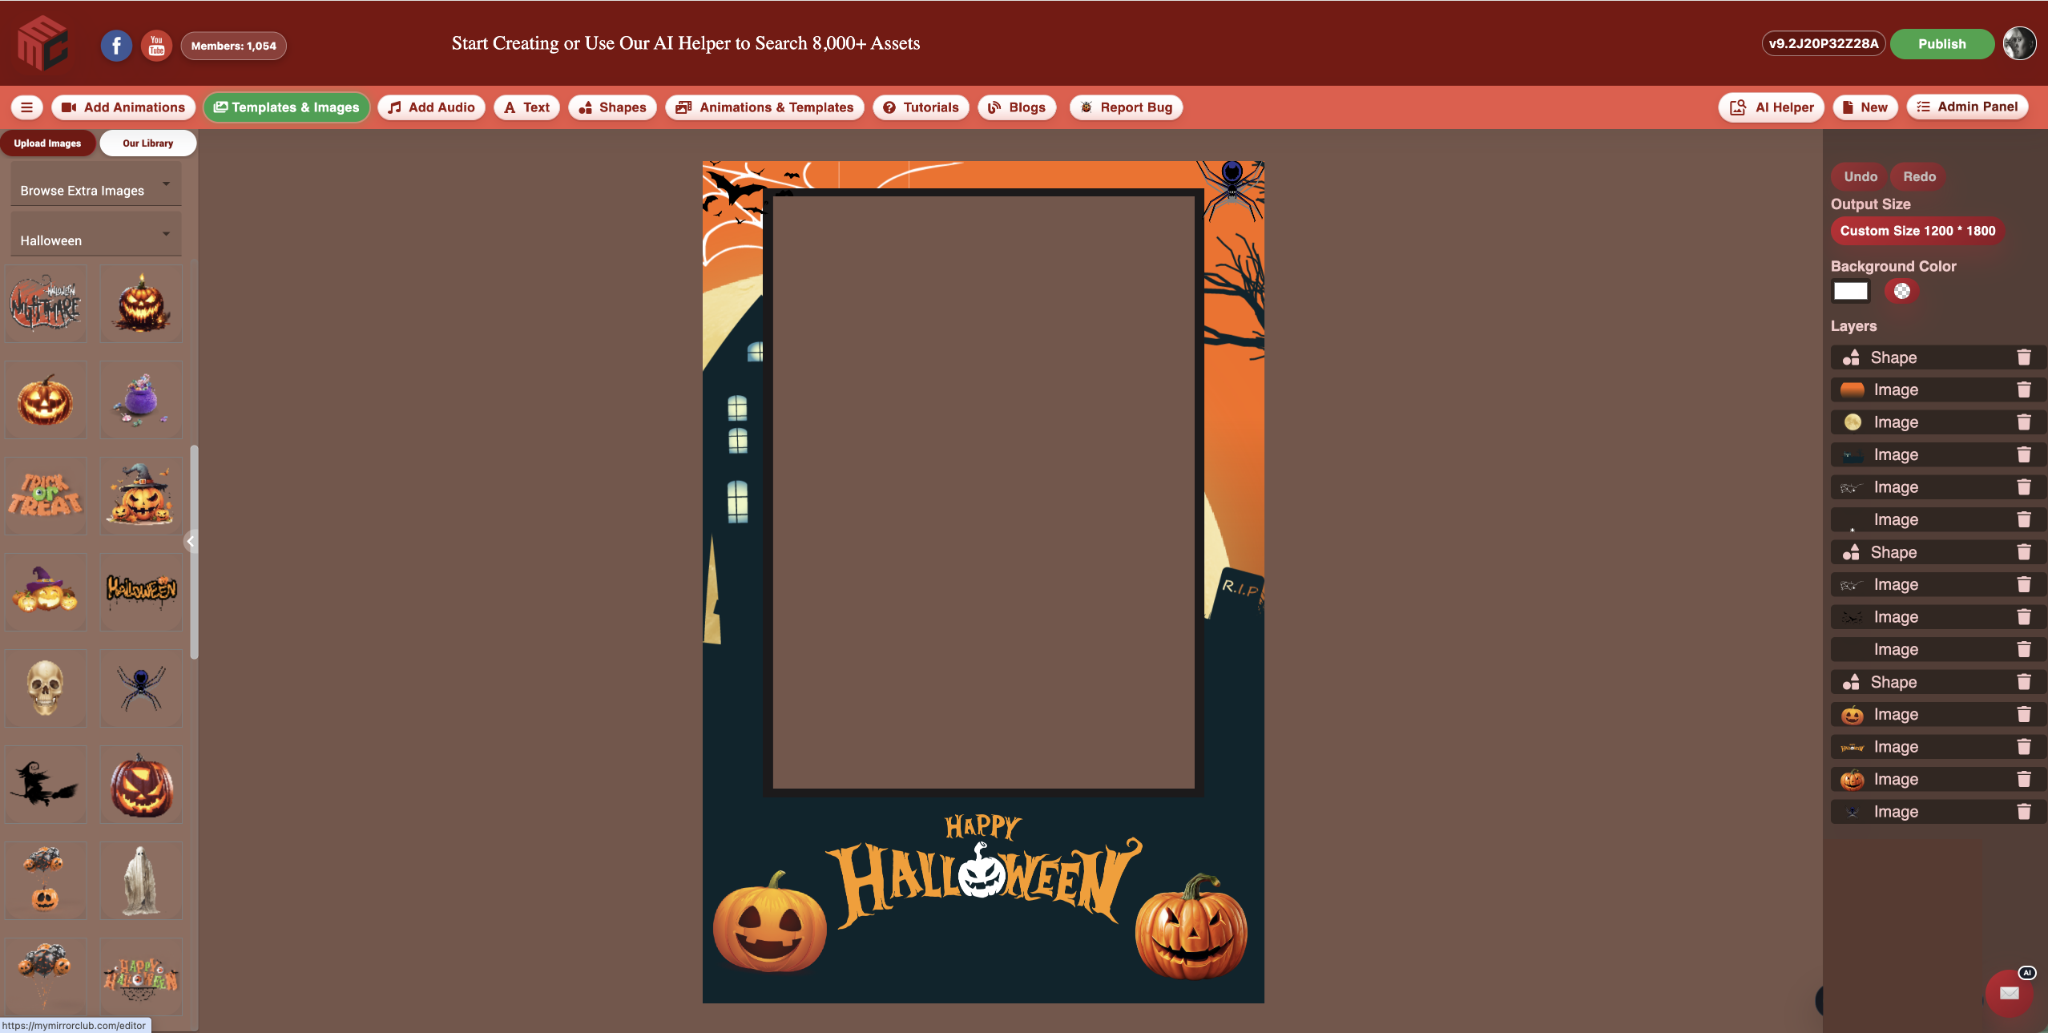
Open the selected design in the MyMirrorClub Editor and replace the sample details with the real event information. Depending on the project, you can adjust available text, images, logos, colors, photo boxes and other layers.
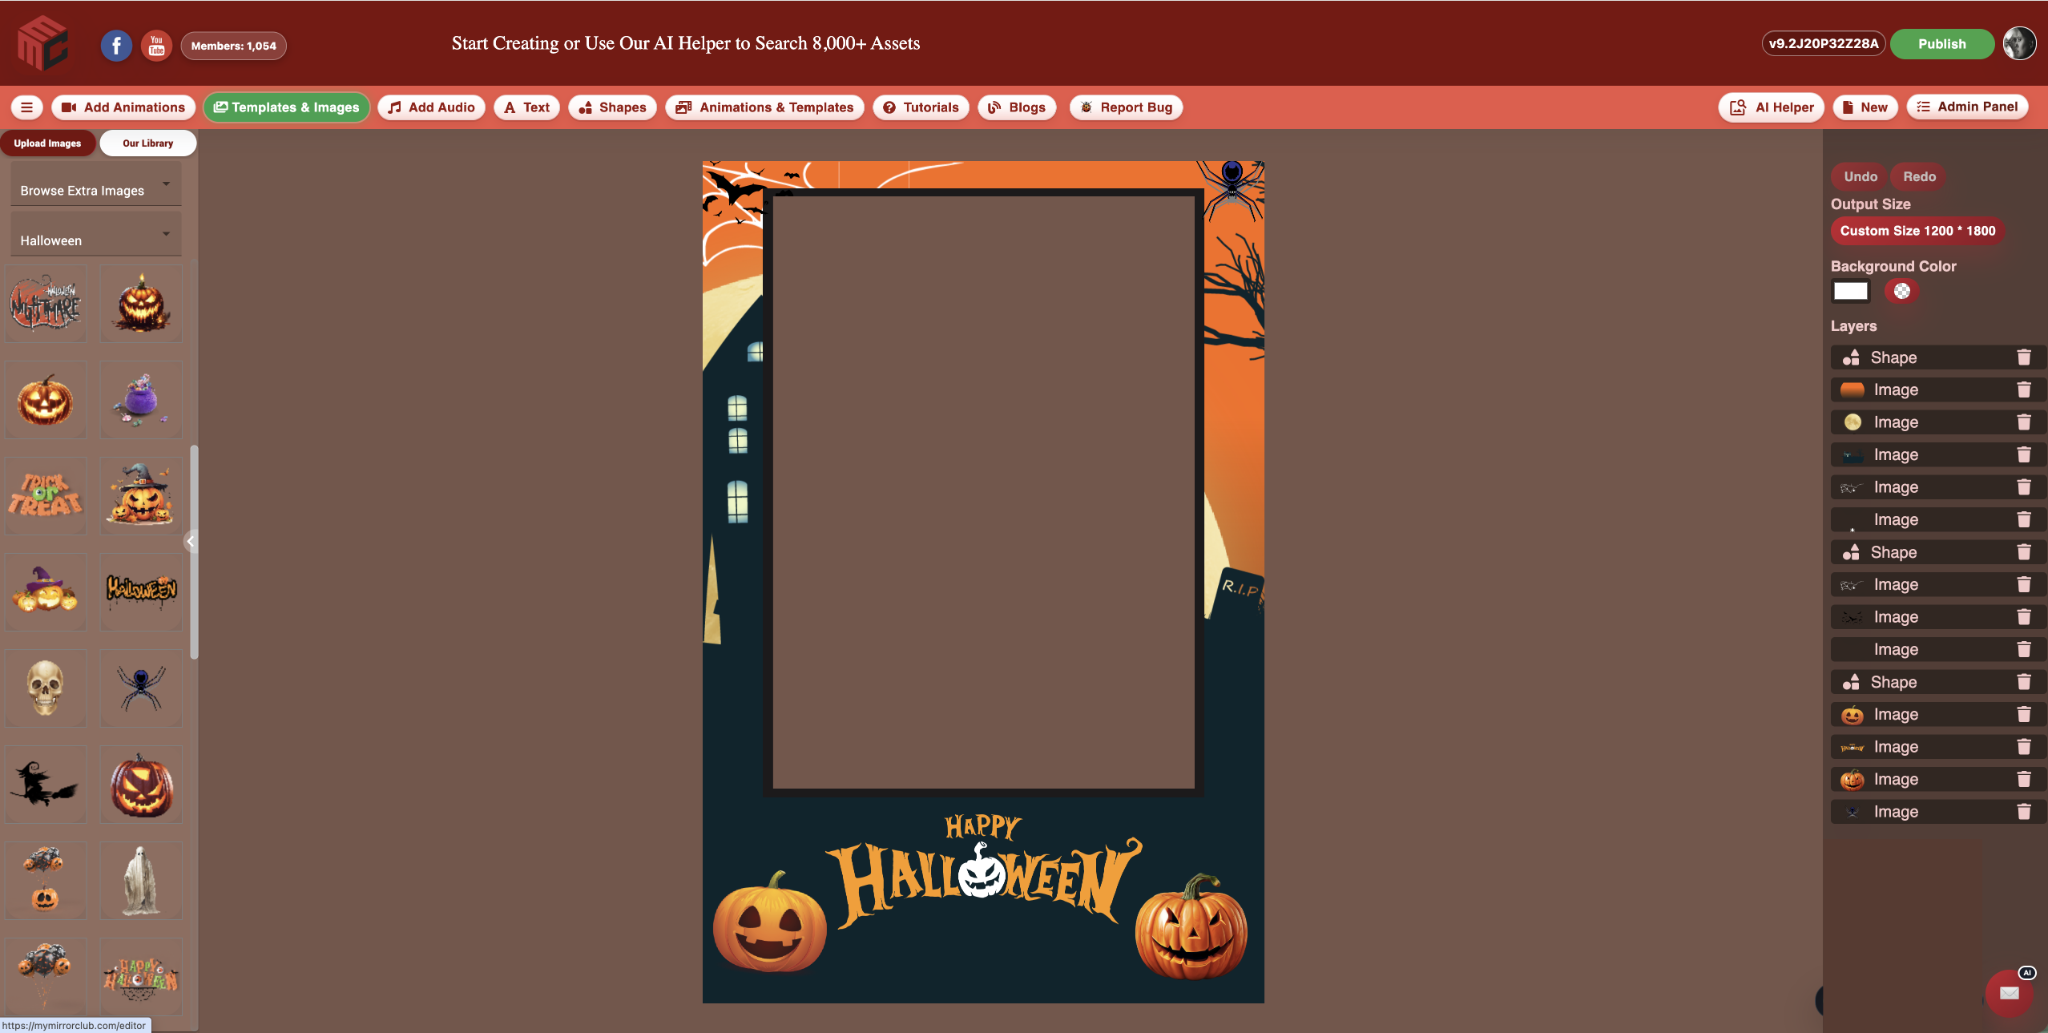
Before publishing, verify the template size, photo-box placement, logo visibility, spelling, date and safe spacing around the edges.
Step 5: Preview the full guest journey
Review the animation and template in the order a guest will experience them:
- The guest approaches the booth and sees the welcome or idle screen.
- The guest starts the experience and follows the prompts.
- The countdown prepares the guest for the photo.
- The photo is captured and placed in the final template.
- The guest reviews, downloads, prints or shares the result.
This simple walkthrough often reveals mismatched colors, inconsistent logos, confusing wording or an animation style that does not fit the final design.
Step 6: Publish and keep the project available for revisions
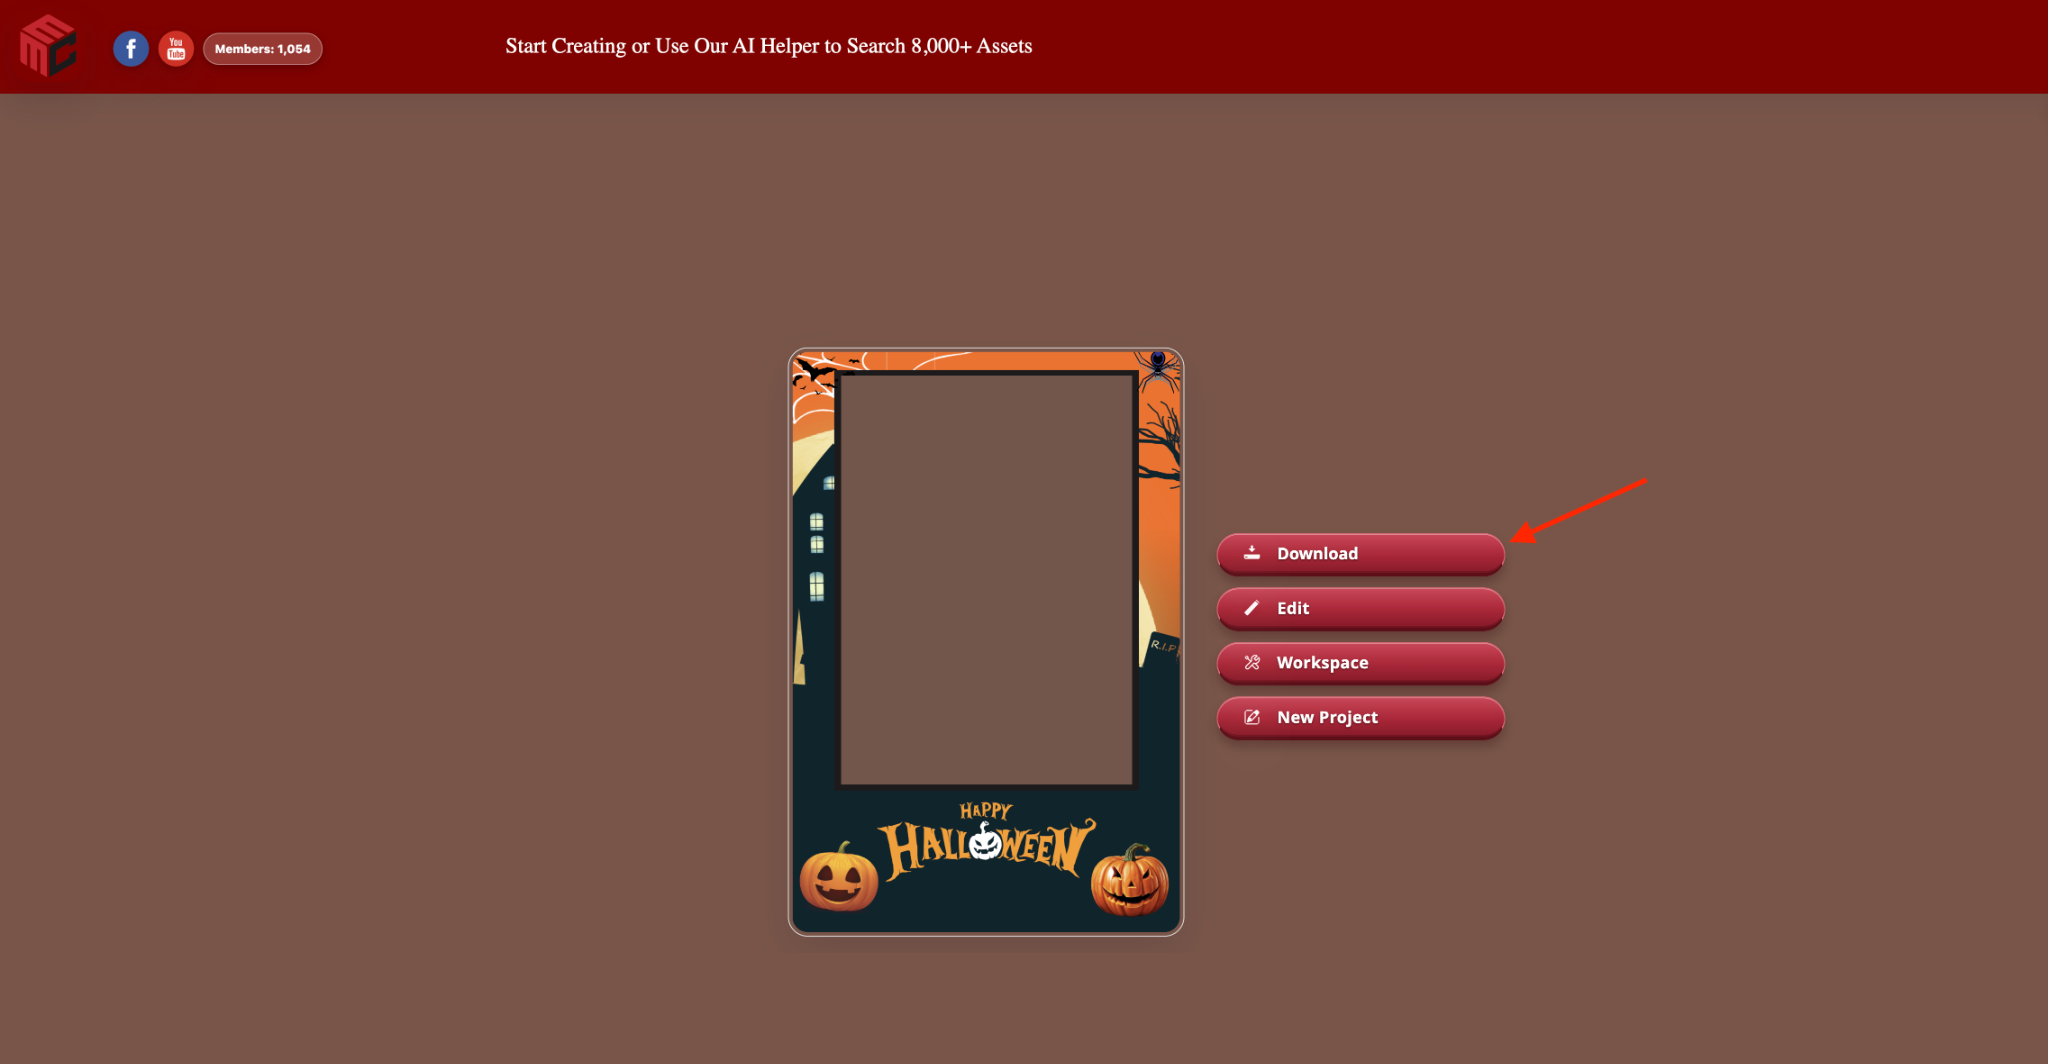
When the project is ready, publish the design and keep the project in Workspace. This is useful when the client requests a corrected date, alternate sponsor logo, different color, second print format or matching version for another event.
Matching ideas for common events
Wedding photo booth templates and animations
Use a shared floral element, monogram, gold accent or elegant type style across the welcome screen, countdown and final wedding photo booth template.
Birthday photo booth templates and animations
Repeat the age, name, party colors or a recognizable theme. Keep motion playful without making the final birthday template difficult to read.
Corporate and branded events
Use the same logo files, approved brand colors and sponsor hierarchy. The animation should support the campaign without hiding the main call to action or event message.
Holiday and seasonal events
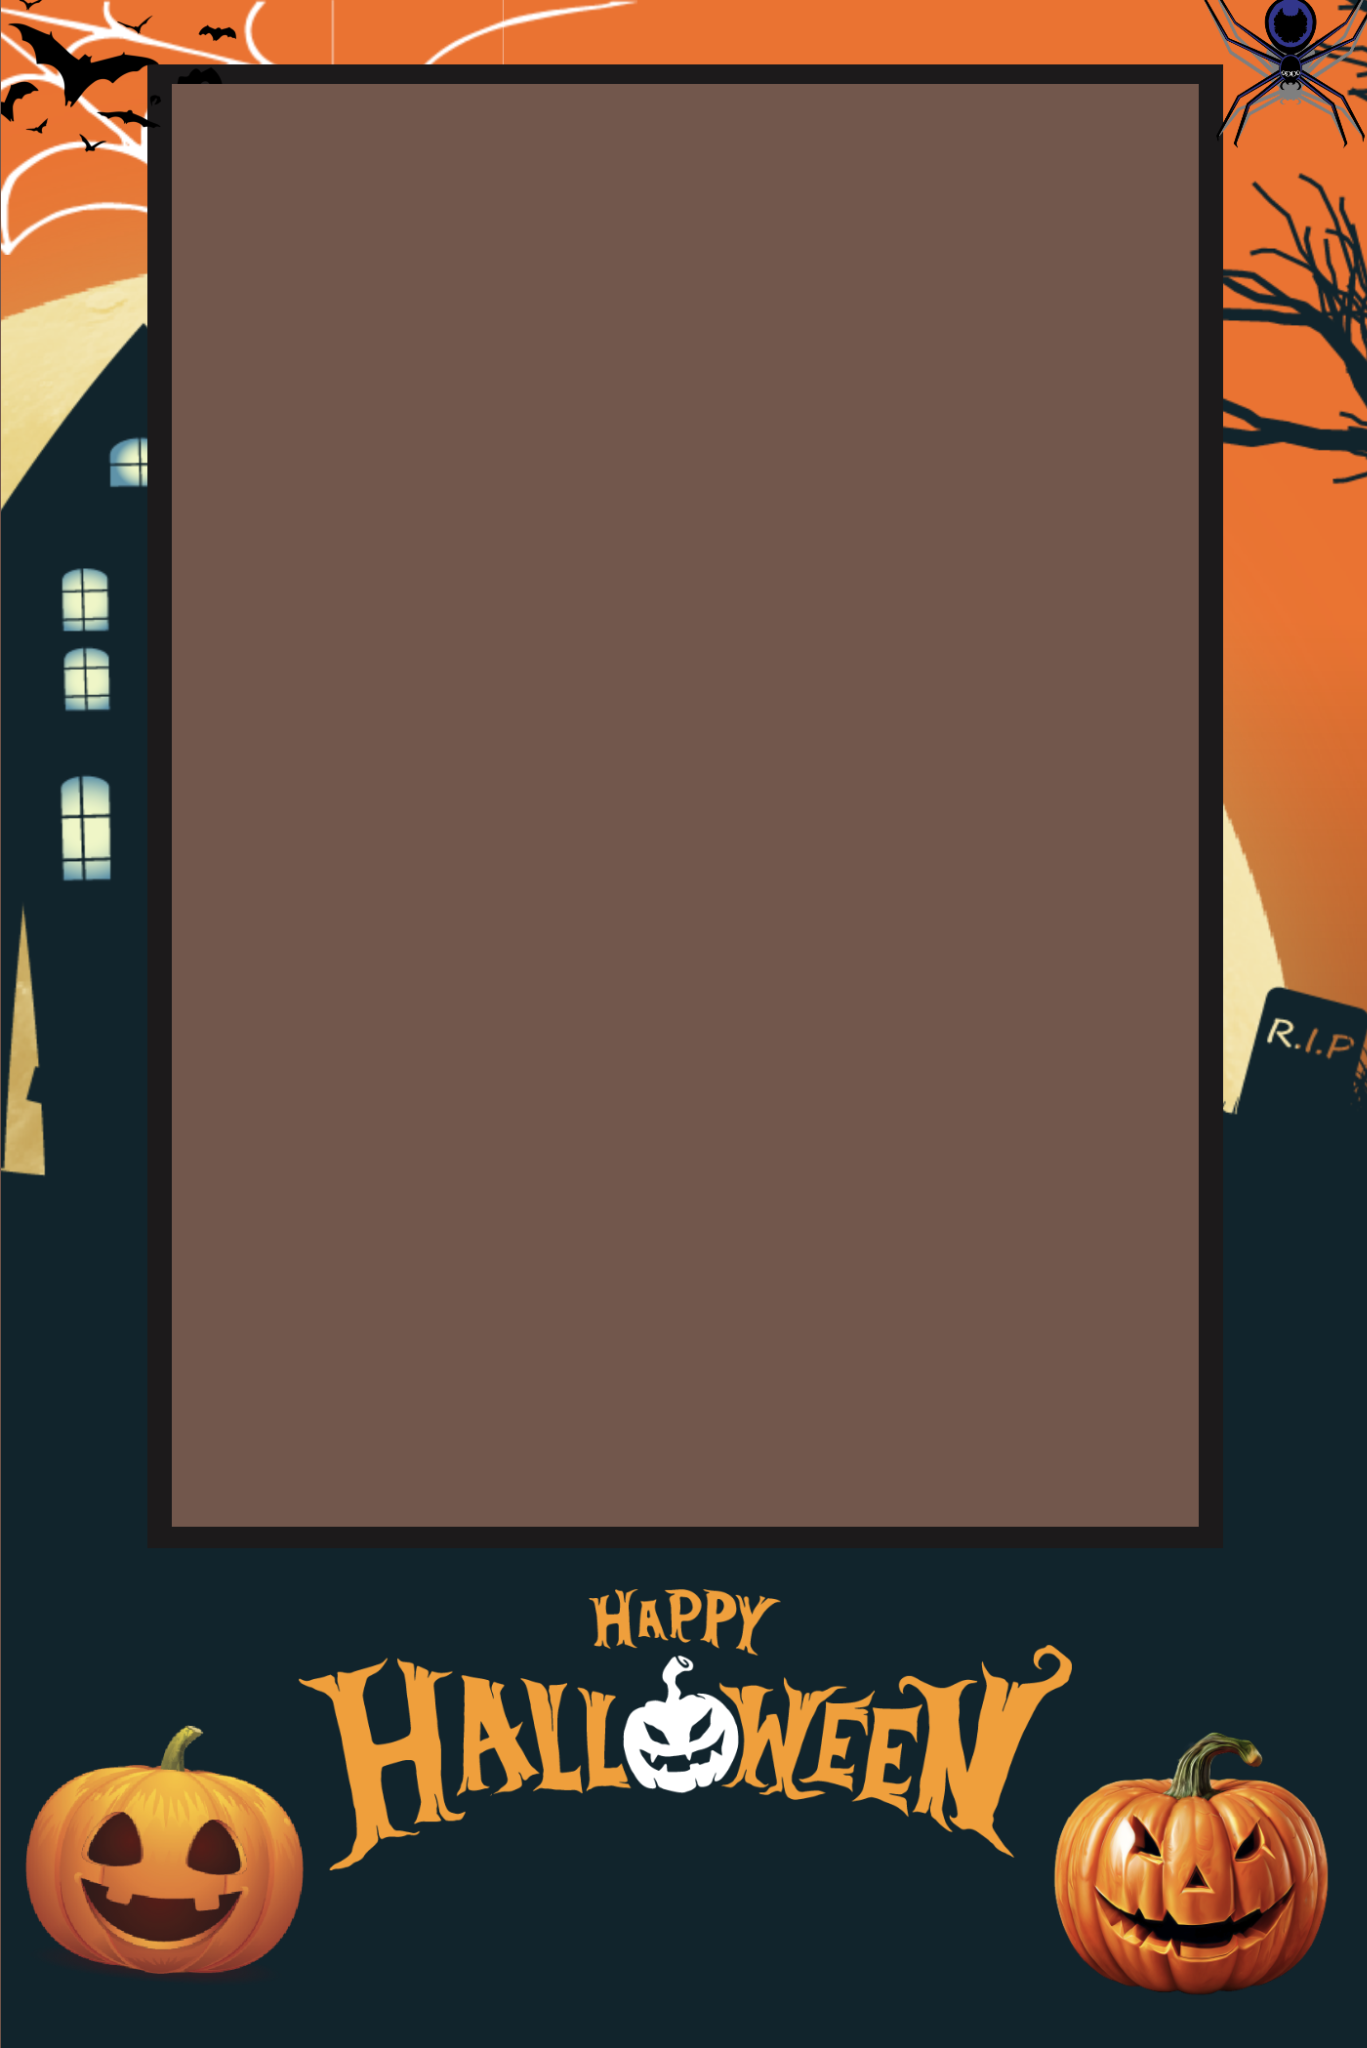
Choose one visual direction, such as elegant winter, playful Santa, haunted Halloween, romantic Valentine or black-and-gold New Years, and keep the assets consistent.
Mirror booth experiences
Mirror booths rely heavily on screen interaction. Match mirror booth animations with the final mirror template so the guest journey feels intentionally designed from start to finish.
Should you buy one item, a bundle or a membership?
- One finished design: use Search to purchase an individual template or animation.
- Several coordinated files: compare ready-made and custom bundles.
- Ongoing library access: review membership options.
- Need to customize online: start creating free and open the design in the editor.
- Need custom artwork: members can request custom design work for an additional fee.
Common mistakes to avoid
- Choosing an animation before confirming the final print or output format
- Using unrelated fonts and colors across the booth experience
- Changing the logo placement from screen to screen without a reason
- Making the animation too busy for guests to understand the prompt
- Publishing without checking spelling, date and event details
- Forgetting to save the project for future client revisions
A practical MyMirrorClub workflow
Start with the Photo Booth Templates page or Search, choose the final layout, find a related design on the Photo Booth Animations page, customize available layers in the online editor, preview the full guest journey and publish when ready.
Start creating free with no credit card required. New accounts receive one free publishing credit, and additional individual template or animation publishing is currently $5.
FAQ: Do the template and animation need to be identical?
No. They should share enough visual details to feel related. Matching colors, typography, logos and one recognizable artwork element is usually enough to create a consistent experience.
FAQ: Can I use a template without an animation?
Yes. Many standard booth workflows use a final template without a full animation set. Animations are most useful when the booth has guest-facing screens, prompts, countdowns or branded motion moments.
FAQ: Can I use animations for mirror booths and 360 booths?
Yes, but confirm the orientation, resolution and software requirements for the specific booth. Mirror booth screens and 360 video overlays can require different formats from standard print templates.
FAQ: Where should I search for matching assets?
Use Search for individual assets, Bundles for coordinated groups, and the dedicated templates and animations pages for broader discovery.