Huge improvements are happening inside the MyMirrorClub Editor.
The goal is simple: help photo booth creators build professional templates and animations faster, easier and with fewer clicks. The new Border Frame tools and selected-layer keyboard shortcuts remove repetitive work while adding more creative control.
MyMirrorClub has added a major set of editor improvements designed around real production work. Members can now create adjustable hollow borders around photo layouts or entire animations, apply animated effects directly to those borders, and use familiar PC or Mac keyboard shortcuts to delete, copy, paste and duplicate selected layers.
These additions are especially useful for Touch to Start screens, mirror booth animations, Halloween designs, weddings, birthdays, Christmas events, casino themes, neon graphics, corporate activations and any project that needs a strong animated frame.
MyMirrorClub is FREE TO TRY, and new accounts receive 1 free publishing credit on signup.
A new adjustable Border Frame inside Shapes
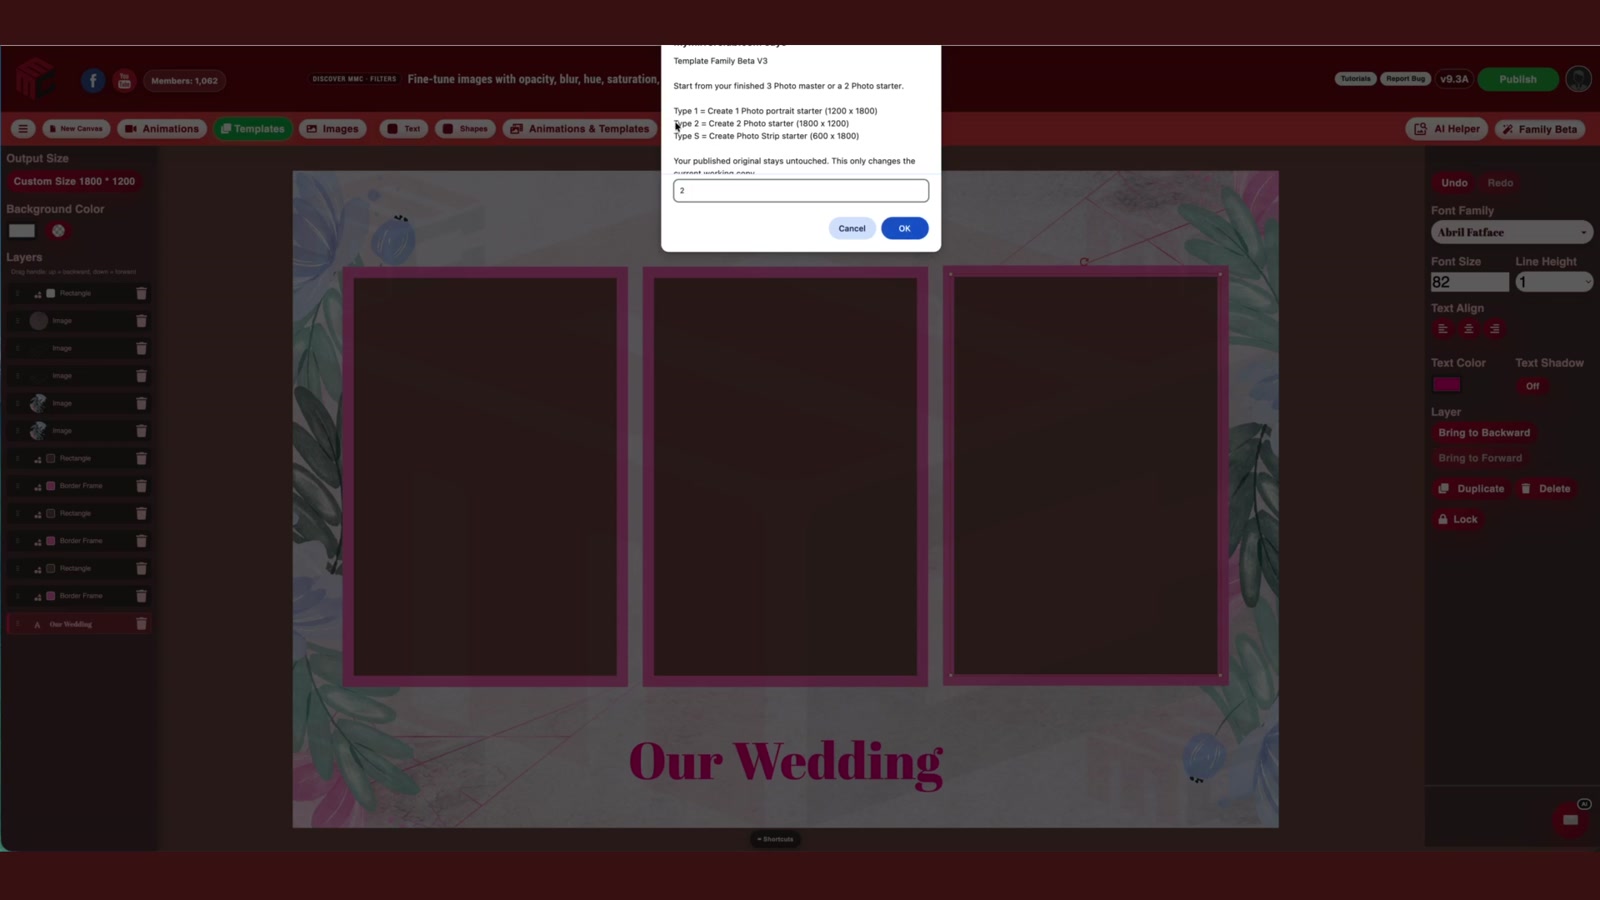
The Border Frame is built from the Rectangle/Square shape, but it is not a normal filled rectangle. After selecting the Rectangle/Square shape, click Border Frame and the filled center immediately becomes hollow. Only the outside frame remains visible, allowing the photo layout, animation or artwork underneath to show through.
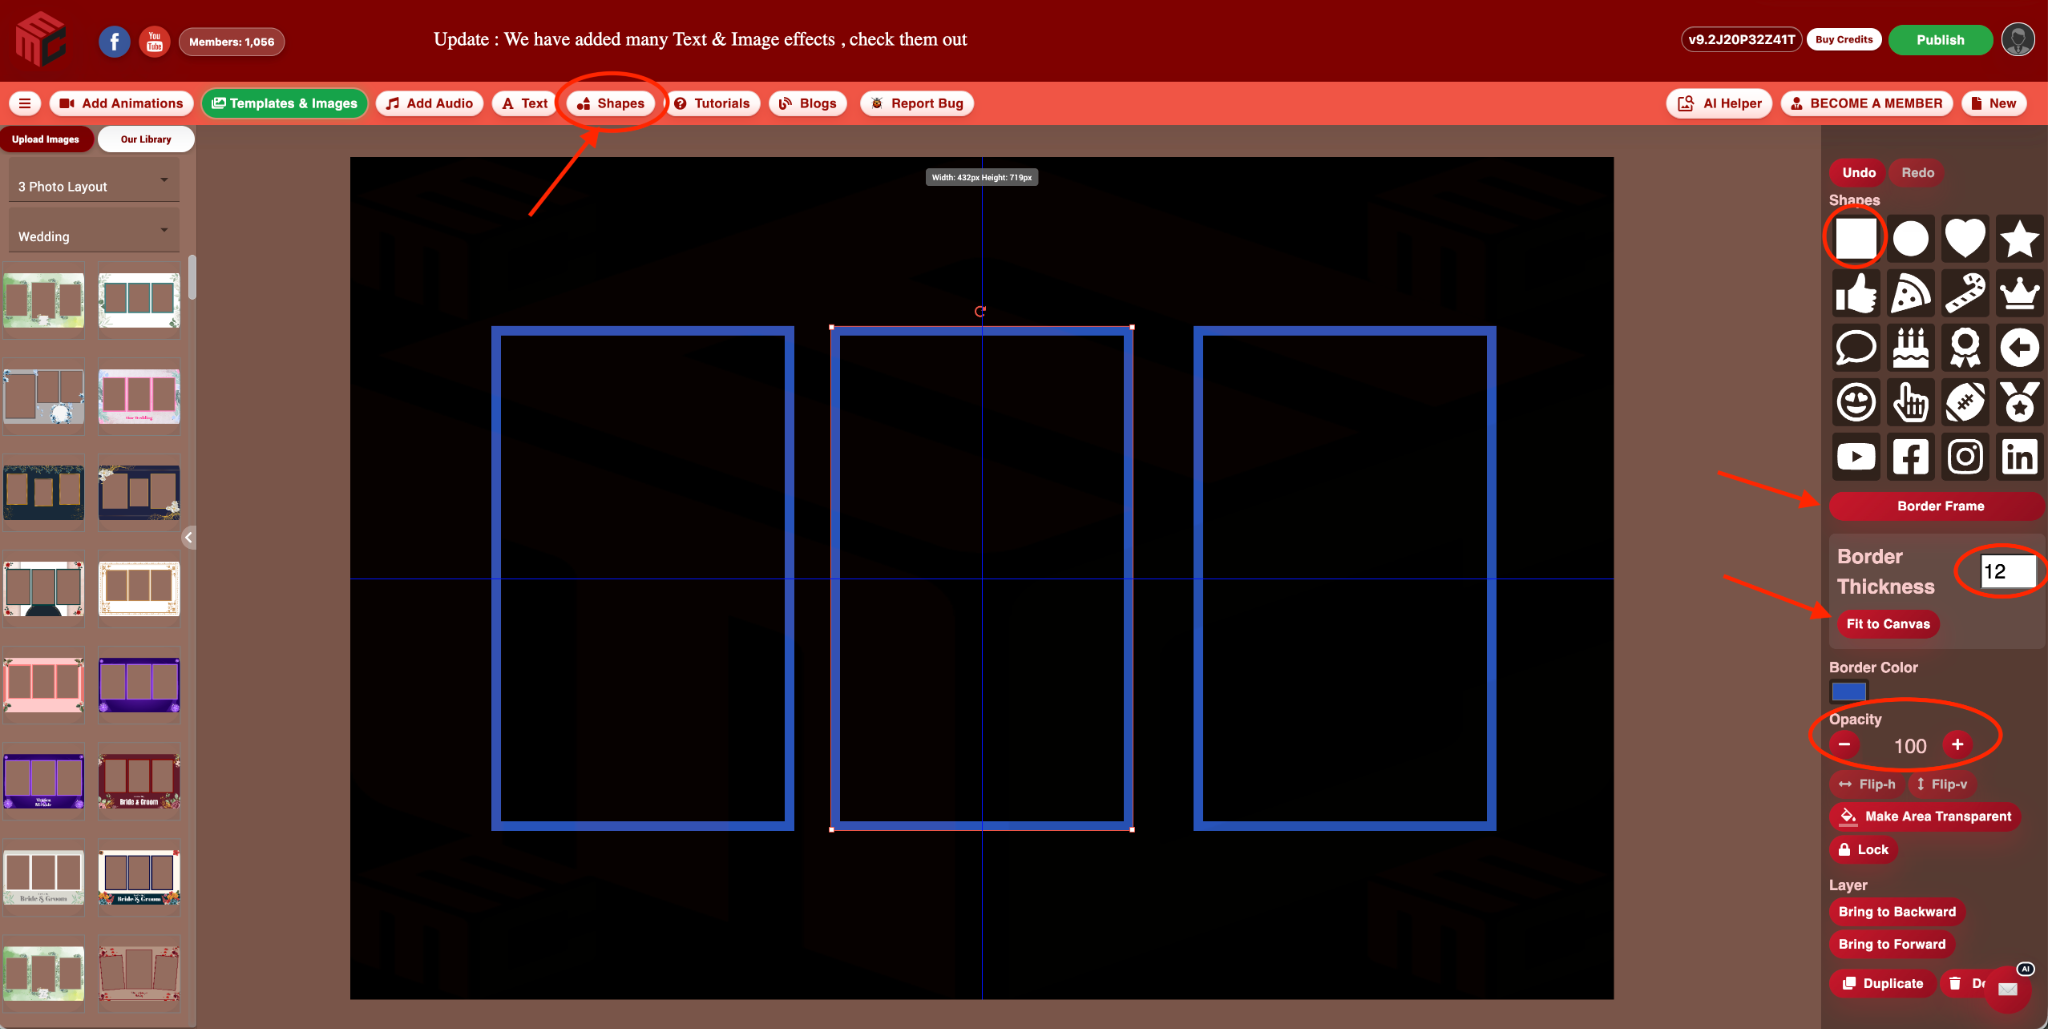
How to create a Border Frame
- Open a template or animation in the MyMirrorClub Editor.
- Click Shapes. The Rectangle/Square shape is selected and added to the canvas.
- Click Border Frame. The center becomes empty and only the outside border remains.
- Drag and resize the frame around one photo area, a group of photos, a Touch to Start section or the entire design.
- Adjust Border Thickness to make the frame thinner or heavier.
- Use Border Color to match the event theme.
- Adjust Opacity when a softer or semi-transparent frame is needed.
- Use Fit to Canvas when the border should wrap the complete template or animation.
Fit to Canvas makes full-animation borders fast
Creating a border around the entire project no longer requires careful manual alignment. Select the Border Frame and click Fit to Canvas. The frame expands to the canvas dimensions so it can surround the finished design.
You can still resize it afterward to create an inset border, increase the edge margin, or frame only one section of the project.
Border Thickness, Border Color and Opacity
The Border Frame includes clear controls so creators can understand exactly what they are changing:
- Border Thickness controls how wide the visible frame is.
- Border Color changes only the frame color.
- Opacity controls how solid or transparent the frame appears.
- The regular resize and rotation controls continue to determine the frame's size, position and angle.
This makes it possible to create thin elegant wedding borders, bright Halloween outlines, bold branded frames, glowing neon-style edges or subtle transparent accents.
Pulse, Soft Flash and Fast Flash for Border Frames
Border Frames can also use Shape Animation Effects. The effect is applied to the visible frame while the center remains hollow.
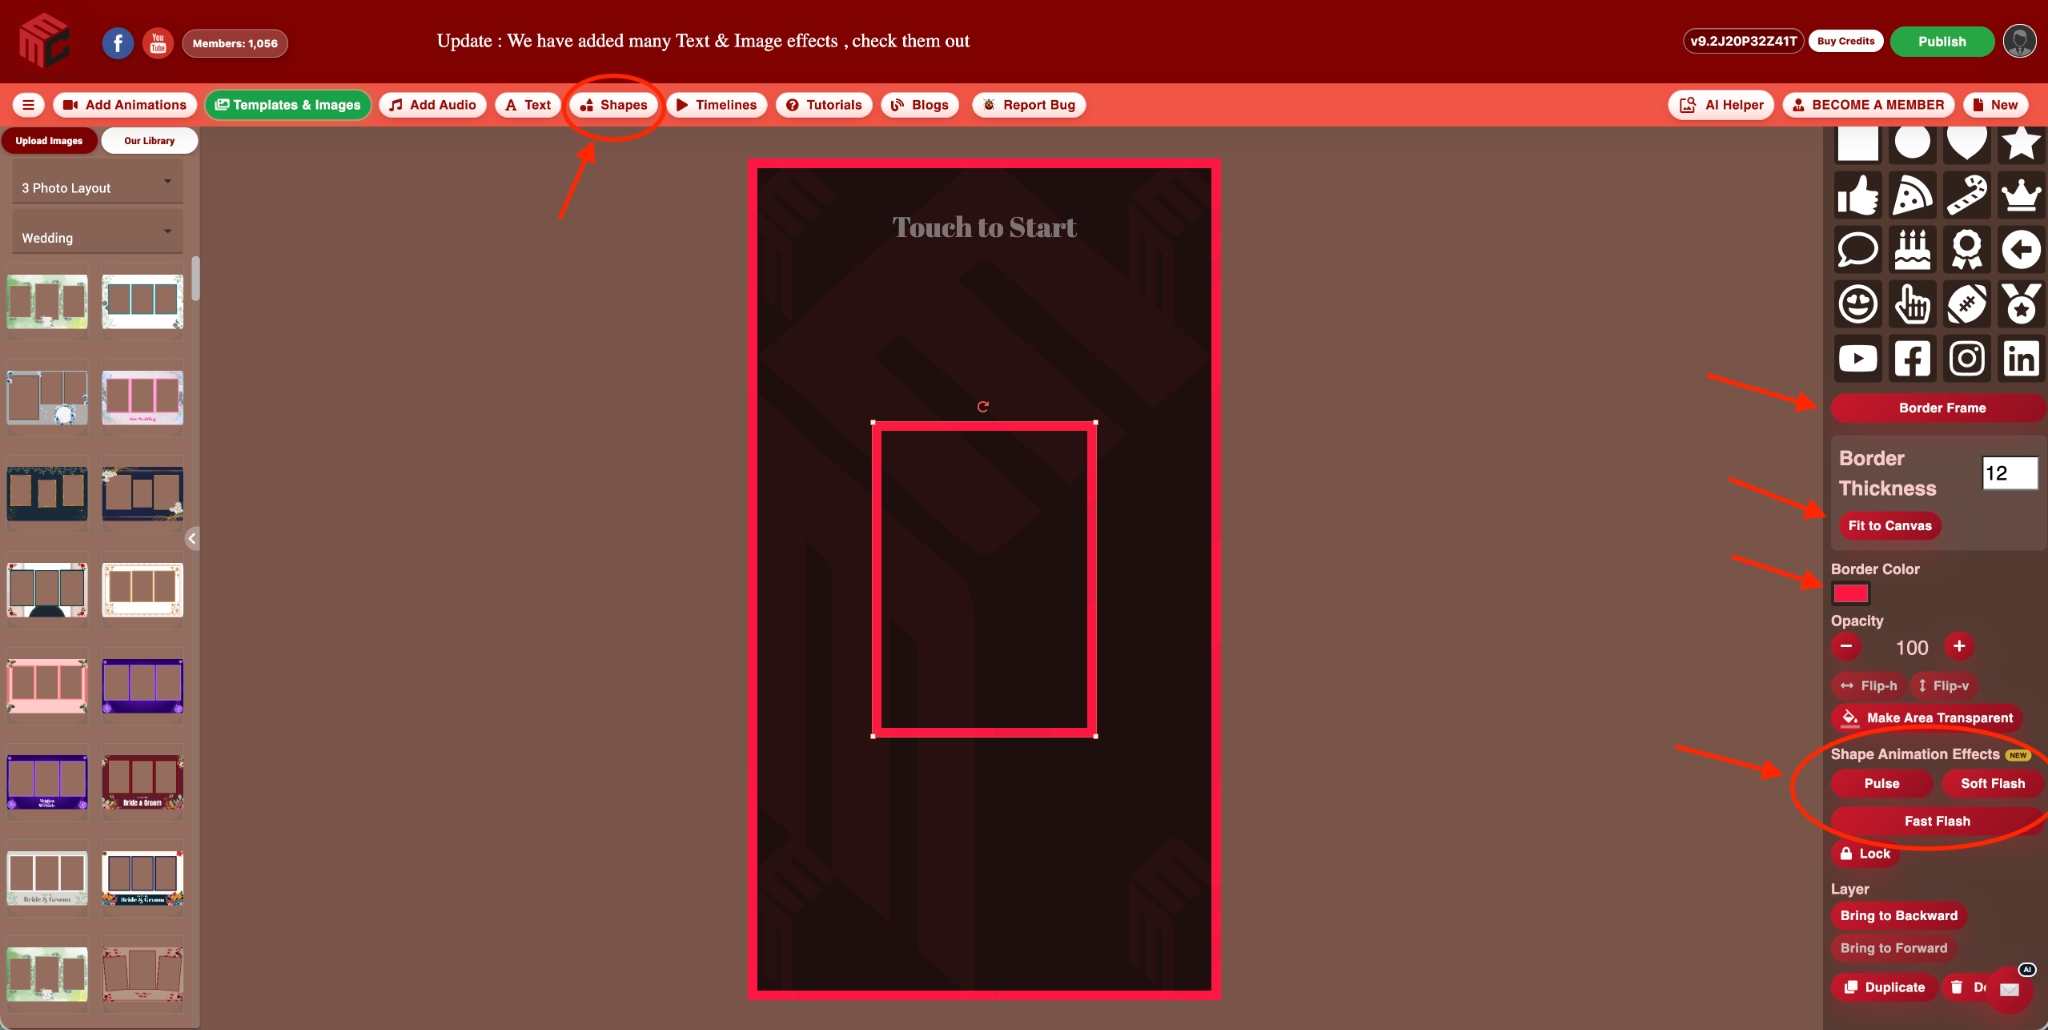
Pulse
Pulse gently scales the frame in and out around its center. It works well for Touch to Start areas, calls to action and visual emphasis without making the design feel too aggressive.
Soft Flash
Soft Flash gradually lowers and restores the frame opacity. This creates a smoother glowing or breathing-style effect that works well for weddings, elegant events, branded experiences and subtle attention cues.
Fast Flash
Fast Flash uses a quick visible-and-hidden repeating pattern. It is ideal for Halloween, casino, nightclub, party, warning, neon and high-energy event designs where the outside frame needs to attract immediate attention.
Border Frame is different from Make Area Transparent
These are two separate tools:
- Border Frame draws a visible outside frame while leaving its center empty.
- Make Area Transparent cuts a real transparent area through the final output.
Use Border Frame when you want a decorative or animated outline. Use Make Area Transparent when you need a true photo opening or alpha hole in the published design.
Selected-layer keyboard shortcuts make editing faster
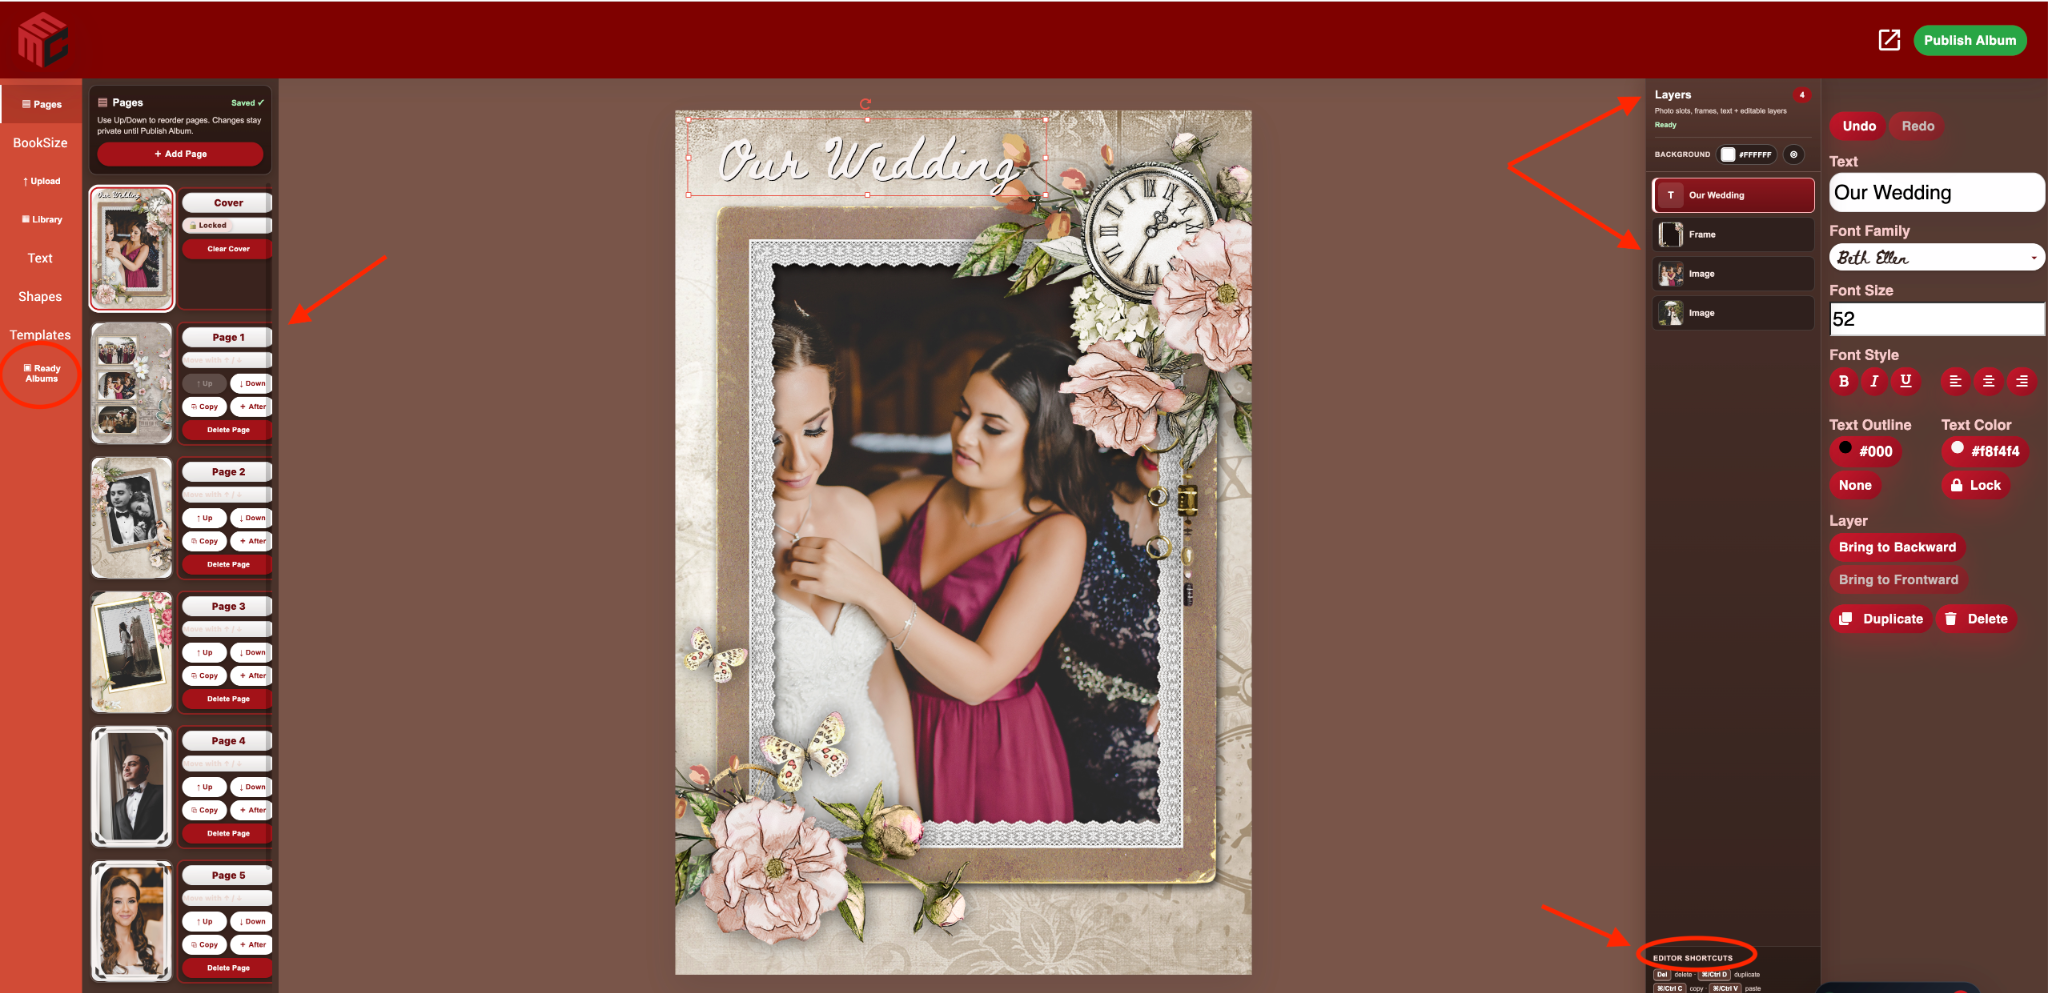
The editor now supports familiar keyboard shortcuts for the currently selected layer. This can save a large amount of time when working with repeated decorations, text, images, shapes and Border Frames.
| Action | PC / Windows | Mac |
|---|---|---|
| Delete selected layer | Delete or Backspace | Delete or Backspace |
| Copy selected layer | Ctrl + C | Command + C |
| Paste copied layer | Ctrl + V | Command + V |
| Quick duplicate | Ctrl + D | Command + D |
How layer selection and text editing work
The shortcuts are designed to work only when a layer is selected and not actively being edited.
- Click a text layer once to select it. Delete, copy, paste and duplicate shortcuts can then work on the complete text layer.
- Double-click or activate the text itself to edit the words. While text editing is active, normal typing and editing keys are protected.
- Shortcuts do not delete or duplicate layers while the cursor is inside text fields, number controls, search boxes, selectors or other editable controls.
- When no layer is selected, the layer shortcut does nothing.
This safety behavior means a selected text layer can be removed quickly, but pressing Backspace while typing inside that text will still edit the characters instead of deleting the complete layer.
Copy, Paste and Duplicate keep the design organized
When a copied layer is pasted—or when Quick Duplicate is used—the new layer is placed slightly down and to the right of the original. The new copy is then selected automatically, making it easy to move, resize, recolor or edit immediately.
This is useful when creating:
- matching photo borders
- repeated decorative PNG layers
- multiple text labels
- rows of icons or logos
- matching Border Frames around several photo areas
- consistent event instructions and calls to action
A faster Border Frame workflow
One practical workflow is:
- Create one Border Frame and set its thickness, color and opacity.
- Use Ctrl + D on PC or Command + D on Mac to duplicate it.
- Move the duplicate around the next photo opening.
- Repeat until all openings are framed consistently.
- Select the outside frame and use Fit to Canvas when a complete design border is also needed.
- Add Pulse, Soft Flash or Fast Flash to the frame that should attract attention.
This is much faster than rebuilding every border from the beginning.
Designed for templates and animations
Border Frames can be used around a single photo, several photos, text instructions or the entire canvas. In animation projects, the frame can use its timeline range and Shape Animation Effects. In template projects, the same hollow-frame design can create clean photo booth layouts without covering the images underneath.
Huge improvements focused on real creators
These updates are part of a larger effort to make the MyMirrorClub Editor easier to understand and faster to use. Clear labels such as Border Thickness and Border Color reduce guessing. Fit to Canvas removes repetitive sizing work. Animated frame effects add visual impact. Keyboard shortcuts reduce the need to travel back and forth to the right-side controls.
The result is a smoother workflow for beginners while still giving experienced creators the speed and control they expect.
FREE TO TRY
Create a MyMirrorClub account and receive 1 free publishing credit on signup. Use it to publish one template or one animation and test the complete editor workflow.
Frequently asked questions
Does Border Frame cover the artwork in the center?
No. Border Frame leaves the center hollow, so photos, video, text and other layers underneath remain visible.
Can the border fit the entire animation?
Yes. Select the Border Frame and click Fit to Canvas. You can then adjust its thickness, color, opacity or size.
Which animation effects currently work on the Border Frame?
Border Frame supports Pulse, Soft Flash and Fast Flash through the Shape Animation Effects section.
Can I delete a selected text layer with the keyboard?
Yes. Click the text layer once so it is selected but not actively being edited, then press Delete or Backspace.
What happens when I paste or duplicate a layer?
The new copy is offset slightly from the original and becomes the selected layer so it can be moved or edited immediately.
Will shortcuts interfere while I am typing?
No. Layer shortcuts are blocked while text editing or another editable form control is active.
Can I try these features before purchasing credits?
Yes. MyMirrorClub is FREE TO TRY, and new accounts receive 1 free publishing credit on signup.