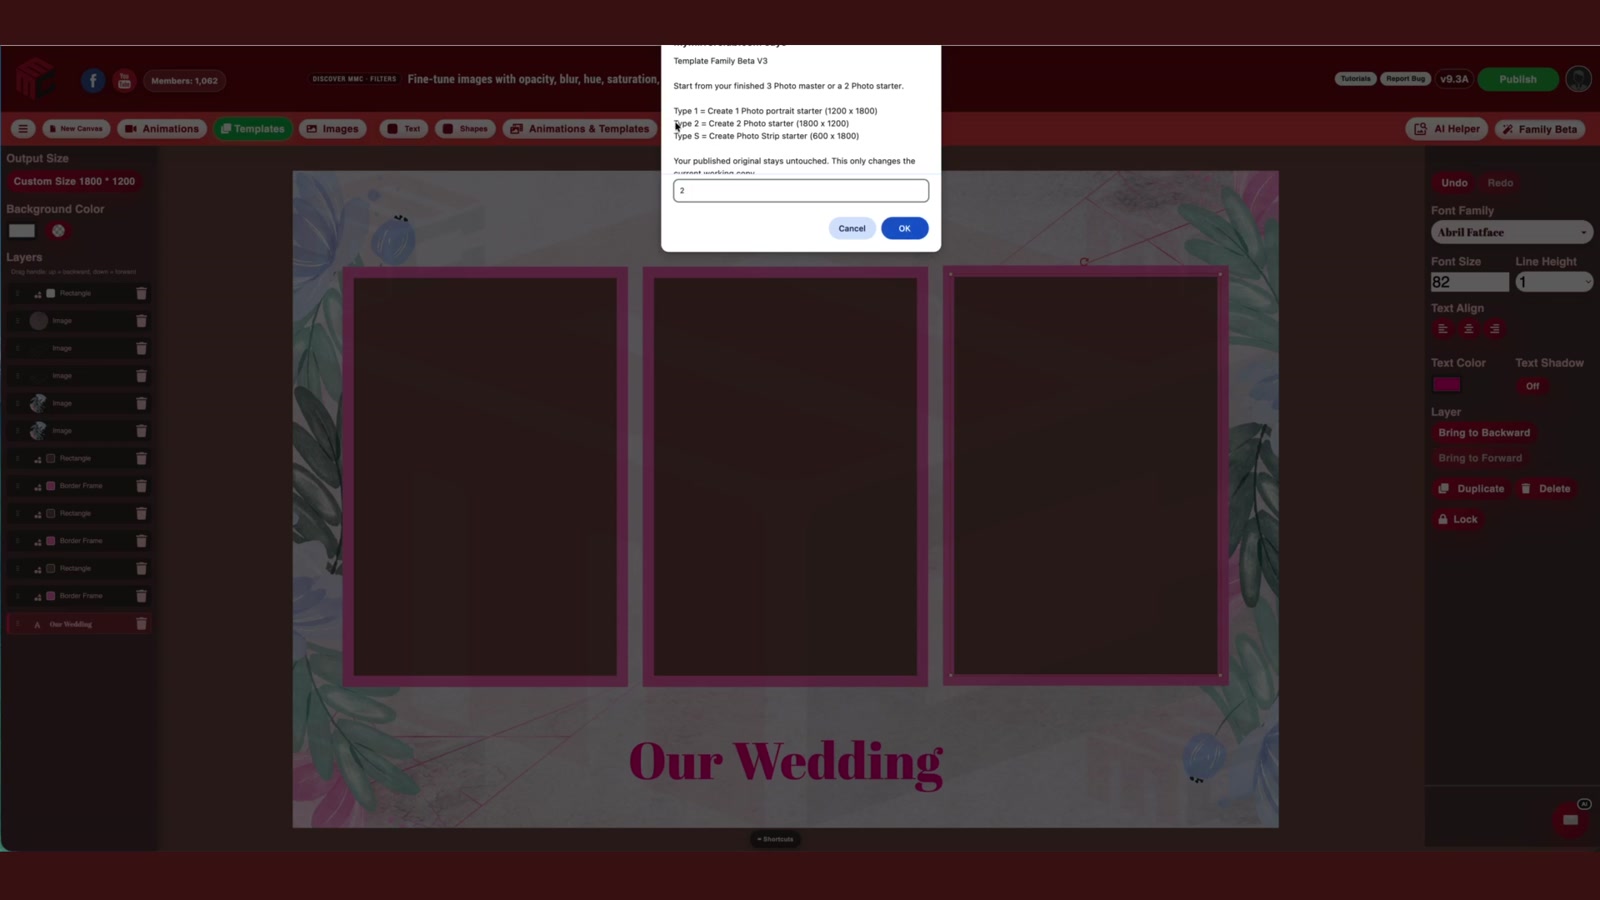
A finished photo booth template should not have to be rebuilt from scratch every time you need another layout. MyMirrorClub's new Template Family Beta is designed to do the heavy lifting for you: start with a layered design, choose the layout you want, and let the editor restructure the working copy in one click.
Watch the Template Family Beta tutorial
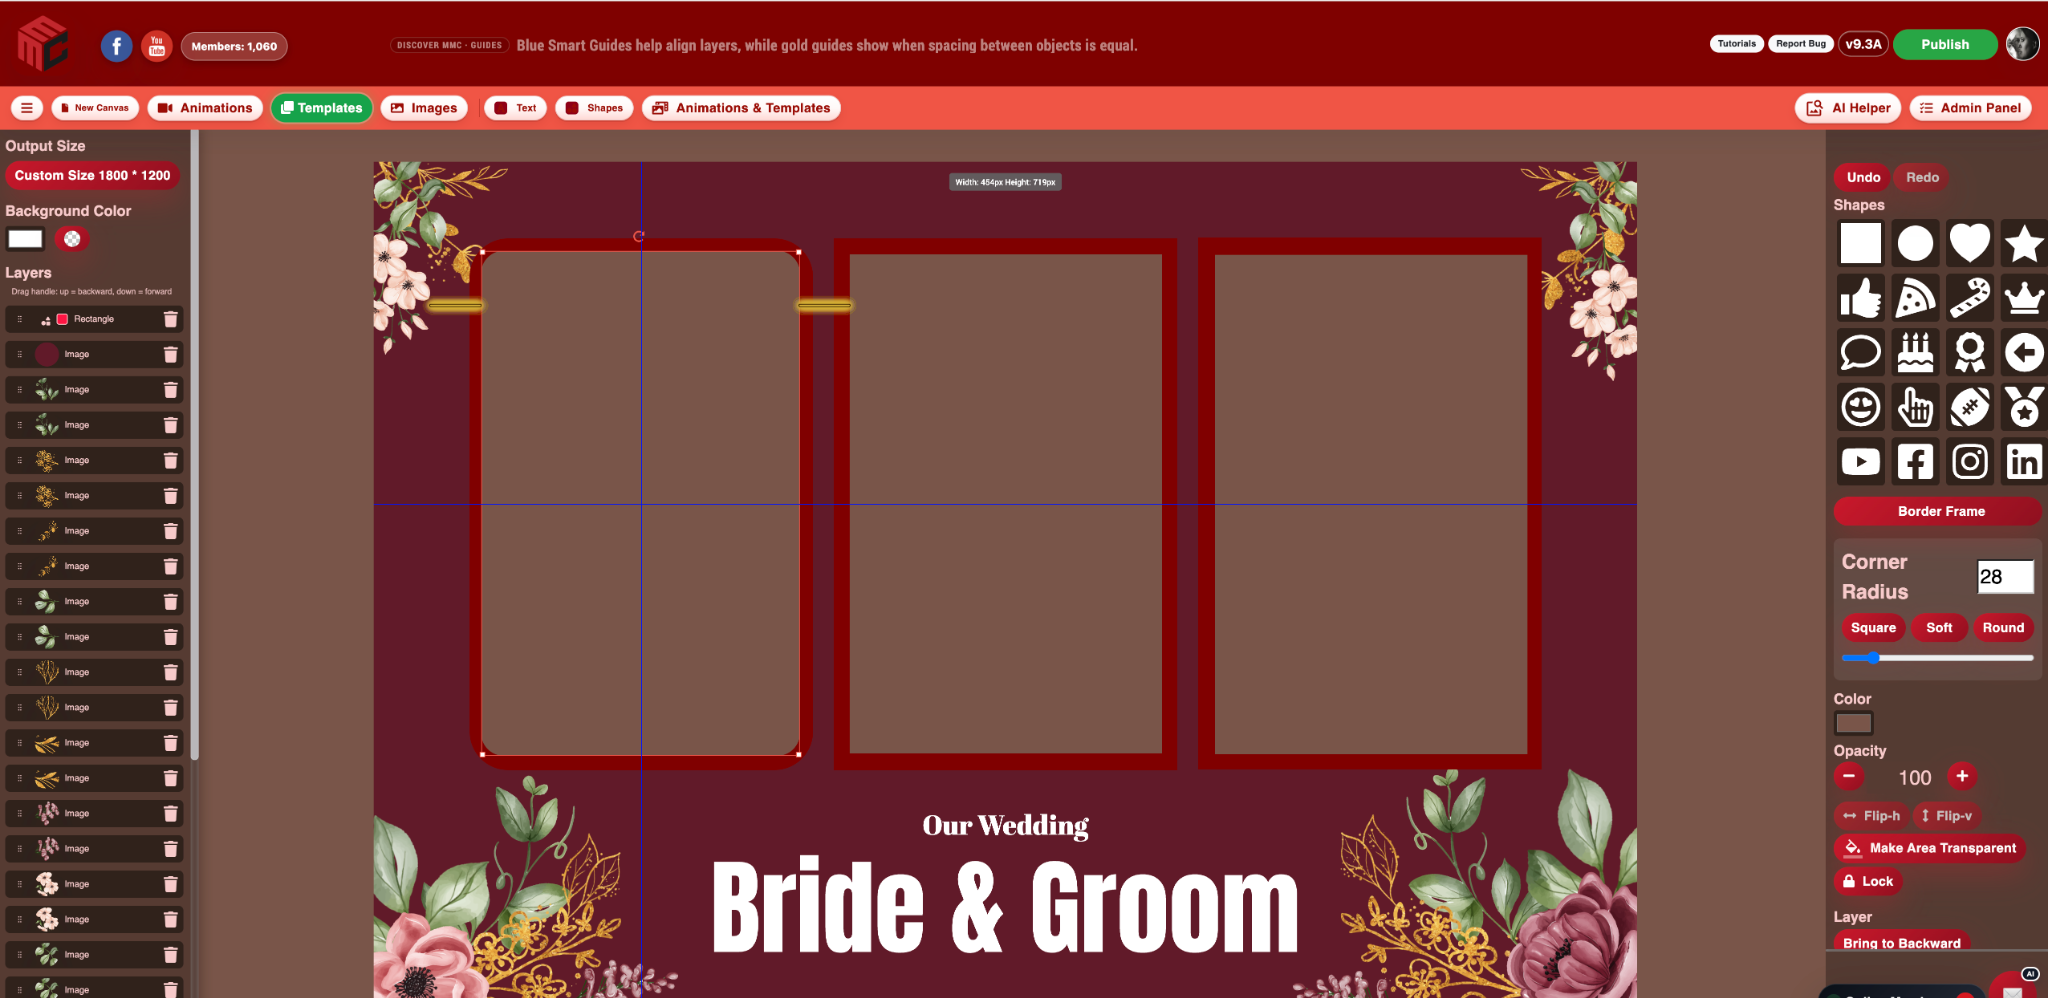
This walkthrough starts with a finished three-photo template and demonstrates the current conversion paths: 3 Photo to 2 Photo, 3 Photo to 1 Photo, 2 Photo to 1 Photo, and 3 Photo to Photo Strip.
What Template Family Beta can do right now
The feature is built around the idea that one finished design can become a family of matching event layouts. Instead of manually changing canvas dimensions, deleting photo areas, rebuilding border frames, and moving every layer by hand, Template Family creates a new working version for you.
- 3 Photo to 2 Photo: keep the visual identity of the original 1800 x 1200 design while removing the extra photo pair and balancing the remaining openings.
- 3 Photo to 1 Photo: convert the design into a 1200 x 1800 portrait layout with one main photo opening.
- 2 Photo to 1 Photo: you can also continue from a two-photo working copy and create the one-photo portrait version.
- 3 Photo to Photo Strip: change the design to a 600 x 1800 strip and reorganize the three transparent photo openings, their border frames, and much of the surrounding artwork.
We are continuing to work on additional layout possibilities so the same event design can be adapted to more booth formats with less repetitive work.
One click changes more than the canvas size
The useful part is not simply resizing the page. Template Family understands that a photo booth layout has structure. Transparent photo areas belong with their border frames, and decorative layers often need to move when a landscape template becomes portrait or a strip.
Depending on the conversion, MyMirrorClub can change the canvas dimensions, remove unneeded photo openings, reposition the remaining transparent boxes, keep their border relationships together, and reflow many of the design layers around the new format. Your original published template remains untouched while the converted version becomes the current working copy.
Why the tutorial uses Undo
In the video we use the Undo button so several conversion paths can be demonstrated quickly from the same starting design. That is only for the tutorial.
If you create a version you want to keep, publish that individual template to your Workspace before moving on to another conversion. For example, create the two-photo version, review it, publish it, then return to the source design to create the next member of the template family.
Will every converted template be perfect without editing?
Not necessarily, and that is why the feature is still labeled Beta. Photo booth templates can be built with very different layer structures. A complex design may occasionally need a small text adjustment, a decorative image moved slightly, or a final visual cleanup after conversion.
But not every template will need those changes. As you can see in this tutorial, the example converts from three photos to two photos, one photo, and a strip without us having to manually reposition anything after the conversion. Even when a template needs a few finishing touches, starting with most of the restructuring already completed can save a significant amount of time compared with rebuilding the layout yourself.
How to try Family Beta
- Open a finished layered photo booth template in the MyMirrorClub Editor.
- Click Family Beta.
- Choose the layout you want: type 2 for a two-photo layout, 1 for a one-photo portrait layout, or S for a photo strip.
- Review the generated working copy and make any small design adjustments you want.
- Publish that version so it is saved in your Workspace before creating another variation.
If you need a design to start with, browse the MyMirrorClub template library, explore photo booth templates, or check the dedicated photo strip templates section.
Beta means we want your feedback
We have already tested this feature with many different templates, and now we want members to try it with their own designs. If you find a template that converts unusually, a layer that needs better handling, or a layout that gives you an idea for the next conversion option, please send us the details through the MyMirrorClub feedback and bug-report tools.
The goal is simple: let you spend more time designing for the event and less time rebuilding the same design for every booth format.
FAQ: Does Family Beta change my original published template?
No. The conversion changes the current working copy. Your already-published original remains available, so you can create and publish additional matching versions separately.
FAQ: Do I have to publish every converted layout separately?
Yes. Each layout you want to keep should be published as its own template so it is saved to your Workspace. The Undo button in the tutorial is only used to move quickly between demonstrations.
FAQ: Will I always need to adjust layers after conversion?
No. Some templates may need a small text or decorative-layer adjustment, while others may convert without any manual repositioning. The tutorial on this page shows a design that required no additional layer movement.